Creating apparel mockups for press kits is all about showcasing your designs in a professional, polished way that grabs attention. These mockups let you visualize how your designs will look on clothing – like t-shirts, hoodies, or jackets – without producing physical samples. They’re essential for press kits because they provide high-quality visuals that help communicate your brand’s identity and leave a strong first impression on journalists, influencers, and potential partners.
Key Steps to Create Apparel Mockups:
- Organize Your Design Assets: Use high-resolution vector files (300 DPI) for sharp, scalable designs. Keep all assets like logos, fonts, and color codes in one folder for easy access.
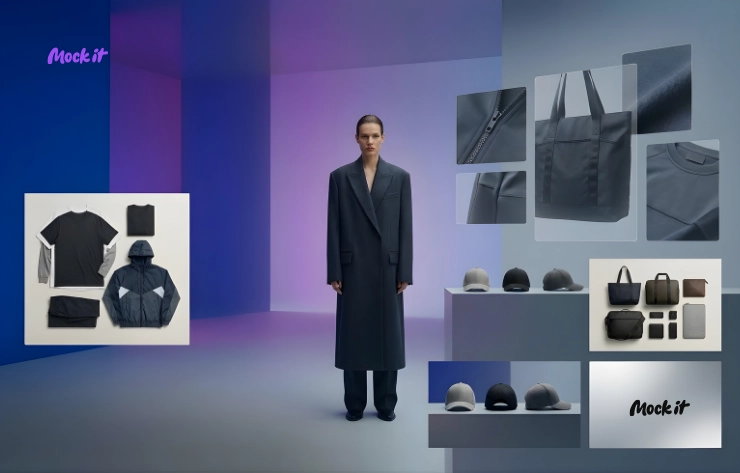
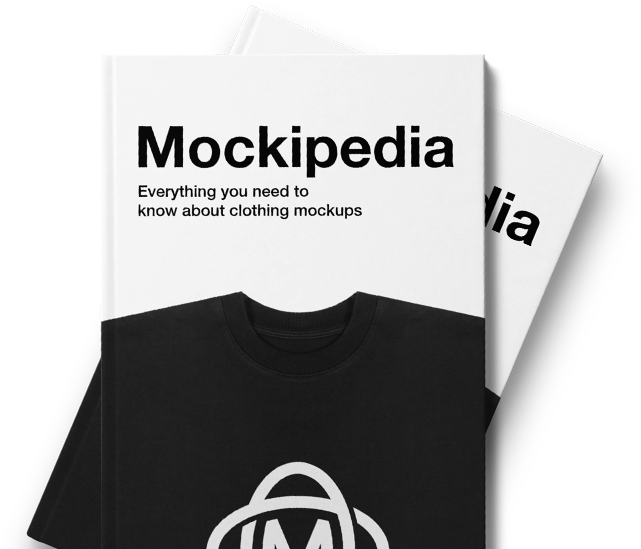
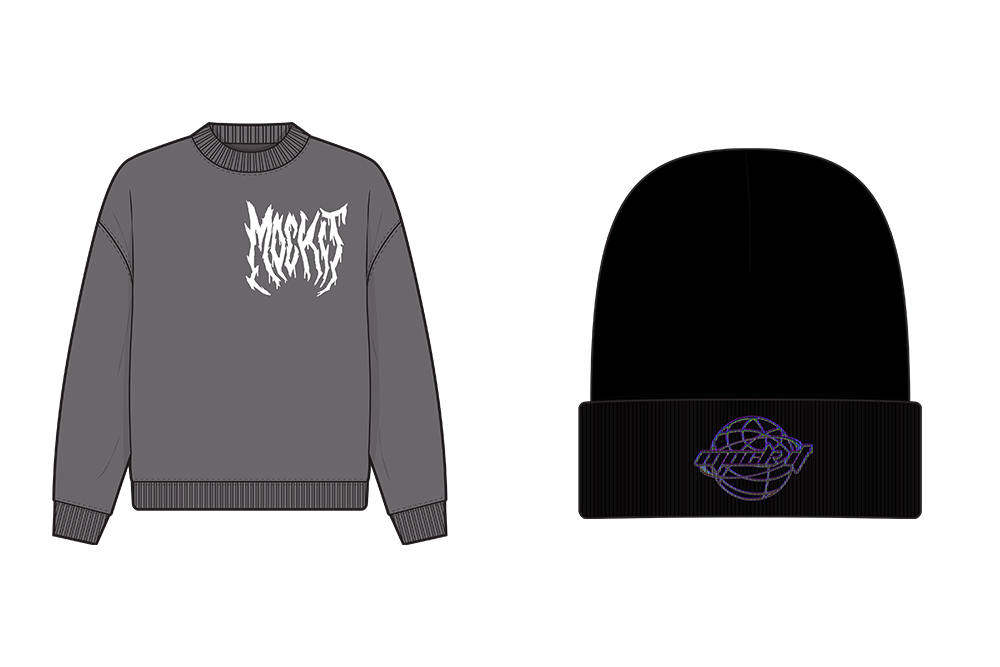
- Choose the Right Mockup Template: Decide between lifestyle, flat lay, or ghost mannequin templates based on your goals. Use platforms like Mock It for a wide variety of templates and customization tools.
- Customize Your Mockups: Upload your designs, adjust colors, and add branding elements like logos or care labels. Use tools to refine lighting, texture, and shadows for a realistic look.
- Export in Multiple Formats: Export files in PNG (digital), TIFF (fabric-heavy designs), and PDF (print-ready) to meet different press kit needs.
Best Practices:
- Use high-resolution visuals (300 DPI) for both digital and print.
- Present multiple angles (front, back, close-ups) to provide a complete view of your apparel.
- Organize files with clear names and group them by product line for easy access by media contacts.
By following these steps, you’ll create mockups that enhance your press kit and make your brand stand out.
How To Design Mockups For Your Clothing Brand [WALKTHROUGH]
Preparation Steps for Designing Apparel Mockups
Before diving into your design software, it’s essential to lay a solid foundation. Professional-quality press kit visuals rely on careful planning. By organizing your assets, understanding your needs, and setting clear standards upfront, you’ll make the design process smoother and ensure your mockups are polished and press-ready. Here’s how to get started.
Gathering Required Assets
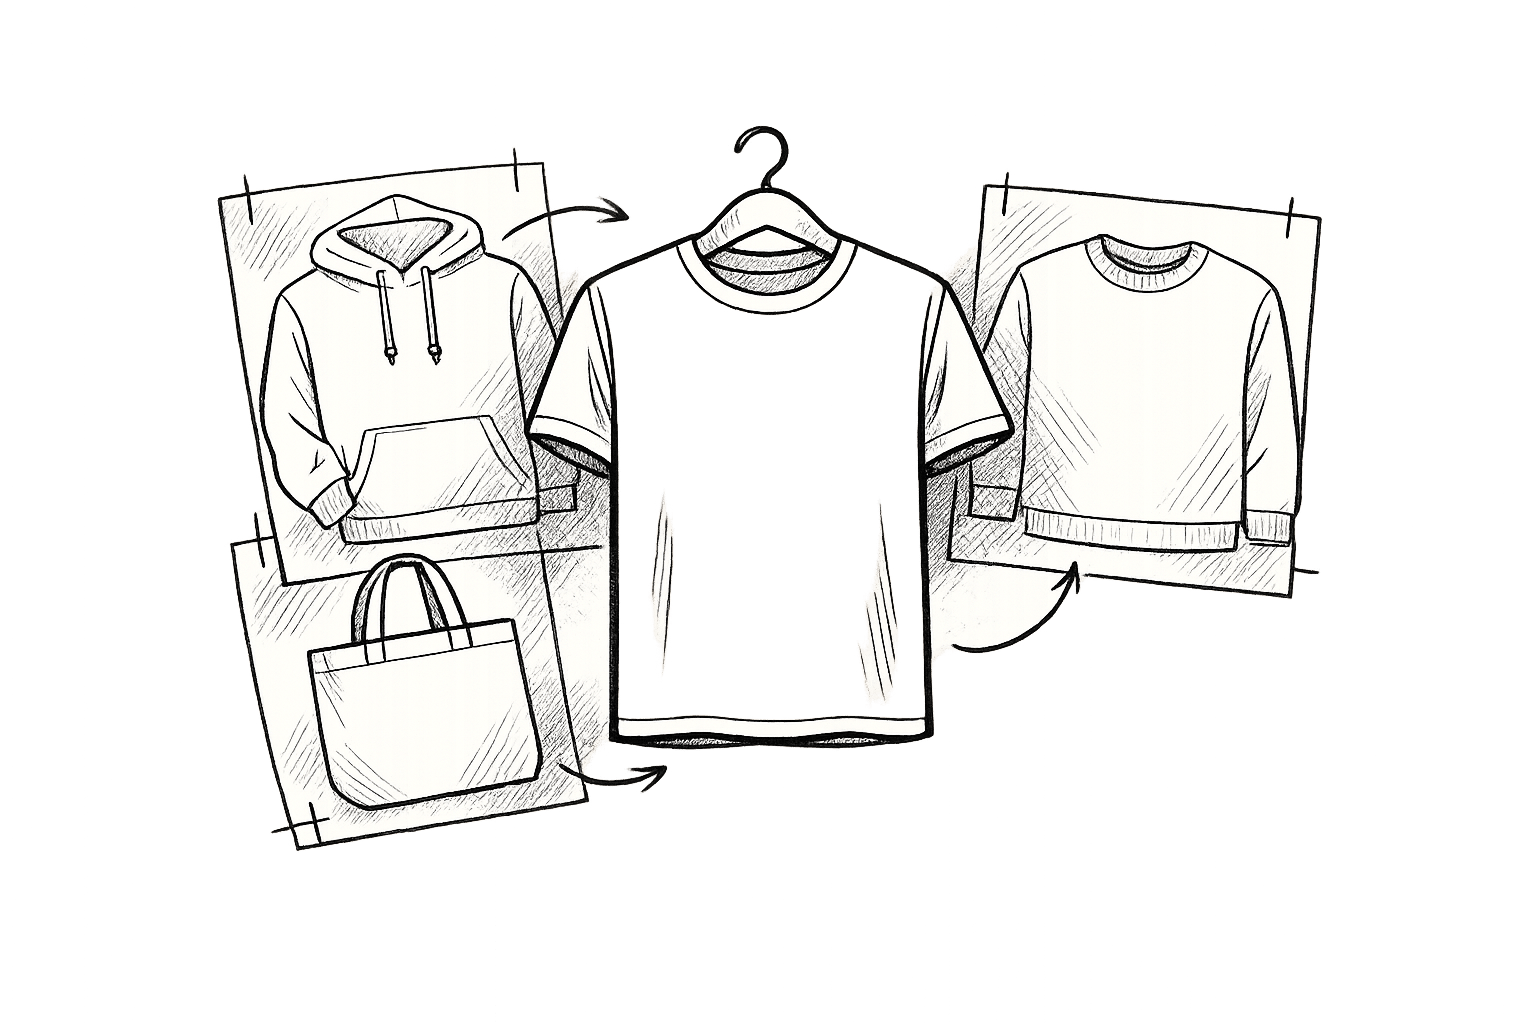
Your design files are the backbone of any successful apparel mockup. Start with vector art files – they’re easy to adjust to the curves and edges of different apparel items and adapt seamlessly to mockup templates. Make sure these files are high-resolution, with a minimum of 300 DPI. If your files don’t meet this standard, convert them before beginning your project.
For adult t-shirts, designs should typically measure between 11–14 inches wide, leaving at least a 0.5-inch margin from seams and edges. This ensures your design looks balanced and professional, whether in digital or print formats.
Keep everything organized. Logos, color codes, fonts, and brand guidelines should all be stored in a single folder for easy access. This not only saves time but ensures every mockup aligns with your brand’s identity.
Don’t forget to consider your production method early on. Whether you’re planning for screen printing, direct-to-garment (DTG), or another technique, your mockups should reflect the unique characteristics of your chosen method. Additionally, adjust your designs to suit different fabric colors and textures.
Selecting the Right Mockup Template
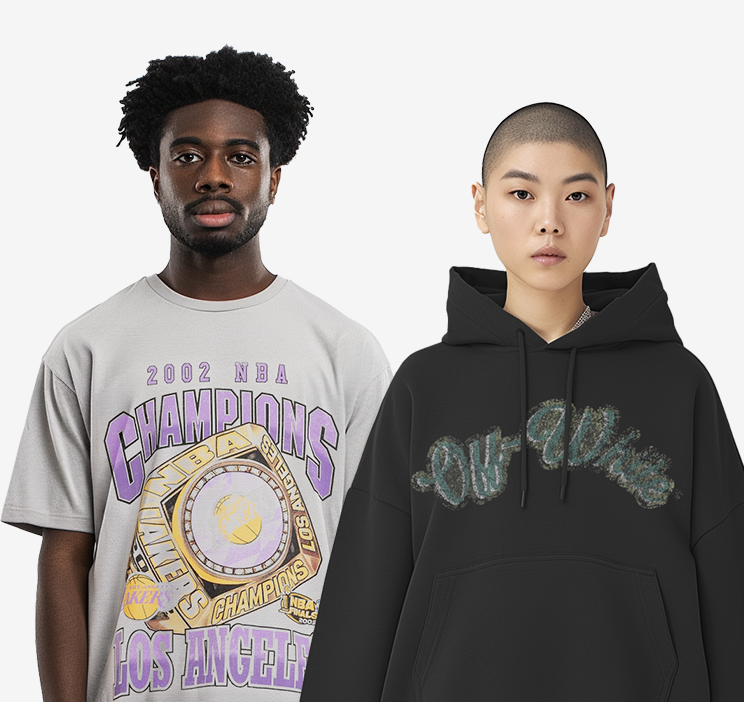
The type of mockup template you choose can make a big difference in how your designs are perceived. Lifestyle shots, for example, showcase your apparel in real-world settings, helping viewers imagine how the items fit into daily life. On the other hand, flat lay mockups provide a clean, distraction-free view, perfect for product catalogs or technical press materials.
Mock It offers a vast library of over 5,000 templates from 45+ brands, giving you plenty of options to match your press kit’s goals. Whether your collection leans toward luxury, athletic wear, or professional attire, having access to diverse templates helps you connect with your target audience.
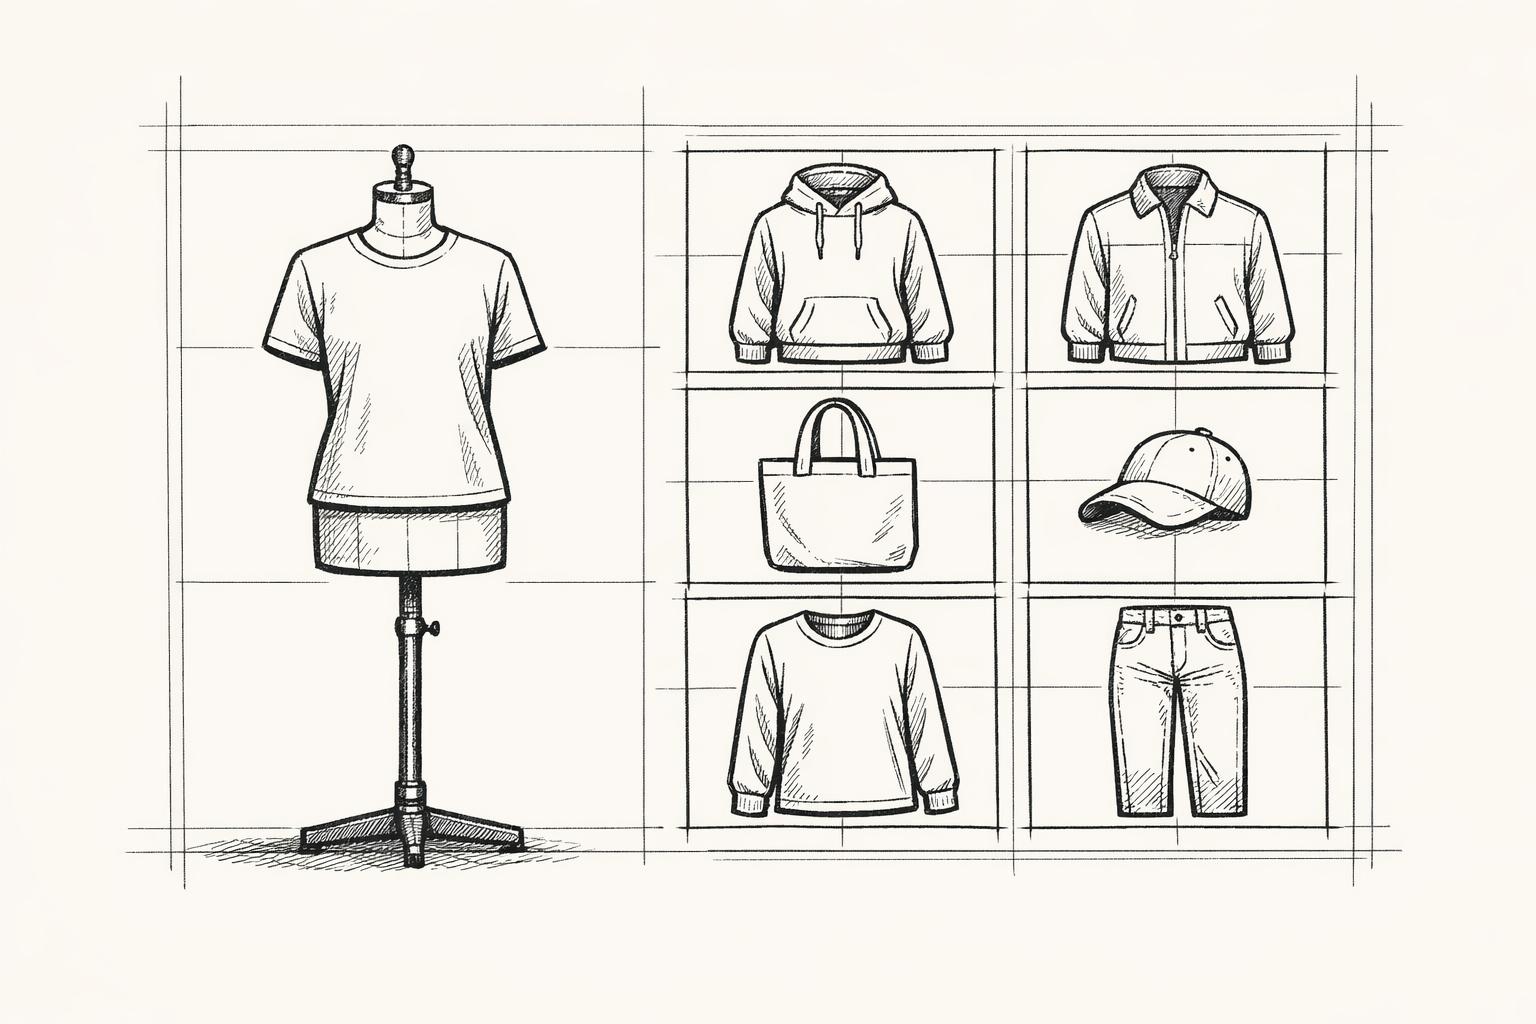
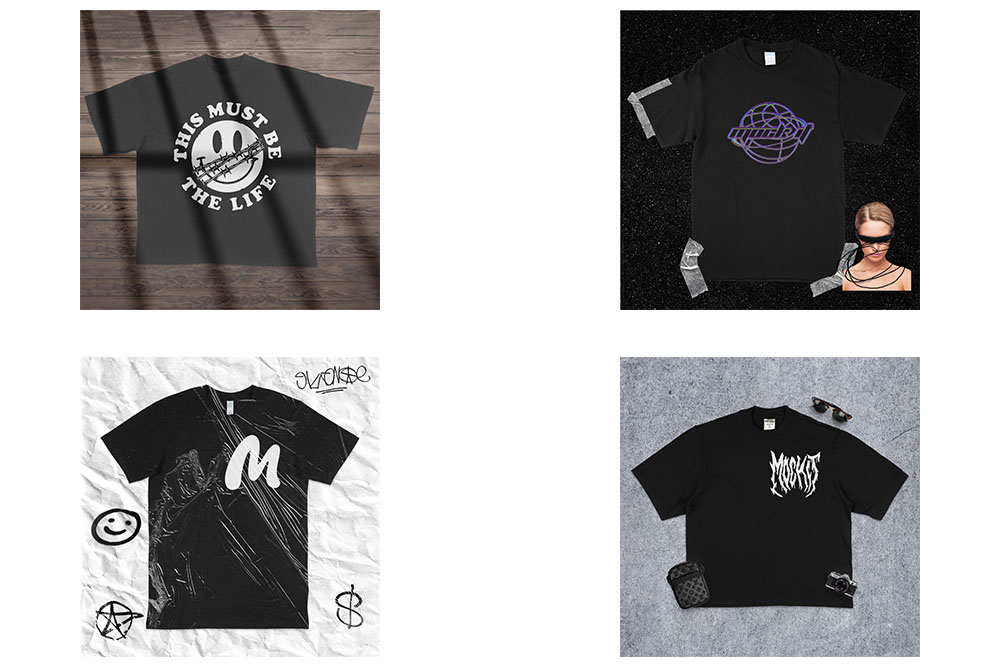
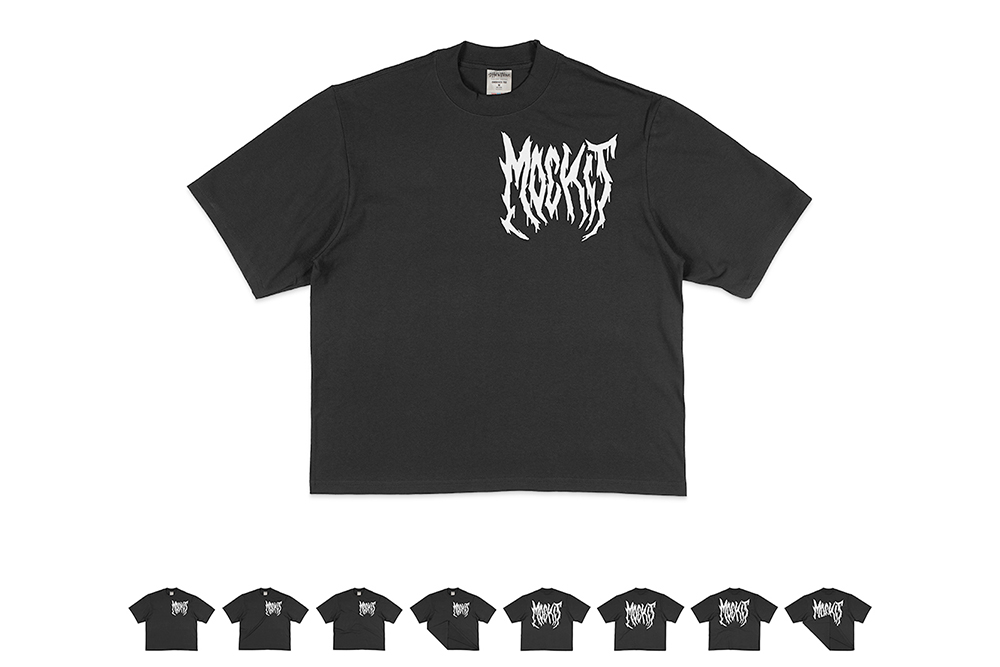
Think about the story your press kit is telling when choosing templates. For instance, active models in gym or outdoor settings can emphasize the energy of a fitness line, while office or urban backdrops might better suit business casual designs. Make sure to include multiple angles – such as front, back, and close-up shots – so journalists and influencers get a complete view of your apparel.
Setting Up High-Resolution and Brand Standards
All images should meet a minimum resolution of 300 DPI and adhere to your brand’s established color profiles and typography. Whether your mockups are for digital platforms or print materials, maintaining these standards ensures consistency and professionalism across all outputs.
Step-by-Step Guide to Creating Apparel Mockups
Creating apparel mockups involves selecting the right platform, customizing your designs, and finalizing the visuals. Each step requires precision to ensure your press kit materials look polished and professional.
Choosing a Mockup Platform or Template
When it comes to press kit mockups, Mock It is a standout choice. It offers a massive library of over 5,000 templates from 45+ brands, along with tools like a scene creator and background remover to help you craft visuals that perfectly fit your brand’s story.
Start by exploring templates that suit your apparel type. For athletic wear, consider templates with gym or outdoor settings. For business casual designs, look for office or urban backdrops. With quarterly updates, Mock It ensures its templates stay current and relevant.
To give a complete view of your garment, use templates that showcase multiple angles – front, back, and detailed close-ups. Mock It’s sets typically include 6 templates per mockup, offering cohesive styling options that maintain a unified visual theme.
If your press kit requires something unique, the request-a-mockup feature is a game-changer. This allows you to ask for custom templates tailored to niche markets or specific branding needs, ensuring your visuals align perfectly with your narrative.
Uploading and Customizing Apparel Designs
Once you’ve chosen your template, it’s time to upload and refine your design. Use vector files to ensure your design scales seamlessly across the garment’s natural contours and seams.
Mock It’s complete color libraries make it easy to adjust both the design colors and the garment’s base colors, ensuring they match your actual products. This attention to detail is crucial for press kits, as accurate colors reflect your brand’s commitment to quality.
Enhance realism by adding details like size labels, care instructions, or branding elements directly onto the mockup. These small touches make your mockups feel authentic and help press contacts better understand your product.
For added flair, use the AI text-to-image generator to create complementary elements like props or backgrounds. For instance, if you’re showcasing workout gear, you can generate gym equipment or outdoor scenery to reinforce your active lifestyle branding.
Experiment with backgrounds using the background remover tool. Clean, neutral backdrops are ideal for product-focused materials, while lifestyle backgrounds can help tell your brand’s story. You can also upload custom backgrounds that align with your campaign or overall visual identity.
Finalizing Realism and Exporting Files
To make your mockups look as realistic as possible, adjust lighting and shadows to mimic natural conditions. Subtle tweaks to texture and drape can significantly elevate the overall quality.
Before exporting, review each mockup in full resolution to check alignment, color accuracy, and readability.
When it’s time to export, choose the format based on your needs:
- PNG is perfect for digital use, especially when transparency is required, as it provides high-quality, lossless images.
- TIFF is ideal for fabric-heavy designs, thanks to its lossless LZW compression, which preserves every detail.
- PDF is a reliable, print-ready format that ensures your mockups look consistent across devices and platforms.
For flexibility, export multiple versions of each mockup in different formats. This ensures you’re ready for any press kit distribution scenario, whether it’s digital or print.
sbb-itb-1e8f9ab
Customization and Branding Methods for Mockups
Customized mockups are a powerful way to showcase your brand identity, turning standard templates into eye-catching visual assets that leave a lasting impression.
Adding Logos, Labels, and Brand Colors
Start by establishing a consistent color palette and strategically placing your logo. Tools like Mock It’s extensive color libraries make it easy to perfectly match your design and garment colors, ensuring your mockups look polished and professional.
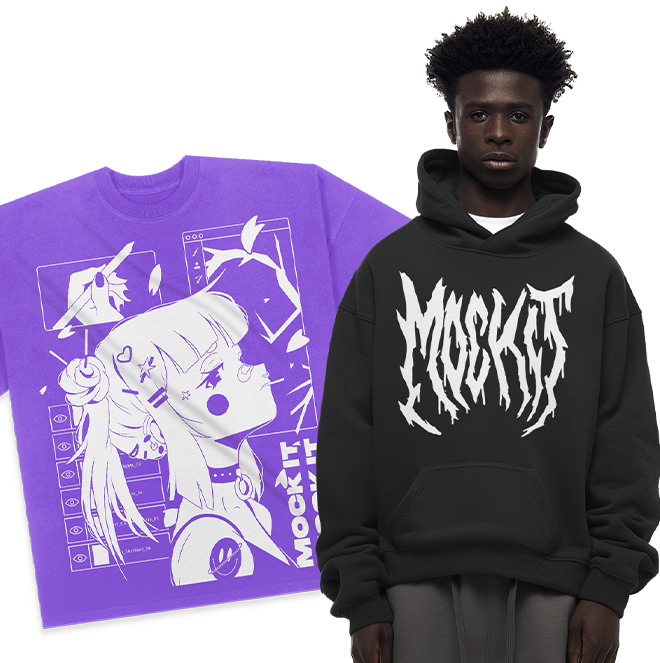
Add your logo or a subtle watermark to the mockup, ensuring it remains visible even if the image is cropped. For an added touch, include concise text elements – like product names or standout features – directly on the mockup. Use contrasting colors for readability. For instance, highlighting unique fabric properties or construction details can provide journalists with valuable context about your apparel.
Incorporating branded labels and care instructions enhances the authenticity of your mockups. These details make your visuals feel more like actual products rather than digital concepts, building trust with press contacts who appreciate tangible insights into your offerings.
Creating Branded Backgrounds
Once your logos and labels are in place, focus on backgrounds that complement your brand’s story. Scene Creator tools can turn simple product images into immersive branded experiences. Design custom backgrounds that align with your brand identity and the mood of a specific campaign.
Leverage AI tools to seamlessly match brand imagery with product surfaces, allowing you to create personalized mockup templates from your own visuals. Seasonal or campaign-specific backgrounds can also add a fresh, thematic touch. For a clean and minimal look, solid colors or gradients work well to keep the focus on your apparel designs.
If flexibility is key, the background remover tool is a game-changer. Transparent backgrounds are especially useful for product catalogs or when press contacts need to integrate your mockups into their own layouts.
Displaying Apparel from Multiple Angles
To fully showcase your designs, present your apparel from various perspectives. Mock It’s 6-template sets allow you to highlight fabric texture, movement, and construction details from multiple angles.
When displaying intricate logo details, pay special attention to how your branding appears on textured fabrics. Testing your designs on different materials ensures your logo remains clear and recognizable, even when the fabric stretches or folds.
For hero products, consider creating 360-degree view sequences. These comprehensive visuals give journalists the flexibility to choose the perfect angle for their story while maintaining consistent branding.
Lastly, include close-up shots that emphasize construction details, unique stitching, or innovative fabric treatments. These detail shots add editorial value to your press kit, providing clear talking points that help your products stand out.
Best Practices for Press Kit Visual Assets
Creating mockups is just the beginning. To ensure your press kit visuals meet both your brand’s standards and the needs of media outlets, follow these tried-and-true practices.
Meeting High-Resolution Standards
For print materials, aim for a resolution of 300–600 DPI, while digital media typically requires 150–300 DPI. Use RGB color profiles for digital assets and CMYK profiles for print to ensure accurate color reproduction across platforms.
When working with apparel, make sure your mockups capture fabric textures accurately. This attention to detail can elevate the quality of your visuals, ensuring they appear polished and professional, no matter the medium.
Organizing and Labeling Files
A well-organized file system can make a world of difference. Use clear, descriptive file names that include details like product names, angles, and resolution specifications. Group visuals by product line or collection to make it easy for media contacts to find what they need.
To streamline access, create separate folders for different formats:
- PNG for digital use
- TIFF for high-quality print
- PDF for press-ready materials
This level of organization not only saves time for journalists – especially those working on tight deadlines – but also reflects your professionalism.
Selecting the Right Mockup Style for Each Purpose
Once you’ve nailed the technical details, focus on tailoring your mockup style to suit the intended audience and media outlet. Different publications have different preferences, and aligning your visuals with their style can increase the likelihood of your images being featured.
- Lifestyle mockups: Perfect for consumer-focused outlets, these images place your apparel in real-world settings. They’re especially effective for seasonal campaigns or trend-driven stories, as they help readers visualize themselves wearing the product.
- Flat lay styles: These clean, minimal images let design details shine, making them ideal for product catalogs or e-commerce platforms where clarity is key.
- Ghost mannequin mockups: By showcasing the fit and drape of garments without a model, this style offers a balance of technical precision and aesthetic appeal. It’s a great choice for business-oriented features or detailed product breakdowns.
To decide which style works best, take a moment to review the recent coverage of your target media outlets. This can help you determine whether a lifestyle image or a straightforward product shot will resonate more with their audience.
Conclusion and Key Takeaways
Professional apparel mockups are more than just visuals – they’re a statement of credibility. They can make or break the effectiveness of your press kit in grabbing media attention. The difference between amateur and polished visuals often determines whether your press kit gets noticed or overlooked.
Review of the Mockup Creation Process
From the initial concept to the final product, creating high-quality mockups involves both creativity and precision. It starts with gathering your design assets and choosing templates that align seamlessly with your brand’s style. Customization is where the magic happens – adjusting colors, refining logo placement, and ensuring every detail mirrors your brand identity.
But it’s not just about the creative side. Technical precision is just as important. High-resolution images ensure your visuals look sharp, whether displayed on a website or in print. This attention to detail highlights every element, from intricate patterns to subtle fabric textures, giving your designs the spotlight they deserve.
“The mockups are extremely high quality, and I love how easy it is to customize them to fit my brand.” – Madhyn, Verified User
By following a clear process and focusing on quality, you can create visuals that elevate your press kit and leave a lasting impression.
Final Tips for Effective Press Kits
Consistency is key. Your mockups should present a unified story about your brand, with matching lighting, backgrounds, and styling across all images. This cohesive look leaves a professional impression that media professionals will appreciate.
Offer multiple perspectives of your products. Showing front, back, and side views of each garment provides journalists and editors with the details they need to craft compelling stories. This thorough approach demonstrates that you understand their needs and value their time.
The power of professional mockups goes beyond aesthetics. As one user put it:
“My products now look exceptionally refined.” – William, Verified User
Before releasing your press kit, conduct a thorough quality check. Look for photorealistic details, accurate colors, and clean presentations. These visuals are often the first impression media outlets have of your brand, and in the competitive fashion world, that first impression carries weight.
Think of your press kit mockups as ambassadors for your brand. Done right, they project professionalism, attention to detail, and confidence – all qualities that resonate with media outlets. The time and effort you put into creating top-notch mockups can translate into more media coverage and stronger brand recognition.
FAQs
Why should I use high-resolution vector files for apparel mockups in press kits?
Using high-resolution vector files is a game-changer for creating sharp, professional apparel mockups. Because vector files can be scaled up or down without losing clarity, your designs will look crisp and clean, no matter the garment size or format.
On top of that, vector files allow for precise customization, making it easier to tweak your designs to perfection. This level of detail ensures your visuals stand out, adding a polished touch to your press kits and making a strong, lasting impression.
How can I create apparel mockups that reflect my brand and tell its story?
To create apparel mockups that genuinely represent your brand and its story, start by selecting designs, colors, and styles that match your brand’s character. Whether your vibe is bold and modern, laid-back and casual, or polished and professional, make sure your choices reflect that personality. Incorporate branding elements like your logo, signature fonts, and color palette to keep everything visually consistent.
Customization is where your unique vision really shines. Choose backgrounds or settings that align with your brand’s aesthetic and ensure the overall presentation communicates your values and message clearly. Paying attention to these details ensures your mockups connect with your audience and reinforce what your brand stands for.
What’s the best way to organize and export apparel mockup files for press kits?
To get your apparel mockup files ready for press, start by setting up a well-organized folder system. Create separate folders for raw files, editable working versions, and final exports. Stick to consistent naming conventions and include metadata to make locating and identifying files a breeze.
When it’s time to export, customize the files based on where they’ll be used. For print, go with high-resolution formats like PNG or PSD. For digital platforms, optimize for the web by using smaller file sizes and formats like JPEG. This way, your mockups will be ready to shine – whether they’re part of a press kit, showcased on social media, or featured on an e-commerce site.