
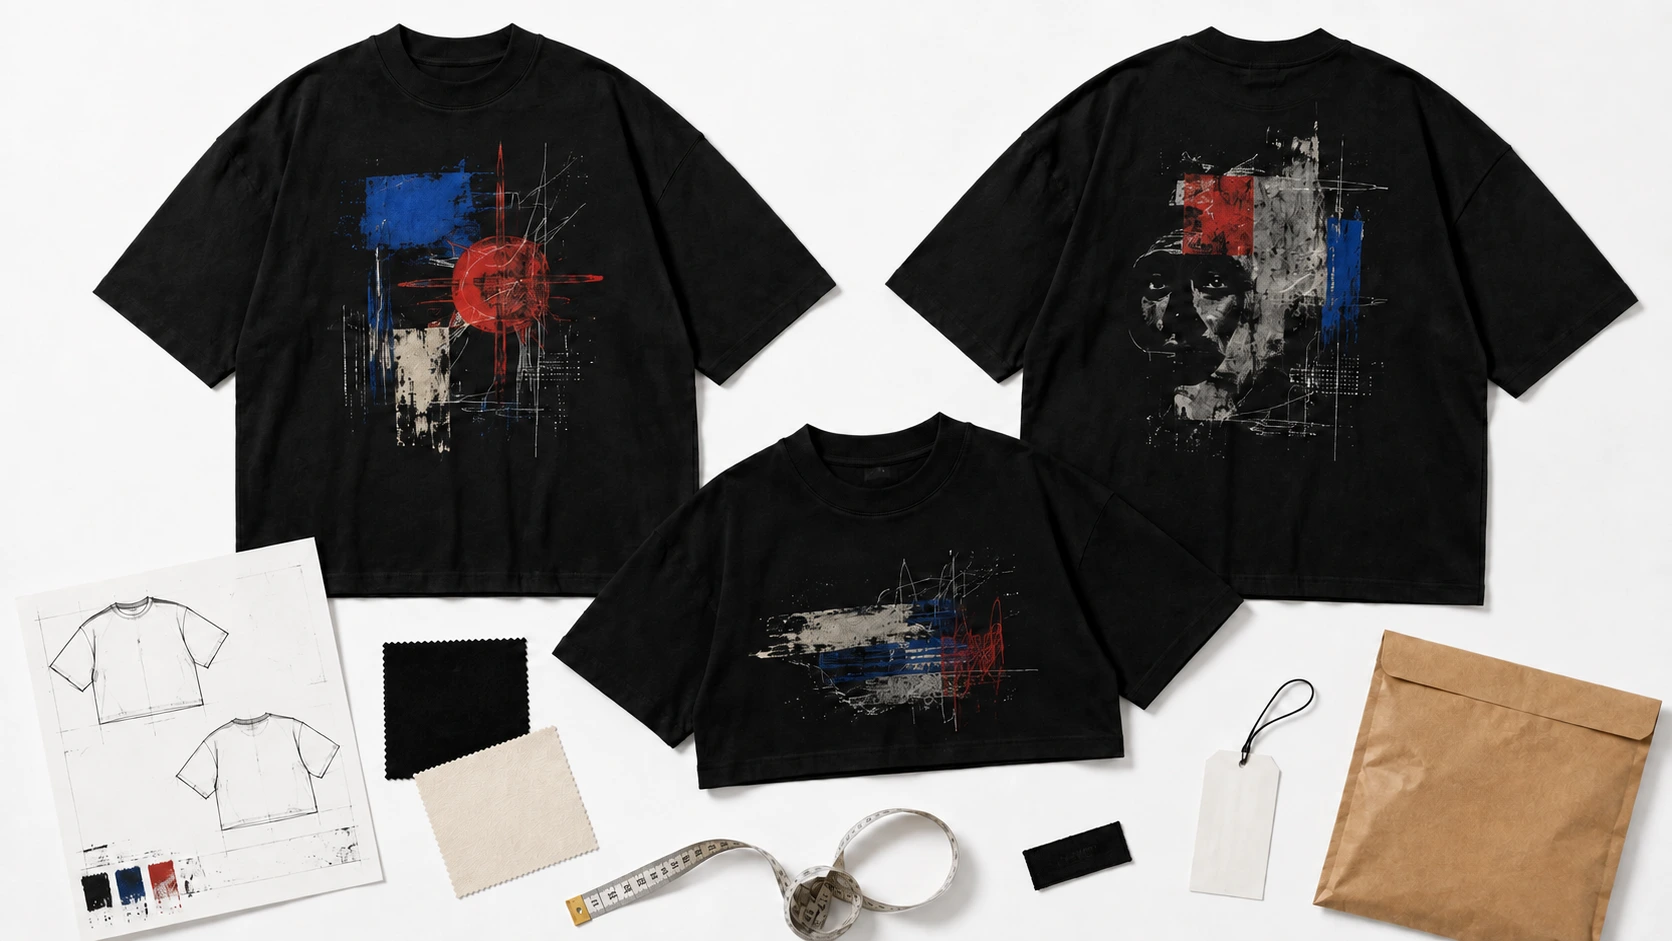
To start a clothing brand, define your niche and target customer, choose a business and production model, register the business, select garments and materials, prepare designs, find suppliers, and test samples. Then calculate costs, produce inventory, build your online store, create product visuals, and launch through targeted marketing. Following these steps in sequence helps turn an initial clothing brand idea into a structured product, production, and sales process.
Each stage should build on earlier decisions. Market research and customer demand shape your brand positioning and products; those product requirements guide design, materials, suppliers, and production; and your costs and inventory determine pricing and launch planning. Once the finished collection is ready, your online store, product imagery, and marketing channels connect those products with customers. After launch, sales data, customer feedback, returns, inventory movement, and marketing performance provide measurable signals for deciding what to reorder, improve, discontinue, or develop for future clothing collections.
12 steps to start a clothing brand:
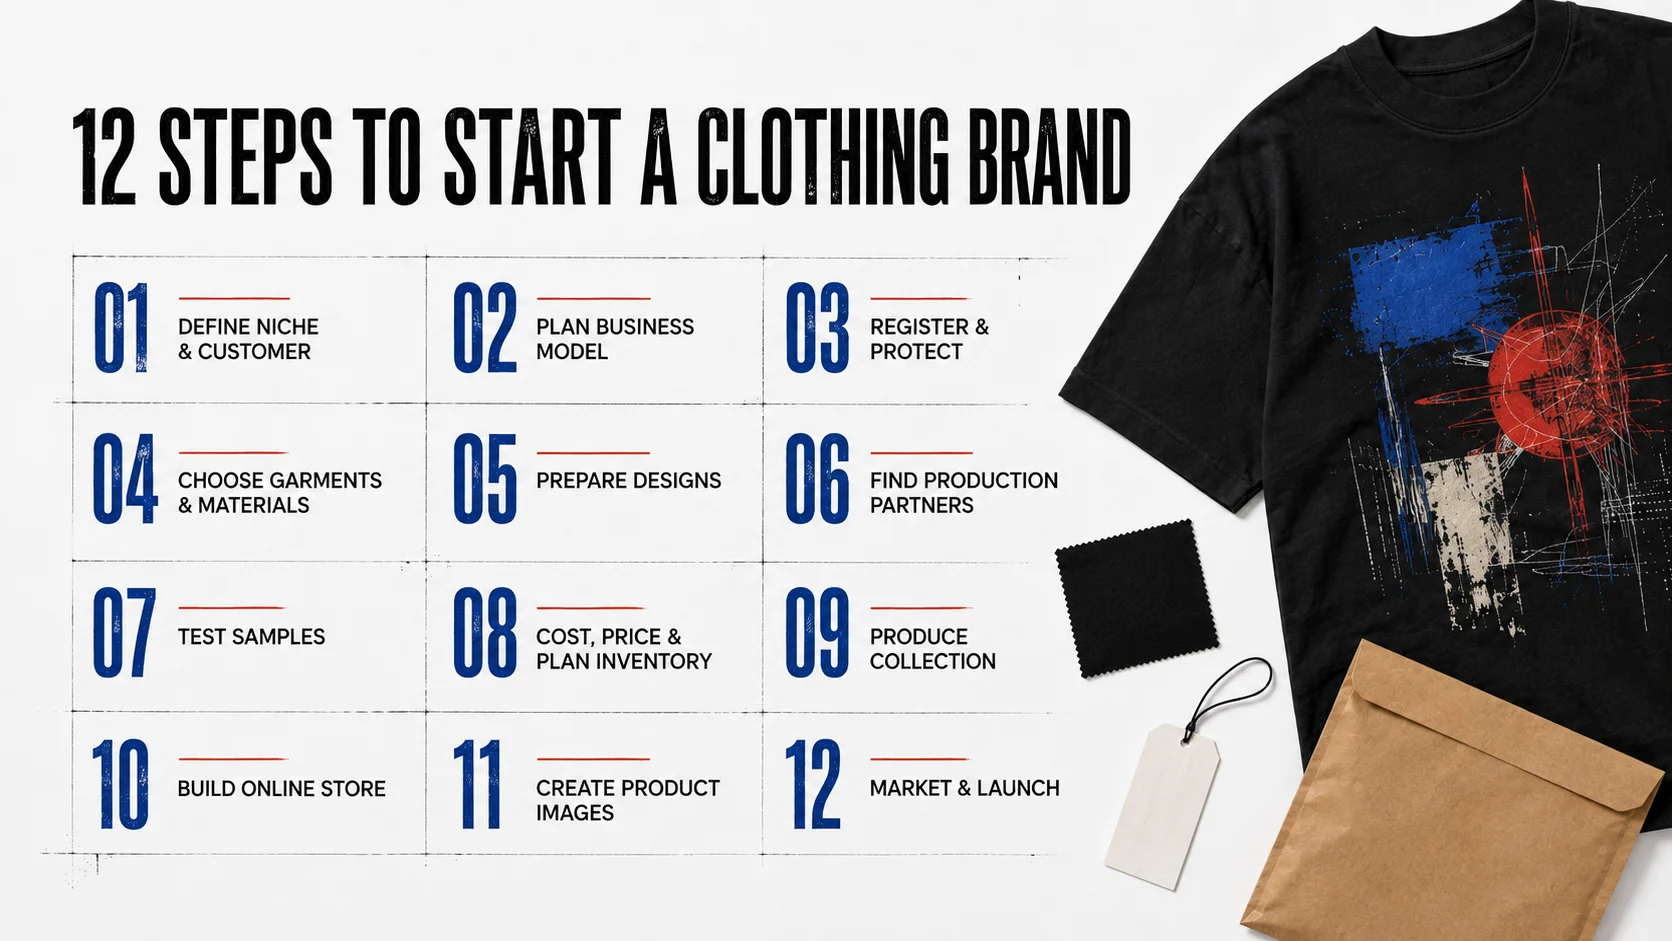
- Define Your Clothing Brand and Target Customer
- Plan Your Clothing Brand Business and Production Model
- Register and Protect Your Clothing Business
- Choose Products, Garments, and Materials for Your Clothing Line
- Create and Prepare Your Clothing Designs for Production
- Find Clothing Suppliers, Printers, and Manufacturers
- Order, Test, and Approve Clothing Samples
- Calculate Costs, Set Prices, and Plan Inventory
- Produce Your Clothing Collection
- Build Your Clothing Brand Online Store
- Create Product Images for Your Clothing Store
- Market and Launch Your Clothing Brand
Step 1: Define Your Clothing Brand and Target Customer
Start by defining your clothing brand with a clear niche, target customer profile, market demand analysis, and distinct brand identity. Identify the buyer’s age range, location, income level, lifestyle, purchasing behavior, style expectations, hobbies, and personal values, then connect those attributes to form a purposeful clothing brand. For example, pairing Gen Z streetwear with eco-conscious fabrics, or designing premium minimalist workwear for millennials. To anchor this positioning, use a simple value proposition framework:
- We make [product] for [audience] who want [benefit] without [pain point].
Define [product] by identifying the clothing category and style your customer wants, [audience] through their age, location, and purchasing behavior, and [benefit] by determining comfort, fit, style, quality, or functionality. To identify [pain point], examine what frustrates your ideal customer, then analyze competing brands, their products, pricing, positioning, customer feedback, and visual identity to find gaps. Combine these findings into a semi-fictional ideal customer profile and use the completed value proposition to guide your brand identity, product decisions, pricing, and market positioning.
Step 2: Plan Your Clothing Brand Business and Production Model
Once you know what you are selling, who you are selling to, and what customer problem your brand addresses, decide how the clothing brand will create products, manage inventory, fulfill orders, and generate revenue. Compare production models such as print-on-demand (POD), customized blank apparel, private label, cut-and-sew manufacturing, dropshipping, and in-house production. Evaluate each option based on startup investment, minimum order quantity (MOQ), creative control, product margins, inventory requirements, fulfillment, and scalability.
Here is a detailed breakdown of production models you can choose for your clothing brand:
| Business Model | Initial Investment | Typical MOQ | Creative Control | Profit Margins | Fulfillment & Scalability |
| Print-on-Demand (POD) | Very Low | None (1 unit) | Low to Moderate | Low | Fully Automated / High Scalability |
| Dropshipping | Very Low | None (1 unit) | Low | Low to Moderate | Automated Supplier / High Scalability |
| Blank Apparel (Customized) | Low | Low (10 to 50 units) | Moderate | Moderate | Manual to 3PL / Moderate Scalability |
| Private Label | Moderate | Moderate (100 to 500 units) | High | Good | Manual to 3PL / Scalable |
| In-House Production | Moderate to High | Low to None (1 unit) | Complete | Good to High | Manual In-House / Moderate Scalability |
| Cut-and-Sew | High | High (500 to 1,000+ units) | Complete | Highest | Complex Logistics / High Operational Risk |
Step 3: Register and Protect Your Clothing Business
Next, formalize your clothing brand so it can operate legally, manage finances, and protect its identity. Registration requirements vary by location, but generally involve choosing a business entity, registering the business, addressing applicable taxes and licenses, opening a dedicated bank account, and setting up accounting. In the U.S., founders may form an LLC or corporation through their state and obtain an Employer Identification Number (EIN) from the IRS when required.
Protect your clothing brand by checking the proposed name across business registries, domains, social handles, and official trademark databases such as USPTO.gov. Remember that an available business name does not automatically provide trademark ownership. For U.S. trademarks, Class 25 covers clothing, footwear, and headwear, while qualifying retail services may fall under Class 35. Before sharing original tech packs, artwork, or garment specifications with manufacturers, consider appropriate confidentiality terms and supplier contracts to define ownership, production requirements, and responsibilities.
Step 4: Choose Products, Garments, and Materials for Your Clothing Line
Choose garments that match your target customer, brand positioning, and intended price level. Start with a hero product, such as a heavyweight hoodie or graphic T-shirt, then support it with repeatable styles such as basic tees, sweatshirts, or simple pants. Keep the collection focused on your niche and decide whether to customize existing blank apparel or develop custom garments. Limiting initial products, colors, and sizes also keeps SKU management and inventory requirements under control.
Next, evaluate fabric composition, weight (GSM), fit, sizing, construction, decoration compatibility, color availability, and supplier continuity. Options can include heavyweight cotton for structured garments, cotton-polyester blends for selected performance or easy-care applications, and materials such as organic cotton or recycled polyester. To achieve a premium streetwear feel, use heavyweight 100% cotton at 200 plus GSM. Alternatively, choose cotton-poly blends for softer activewear and enhanced wrinkle resistance. Precise garment selection and accurate material specifications are especially critical for ensuring seamless digital visualization and mockup generation before physical production begins.
Step 5: Create and Prepare Your Clothing Designs for Production
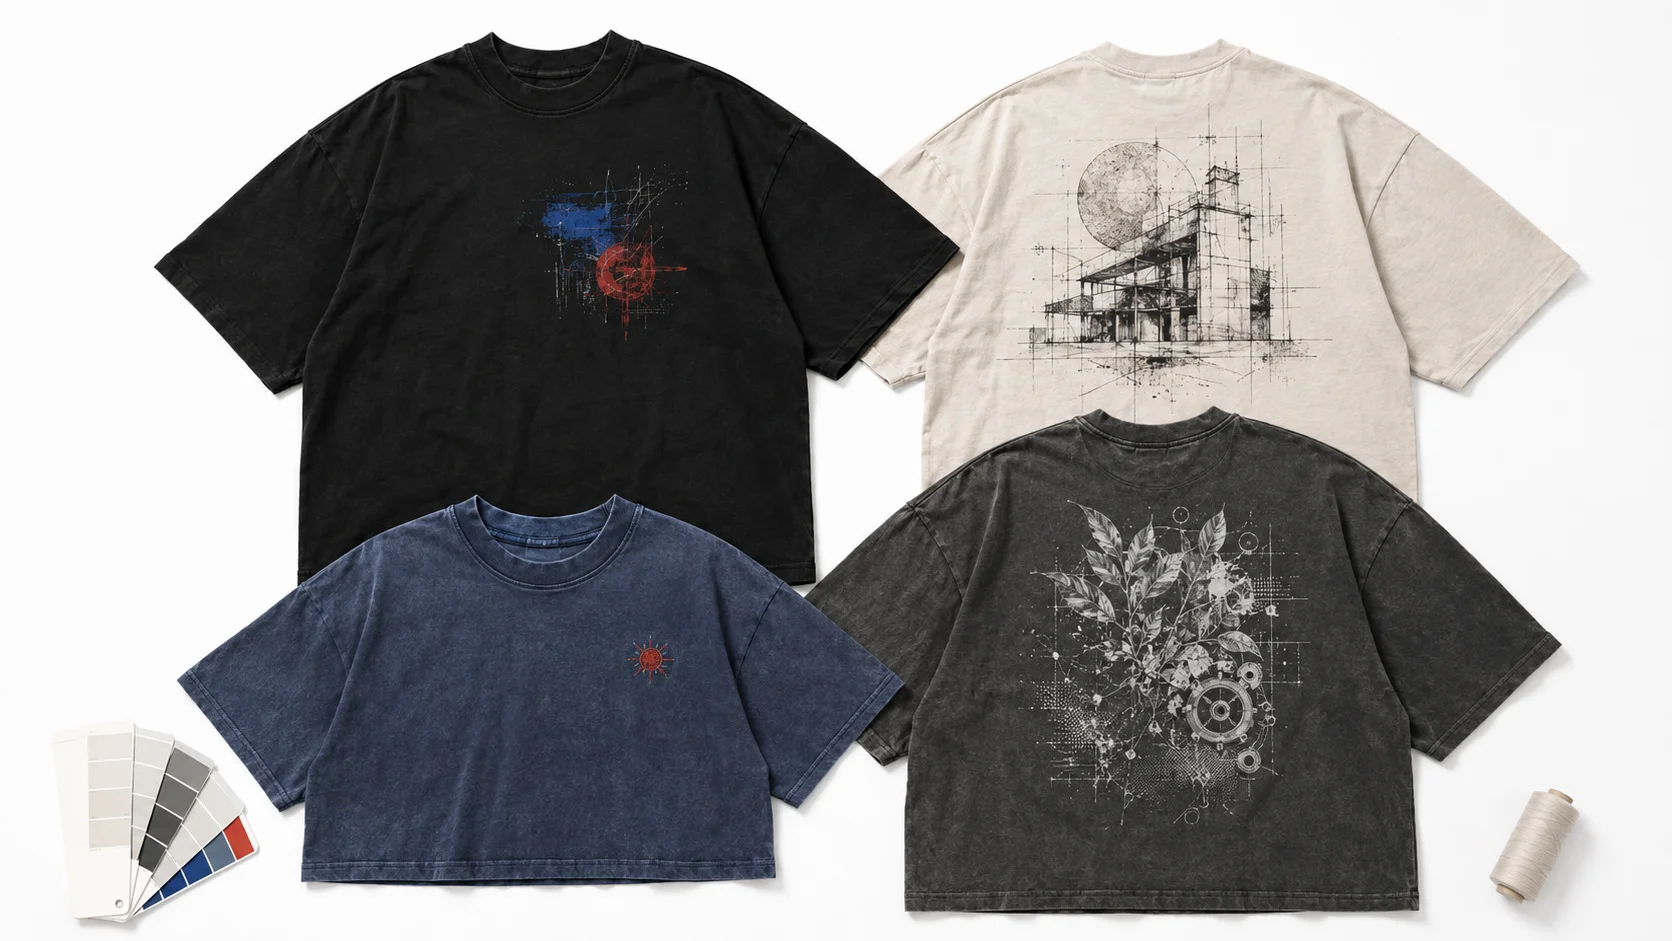
Turn your clothing concepts into production-ready artwork by creating front and back sketches, defining design placement, and documenting details such as pockets, seams, zippers, labels, and trims. Use a mockup generator to preview how graphics, logos, colors, and placements will appear on the selected garment before sampling. Then choose a decoration method such as screen printing, direct-to-garment (DTG), direct-to-film (DTF), or embroidery based on the garment material, artwork complexity, production quantity, and budget.
Prepare a tech pack that gives the manufacturer clear instructions for producing the garment. Include flat sketches, measurements, size specifications, materials, color references, artwork dimensions, logo and label placement, and construction details. Supply artwork in the format requested by the printer or manufacturer, such as AI, EPS, PDF, or high-resolution raster files. Where applicable, specify Pantone Matching System (PMS) colors to communicate intended print colors consistently. Confirm every technical requirement with your production partner before approving samples or bulk production.
Step 6: Find Clothing Suppliers, Printers, and Manufacturers
Find production partners that match your clothing brand’s product specifications, order volume, and production model. Depending on your needs, this may include fabric suppliers, blank apparel wholesalers, local print shops, POD providers, private-label suppliers, or cut-and-sew manufacturers. You can also search sourcing platforms such as Maker’s Row or Sewport to identify manufacturers and contractors, including options for U.S.-based and small-batch clothing production.
Shortlist multiple suppliers and compare their MOQ, unit pricing, sample costs, lead times, production capacity, customization options, fulfillment services, certifications, and defect policies. Request quotations and samples using the same product specifications so you can compare partners consistently rather than choosing solely on price. Before committing to bulk production, evaluate communication quality, sample consistency, production timelines, payment terms, and the supplier’s ability to reproduce the same garments in future orders. A reliable production partner should support both the initial clothing collection and repeat production as demand grows.
Step 7: Order, Test, and Approve Clothing Samples
Before committing to bulk production, order a physical sample for your clothing brand that represents the intended final garment as closely as possible. Depending on your production model, this may include a print sample, embroidery sample, size sample, counter sample, or pre-production sample. Compare it against your tech pack and approved mockup, checking fit, measurements, sizing, fabric hand-feel, stitching, seams, construction, colors, artwork placement, print quality, and embroidery registration.
Test the garment under realistic wear and care conditions before approving it. Wash testing can reveal issues such as shrinkage, color bleeding, print deterioration, seam twisting, or changes in fit that may not appear during the initial inspection. Record any problems, send clear revision notes to the manufacturer, and request another sample when necessary. Approve bulk production only when the measurements, materials, construction, colors, artwork placement, and overall quality match your agreed production specifications.
Step 8: Calculate Costs, Set Prices, and Plan Inventory
Figure out your true landed cost, known as the Cost of Goods Sold (COGS), for each piece before setting retail prices by adding up manufacturing, labels, packaging, freight, duties, and payment fees. For instance, if a custom hoodie costs $20 to make and deliver to you, applying a 3.5x pricing multiplier leads to a $70 retail price. Use this formula as a helpful baseline while factoring in gateway fees, a small budget for returns, and funds for your launch marketing.
Plan your initial inventory carefully to avoid tying too much startup capital into unsold garments. A planning scenario might limit the first drop to 3 to 5 core products with 50 to 100 units per style, distributed across sizes and colors according to early demand signals. Supplier deposits, production lead times, freight, and reorder requirements should also be built into your cash-flow plan. Compare bulk production with print-on-demand or other on-demand models, which reduce upfront inventory requirements but generally carry higher per-unit costs. Keep sufficient working capital available for production payments, freight, marketing, returns, and reorders as demand develops.
Step 9: Produce Your Clothing Collection
Once the final sample is approved, begin bulk production by issuing a detailed purchase order (PO). Confirm quantities, size and color breakdowns, materials, artwork, labels, packaging, unit costs, and delivery requirements. Maintain a production schedule with your manufacturer to identify delays or specification changes early. Quality control should compare finished units with the approved sample and tech pack, checking measurements, stitching, fabric, colors, print or embroidery quality, labels, and construction. For larger or overseas orders, arrange a pre-shipment inspection before inventory leaves the manufacturer.
After production passes inspection, prepare the collection for packaging and fulfillment. Confirm that packaging, tags, barcodes, and SKU information match your requirements. Choose between in-house fulfillment, which offers greater control over packing and customer experience, and a 3PL, which manages storage, picking, packing, and shipping as volume grows. Record received inventory, update stock levels, and organize products for launch. These steps move your collection from approved production into sellable inventory, ready for your clothing store and customers.
Step 10: Build Your Clothing Brand Online Store
With your collection produced and inventory ready, the next step is creating the digital storefront for your clothing brand where customers can discover and purchase your products. Choose an ecommerce platform such as Shopify, Wix, or WooCommerce, connect a custom domain, and keep the website layout clean and consistent with your clothing brand identity. Build product pages with high-resolution product photos, clear descriptions, prices, size guides, fabric and fit details, color options, care instructions, and stock availability. Keep navigation and checkout steps simple, then test the shopping experience across mobile and desktop devices.
Next, configure the systems that turn your storefront into an operational sales channel. Connect secure payment options, such as supported credit card gateways and PayPal, then establish domestic and international shipping rules where applicable, transparent return and exchange policies, inventory tracking, and automated transactional emails. Connect relevant marketplaces or social commerce channels and synchronize inventory where possible. Before launching, place a test order yourself to verify the complete customer journey from product page, cart, checkout, payment, order confirmation, and fulfillment.
Step 11: Create Product Images for Your Clothing Store
Next, create product images for your clothing brand that accurately represent what customers will receive. Visual presentation plays an important role in online purchasing, with Justuno reporting that 93% of consumers consider visual appearance a key factor in purchase decisions. Build a consistent visual set using product mockups, flat-lay photography, on-model images, or ghost mannequins. For physical product photography, use clean, wrinkle-free garments with natural window light or softbox lighting and a neutral or branded background. Capture front, back, side, and close-up views to clearly communicate the garment’s fit, fabric, construction, print or embroidery, and important design details.
Here is how you can achieve studio-quality imagery for your clothing brand:
- Utilize natural window light or softbox lighting.
- Shoot clean, wrinkle-free garments on a model or ghost mannequin.
- Set your products against a neutral or branded background matching your aesthetic.
- Use a high-resolution camera or a modern smartphone equipped with high megapixel output and optical zoom capabilities.
- Provide multiple angles (front, back, side, and close-up detail shots).
Step 12: Market and Launch Your Clothing Brand
With your clothing store and product visuals ready, start marketing before launch to build awareness and test customer interest. Promote product previews, digital mockups, behind-the-scenes content, and launch announcements through platforms such as Instagram, TikTok, Facebook, Pinterest, and YouTube. Support social media marketing with email sign-ups and relevant creator or influencer partnerships to reach your target audience and build anticipation around the collection.
Coordinate your website, email, social content, and promotional campaigns around a clear launch date. Track KPIs such as website traffic, conversion rate, customer acquisition cost, sales, average order value, and inventory movement. After launch, use sales data, returns, customer feedback, and demand by product, size, and color to guide marketing adjustments, inventory reorders, and future clothing collections.
Is Starting a Clothing Brand Worth It?
Yes, starting a clothing brand can be worthwhile when it serves clear market demand and a defined target audience. A strong clothing business combines distinctive products, consistent quality, controlled costs, competitive pricing, and a recognizable brand identity. Differentiation can come from design, fit, materials, style, pricing, customer experience, or a focused niche.
Profitability still depends on managing production costs, inventory, margins, marketing expenses, and customer acquisition while generating consistent sales. Clothing brands that validate demand, monitor customer feedback, and improve products based on actual performance have a stronger foundation for sustainable growth.
What Are The Common Mistakes to Avoid When Starting a Clothing Brand?
Common mistakes to avoid when starting a clothing brand include choosing a niche without research, ignoring customer needs, copying competitors, launching too many products, skipping product samples, choosing suppliers only by price, and launching without market validation. Understanding why these mistakes occur and how they affect your clothing brand can help you make better decisions from product development through launch.
11 common mistakes to avoid when starting a clothing brand are:
1. Choosing a Niche Without Research
Selecting a clothing niche based solely on personal preference can lead to weak positioning and uncertain demand. Research customer interests, competitor products, price levels, and market gaps before deciding which audience and clothing category the clothing brand will serve.
2. Ignoring Target Customer Needs
A clothing brand can struggle when its products do not align with customer preferences, lifestyles, buying behaviors, price expectations, fit requirements, or product needs. Fix this blind spot by building detailed buyer personas and directly engaging your community on social channels to align your product offerings with real consumer feedback.
3. Copying Competitors Without Differentiation
Mimicking established clothing brands without introducing a unique angle strips your label of its originality, weakens your market positioning, and forces you into a losing price war. Avoid this trap by defining a distinct, unique value proposition (UVP) that highlights your clothing brand’s specific aesthetic, sustainable practices, or functional benefits.
4. Launching Too Many Products
A large initial fashion collection can increase production costs, inventory requirements, SKU complexity, and operational work before demand is proven. A focused product collection makes it easier to test customer demand and identify which garments, designs, sizes, and colors deserve further investment.
5. Skipping Product Samples
Moving directly from a clothing mockup or design file into bulk production can leave physical problems undiscovered. Product samples allow the brand to inspect fit, measurements, materials, garment construction, colors, artwork placement, print quality, and embroidery before approving production.
6. Choosing Suppliers Only by Price
The cheapest clothing supplier or garment manufacturer may not provide the required quality, communication, production consistency, or lead time. Compare suppliers based on factors such as sample quality, MOQ, capacity, customization, defect policies, reliability, and reorder availability, in addition to price.
7. Pricing Products Incorrectly
Setting prices without calculating production costs, packaging, shipping, transaction fees, fulfillment expenses, and required margins can weaken product economics. Pricing should also reflect product quality, competitor positioning, target customer expectations, and the clothing brand’s intended market position.
8. Overordering Inventory
Ordering more garments than validated demand supports can lock available budget into unsold products. Plan inventory using customer interest, available capital, MOQ, product demand, and expected size and color distribution to reduce inventory and cash-flow risk.
9. Building Weak Brand Identity
Inconsistent naming, logos, colors, visual style, messaging, and positioning can make a clothing brand difficult for customers to recognize. Maintain a consistent brand identity across garments, packaging, product images, the online store, social media, and marketing materials.
10. Using Poor Product Presentation
Low-quality or inaccurate product visuals can make it difficult for customers to understand garment design, fit, color, material, and construction. Use consistent mockups, product photography, detail images, color variants, and on-model or lifestyle visuals where they help customers evaluate the product.
11. Launching Without Market Validation
Producing and launching a collection before testing customer interest increases the risk of weak demand and unsold inventory. Validate clothing designs through customer feedback, product previews, mockups, samples, audience engagement, sign-ups, or other measurable interest before committing significant resources to the launch.
What Are The Tips for Successfully Starting a Clothing Brand?
Tips to start a clothing brand successfully include choosing a specific niche, understanding your target customers, validating designs, maintaining product quality, controlling costs, and building demand before launch. The following practices can help you make better decisions from product development through production, marketing, and future collection planning.
12 tips you can follow to start a successful clothing brand are:
1. Start With a Specific Clothing Niche
Focus on a defined customer group and product category rather than trying to serve every clothing buyer. A specific niche gives the clothing brand clearer positioning and helps guide product design, pricing, brand identity, and marketing.
2. Research and Understand Your Target Customers
Study customer preferences, purchasing behavior, lifestyle, style expectations, price range, fit preferences, and product needs. Use platforms like Reddit to find relevant discussions and customer opinions, then apply these insights to decisions about garments, designs, materials, sizing, pricing, and customer communication.
3. Validate Clothing Designs Before Production
Test design concepts before committing to garment production. Collect customer feedback, create clothing mockups, compare design variations, and measure early interest to identify which concepts deserve physical samples and further investment.
4. Prioritize Garment Quality and Consistency
Select garments based on material, fit, construction, sizing, decoration compatibility, and production consistency. Establish quality checks to ensure customers receive products that consistently meet the clothing brand’s approved specifications.
5. Create a Strong Brand Identity
Maintain a consistent brand name, logo, colors, visual style, messaging, and brand voice. Apply this identity across clothing designs, packaging, product images, the ecommerce store, social media, and customer communication to strengthen brand recognition.
6. Work With Reliable Suppliers and Manufacturers
Evaluate clothing suppliers and garment manufacturers based on product quality, MOQ, pricing, lead time, production capacity, communication, customization, and reliability. A dependable production partner should be able to reproduce approved products consistently and support future reorders.
7. Use Clothing Mockups Before Making Samples
Create accurate clothing mockups to review artwork placement, design dimensions, garment colors, and overall product presentation before ordering physical samples. Mockups can help identify visual issues early and give the brand a clearer reference when preparing designs for production.
8. Test Products Through Samples
Order and inspect samples before approving bulk production. Check garment fit, measurements, materials, construction, printing, embroidery, colors, artwork placement, and overall quality, and request revisions if the physical product does not match the required specifications.
9. Calculate Costs and Pricing Accurately
Calculate production, decoration, packaging, shipping, transaction, fulfillment, and other relevant costs before setting product prices. Use the total product cost, margin requirements, competitor positioning, and customer expectations to develop a workable pricing strategy.
10. Start With a Focused Product Collection
Launch with a controlled number of products, designs, sizes, and colors rather than creating excessive SKUs. A focused fashion collection makes inventory easier to manage and allows the clothing brand to expand based on actual customer demand and product performance.
11. Build an Audience Before Launch
Develop customer interest through social media, email lists, community interaction, product previews, and early engagement before the collection becomes available. Audience responses can provide useful signals about designs, products, and content, while also helping build an initial customer base for the product launch.
12. Track Performance and Improve Future Collections
Measure sales, product demand, inventory movement, returns, customer feedback, and marketing performance after launch. Use this information to determine which products to reorder, revise, discontinue, or develop further so future clothing collections reflect demonstrated customer behavior.

 Trusted By Thousands Of Designers
  Cancel Your Subscription Anytime
  30 Day Money Back Guarantee