High-quality mockups can increase conversions by up to 40% and help customers visualize your designs. This guide breaks down 15 actionable tips to create standout T-shirt mockups that drive sales. Here’s what you’ll learn:
- Tool Features: Use templates, color libraries, and high-resolution exports for polished designs.
- Targeted Mockups: Tailor styles to specific audiences (e.g., fitness, youth, eco-conscious).
- Device Optimization: Ensure images look great on mobile, desktop, and social media platforms.
- Brand Consistency: Standardize colors, fonts, and logos for a cohesive look.
- Advanced Design: Add texture, shadow effects, and smart placement for realism.
- Lifestyle Settings: Contextual images can increase conversions by up to 40%.
- Accessibility: Use alt text, clear sizing info, and high contrast for inclusivity.
These tips help you create professional, engaging mockups that attract buyers and reduce returns. Ready to take your mockups to the next level? Let’s dive in.
Create Easy Drag & Drop T-Shirt Mockup in Photoshop
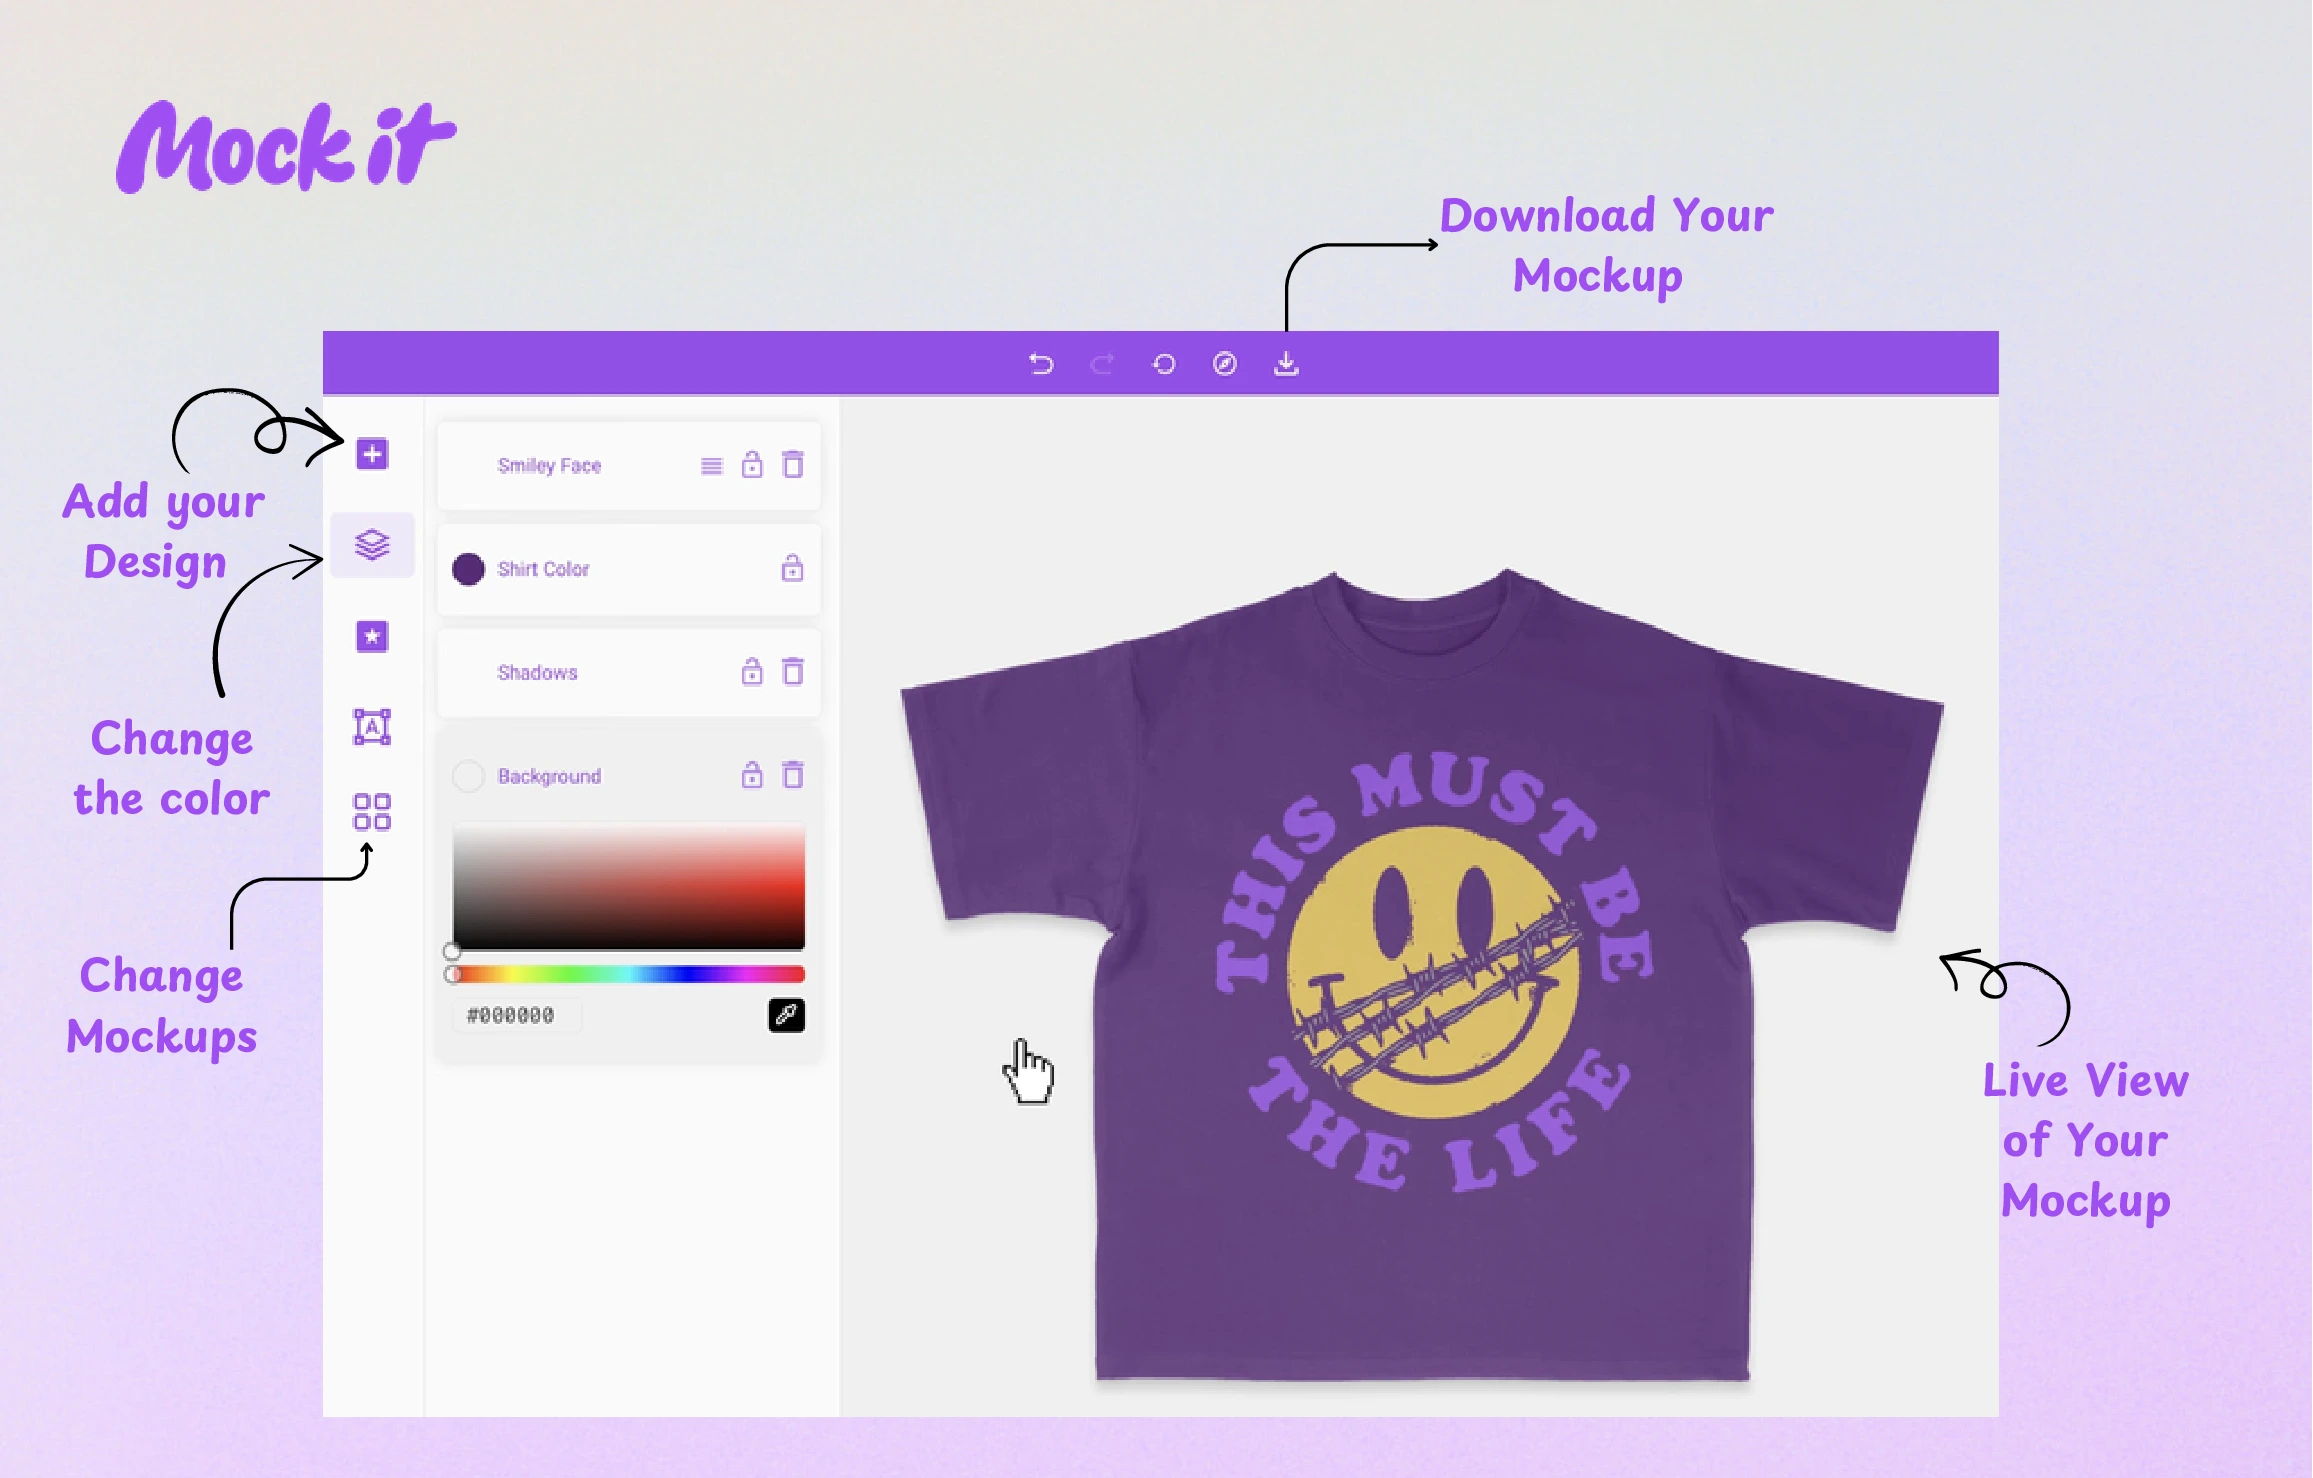
1. Know Your Mockup Tool Features
Getting familiar with your mockup tool’s features is key to crafting polished T-shirt presentations. This knowledge helps you align technical execution with your overall strategy, making it easier to create designs that stand out.
Core Features to Focus On
Some features have a bigger impact on your final design and its appeal. Here’s a breakdown:
| Feature | What It Does | Why It Matters |
|---|---|---|
| Template Library | Offers a range of product views | Creates a polished look |
| Design Placement | Lets you position designs easily | Ensures a professional finish |
| Color Libraries | Matches colors accurately | Improves visual appeal |
| Resolution Options | Provides high-quality output | Builds customer trust |
Advanced Tools to Explore
Take your mockups to the next level by using features like:
- Background removal or scene creation to add context to your designs.
- Custom text overlays for personalized touches.
- Batch processing to save time when working on multiple designs.
Export Settings for Consistency
How you export your files can make or break their appearance across platforms. To keep your visuals sharp and consistent, use:
- PNG for transparency and clean edges.
- JPEG for smaller file sizes.
- High-resolution settings for crisp, professional images.
Once you’re comfortable with these tools, you’ll be better prepared to choose mockups that connect with your target audience – setting the stage for the next step in aligning with market needs.
2. Select Mockups for Your Market
To create T-shirt mockups that truly connect with your audience and boost sales, you need to understand what your target market values. This starts with focusing on three main areas:
Market-Specific Presentation Strategies
Dive into your audience’s lifestyle and preferences. For example, TeePublic analyzed 1.2 million profiles and saw a 28% increase in conversions. Here’s how you can tailor mockups to specific segments:
| Market Segment | Preferred Mockup Style | Key Elements to Include |
|---|---|---|
| Urban Professionals | Minimalist, office settings | Clean backgrounds, professional models, neutral colors |
| Fitness Enthusiasts | Active lifestyle shots | Athletic models, gym settings, dynamic poses |
| Eco-Conscious Buyers | Natural environments | Emphasis on sustainable materials, outdoor settings |
| Youth Market | Street style | Urban backdrops, trendy poses, vibrant colors |
Seasonal and Cultural Considerations
Make adjustments for seasonal changes by using appropriate lighting and layering. At the same time, be mindful of cultural fashion norms to ensure your designs resonate across different groups.
Data-Driven Selection Process
Leverage these methods to fine-tune your mockups:
- Analyze sales data to identify which mockups perform best.
- Gather customer feedback to understand what imagery appeals most.
- Run A/B tests to see how different styles resonate with specific subgroups.
Consistency is key. Ensure your mockups align with your brand and remain consistent across every customer touchpoint.
“The key to successful T-shirt mockups lies in understanding your market’s lifestyle and preferences. When mockups align with target audience preferences, click-through rates can increase by up to 40%.”
3. Plan for Different Display Sizes
Making T-shirt mockups that look great on all devices is more important than ever. With 79% of e-commerce transactions happening on mobile devices, poorly optimized images can lead to big losses – up to 23% in mobile sales. The goal? Tailor your mockups for each platform while keeping your brand consistent.
Device-Specific Requirements
| Device Type | Image Size | Tips for Optimization |
|---|---|---|
| Mobile | 500px width | Use bold graphics that stand out at smaller sizes |
| Tablet | 1000px width | Ensure clear focal points for easy navigation |
| Desktop | 2000px width | Include crisp details for hover effects |
Beyond resizing, keep mobile file sizes under 200KB to ensure fast loading times.
Platform-Specific Considerations
Every social media platform has its own image requirements, so adjust accordingly:
- Instagram: Square images (1080×1080 pixels)
- Facebook: Landscape images (1200×630 pixels)
- Pinterest: Vertical images (1000×1500 pixels)
Using responsive design principles can make a big difference. Responsive mockups automatically adapt to the viewer’s device, and fashion retailers who use them have reported up to a 35% boost in conversion rates.
Performance Optimization
Here are some technical tips to keep your mockups running smoothly:
- Use lazy loading and compress images to speed up loading times.
- Create separate mockup versions tailored to specific platforms.
- Test color accuracy across different devices to ensure consistency.
4. Keep Brand Elements Uniform
Once you’ve optimized for various devices (Tip 3), it’s essential to ensure your brand looks and feels consistent everywhere. Standardizing key brand elements is the way to achieve this.
Core Brand Components
| Element | Specification | Impact |
|---|---|---|
| Color Palette | Defined RGB/CMYK values | Boosts brand recognition by 80% |
| Typography | Limit to 2-3 fonts | Increases reading speed by 13% |
| Logo Placement | Fixed size & position | Improves conversion potential by 35% |
Managing Colors Effectively
Getting your colors right is critical for solid brand recognition. Start by specifying RGB and CMYK values for each brand color. For digital designs, use sRGB profiles to ensure your visuals look consistent across devices and platforms.
To simplify this, create a digital style guide that includes all your brand specifications: color codes, fonts, and logo details. This ensures your team has quick access to everything they need.
How to Implement This
Organize Your Assets:
- Store logo files in multiple formats.
- Save color swatches for easy access.
- Prepare font sheets with usage guidelines.
- Build a library of templates for consistent design.
Use a Quality Control Checklist:
- Check for color consistency.
- Verify logos are positioned correctly.
- Audit designs for alignment with brand style.
Research shows that brands with a consistent presentation are 3.5 times more likely to achieve strong visibility. By following these steps, you’ll be ready to explore more advanced design techniques while keeping your brand identity intact – setting the stage for our next tip.
5. Use Advanced Design Options
Once you’ve nailed brand consistency, it’s time to dive into advanced design features that can make your t-shirt mockups look more realistic and visually appealing. Modern design tools offer a range of options that can take your mockups to the next level.
Smart Color Management
Color management tools help you fine-tune how your designs appear on various shirt materials. For instance, you can:
- Adjust colors for different fabric types.
- Account for lighting conditions to ensure accuracy.
Texture and Print Effects
Adding texture and print effects can make your mockups stand out. Here’s a quick overview:
| Effect Type | Application | How It Helps |
|---|---|---|
| Fabric Grain | Simulates material weave | Adds depth and texture |
| Print Method | Screen print, DTG, vinyl | Matches production style |
| Wrinkle Mapping | Shows natural fabric folds | Adds a sense of realism |
Professional Placement Tools
Getting the placement of your design just right is crucial. Advanced tools can help by offering:
- Size-specific adjustments for different shirt sizes.
- Features that account for natural fabric draping and folds.
- Perspective-correct views to ensure accuracy from all angles.
Layer Blending Techniques
For professional-looking designs, try these blending techniques:
- Smoothly blend dark designs on light fabrics.
- Adjust light designs to look natural on darker materials.
- Layer effects to create intricate patterns or textures.
Shadow and Highlight Control
Fine-tuning shadows and highlights can make a big difference. Adjust these elements to match the material’s properties and keep lighting consistent across your mockups. This can help your designs look more polished and professional, making them more appealing to potential buyers.
These techniques ensure your designs are ready to move from digital mockups to physical products – perfect for creating print-ready files, which we’ll cover next.
6. Set Up Print-Ready Design Files
Make sure your physical products turn out exactly as planned by following these key print guidelines:
Resolution and File Format Requirements
| Requirement | Specification |
|---|---|
| Image Width | 11-14 inches |
| Safe Zone | 0.5-inch margin |
Vector vs. Raster Graphics
Both vector and raster files can work, but vector graphics (like AI or EPS files) are ideal for t-shirt printing. They maintain sharp quality at any size, which is especially useful if your design needs resizing. For designs with detailed photographic elements, stick to high-resolution TIFF or PNG files at a minimum of 300 DPI.
Color Management Basics
Getting your colors right is essential for consistent results across various printing methods. Here’s what to focus on:
- Create separate designs for light and dark fabrics.
- Specify a white base layer for dark garments.
- Document color codes to ensure color consistency.
Pre-Print Checklist
- Convert text to outlines and embed fonts.
- Add a 0.125-inch bleed margin.
- Include spot color layers.
- Double-check that all elements are within the safe zone.
Quality Control Process
Order a physical sample before committing to bulk production. Compare the sample to your original mockup and note any adjustments needed. This step helps avoid costly reprints and ensures your designs meet quality expectations.
File Organization Tips
Stay organized with your print-ready files by following these practices:
- Use clear, descriptive file names with version numbers.
- Separate mockups from print files in distinct folders.
- Save both original and outlined file versions.
- Include platform-specific versions (e.g.,
website_ver2) for consistency across channels. - Add production notes to each folder for easy reference.
Once your print-ready files are in order, you’ll be better prepared to present your designs from multiple angles – something we’ll dive into next when discussing product views.
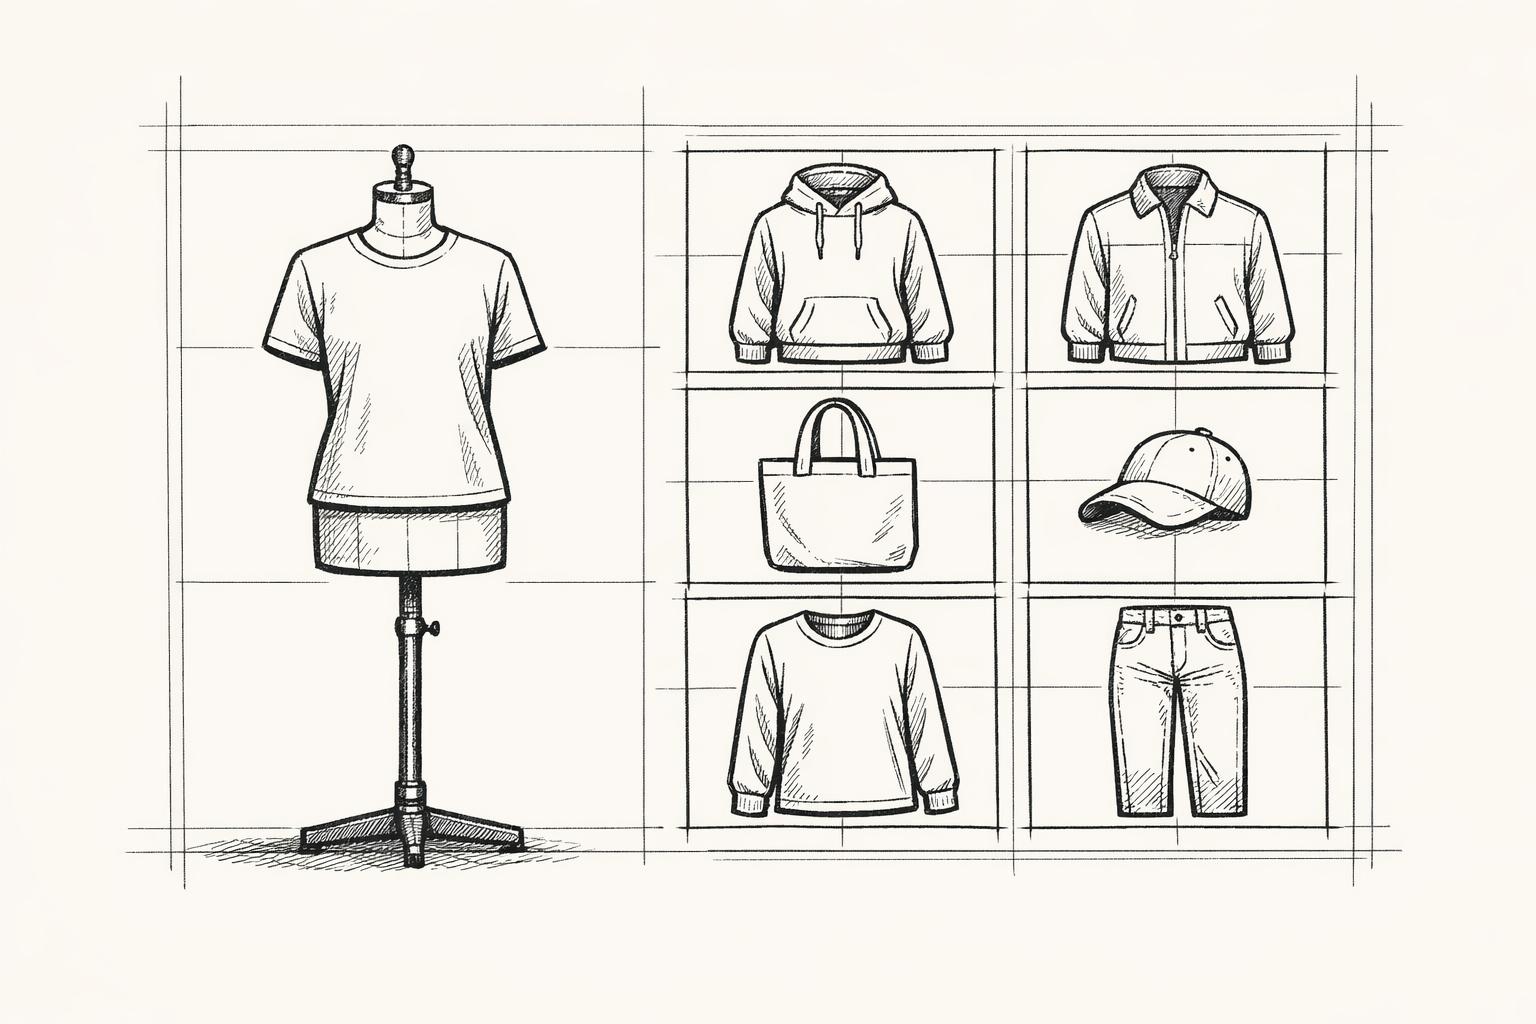
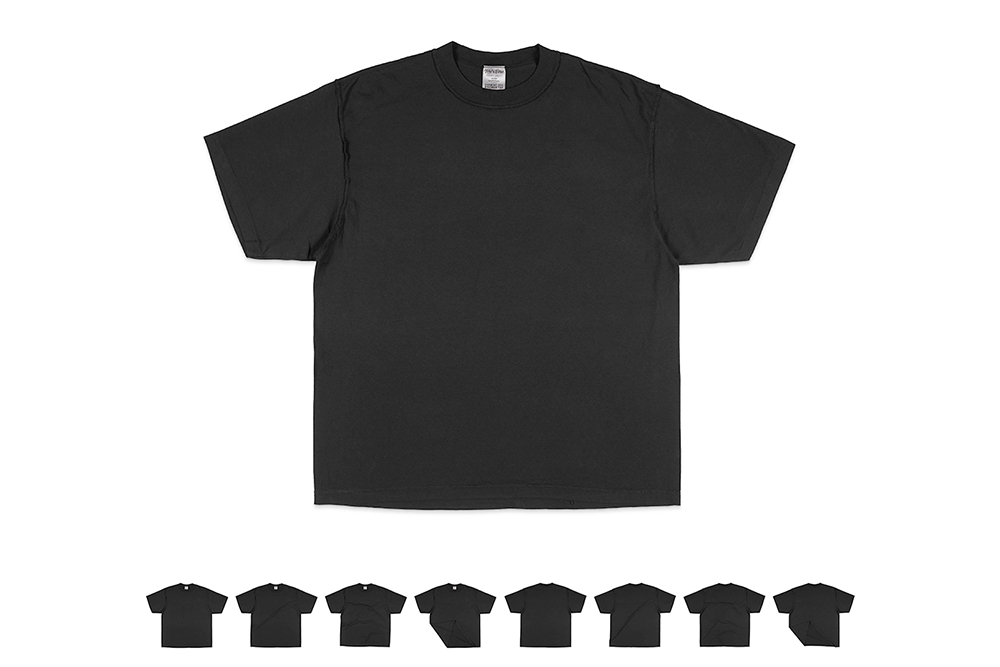
7. Show Multiple Product Views
Once you’ve got your print-ready files sorted (Tip 6), it’s time to bring your designs to life by showing them from multiple angles. Why? Because products with multiple views can boost sales by up to 58% compared to those with just one image.
Key Product Views to Include
| View Type | Purpose | Highlights to Showcase |
|---|---|---|
| Front View | Show the main design | Print placement, overall fit |
| Back View | Display extra details | Design alignment, blank space |
| Side View | Help visualize fit | Sleeve drop, shirt length |
| Detail Shots | Emphasize quality | Fabric texture, stitching |
| Lifestyle Shot | Show in context | How it looks in daily life |
How to Get the Most Out of Your Images
- Compress Without Quality Loss: Keep your images sharp while reducing file sizes to improve page speed.
- Use Lazy Loading: This technique delays image loading until it’s needed, cutting page load times by up to 40%.
Level Up Your Presentation
Want to go the extra mile? Add a 360-degree view feature for your top-selling items. It’s worth it – when ASOS introduced 360-degree views for their t-shirts in 2022, they saw a 15% jump in conversions and a 22% drop in returns within three months.
Here’s how to make your product views stand out:
- Consistency Is Key: Use the same lighting and backgrounds for all images. This keeps the focus on your product and avoids distractions.
- Show the Details: Close-ups of fabric textures and custom tags can justify your pricing and build customer trust.
- Think Mobile First: Make sure your product views are easy to navigate on mobile devices.
sbb-itb-1e8f9ab
8. Speed Up Batch Mockup Creation
Batch processing can dramatically cut production time while ensuring your product line stays consistent. This approach works hand-in-hand with the advanced design tools mentioned earlier, letting you quickly apply designs across entire collections.
Organize Your Files First
Before starting batch creation, set up a clear file structure. Arrange your files in a logical way, like this: CollectionName/Designs/Front, Designs/Back, Templates, Final-Mockups.
Stick to a standardized naming format, such as DesignName_Color_Size.png. This makes automation smoother and helps avoid errors during processing.
Streamline Your Workflow
Efficient batch creation relies on smart automation and templates. Tools like Mock It‘s batch processing features let you apply designs to multiple templates at once.
| Feature | How It Helps |
|---|---|
| Preset Templates | Ensures a consistent brand look |
| Bulk Upload | Lets you handle multiple designs fast |
| Color Libraries | Speeds up creating color variations |
Don’t Skip Quality Checks
Speed is important, but quality is what sells. Add these checkpoints to your workflow to ensure your mockups are top-notch:
- Pre-Processing Standards
Use PNG files with transparent backgrounds and RGB color mode for digital displays. - Automated Quality Verification
Leverage batch tools to check:- Design placement consistency
- Color accuracy
- File size and resolution
- Final Review Process
Create a checklist for essential quality markers. Keep it simple to avoid slowing down production.
Track Your Performance
Measure key metrics like the average time it takes to create a mockup (automation can cut this from 15 minutes to just 3), error rates, and consistency levels. Combining these efficiency gains with thorough quality checks ensures your mockups meet professional standards, even at scale.
9. Check Mockup Quality
After optimizing batch creation (Tip 8), it’s time to focus on thorough quality checks to keep your standards high, even at scale.
Key Quality Checkpoints
When assessing your mockups, pay attention to these crucial aspects:
| Element | What to Check | Why It Matters |
|---|---|---|
| Design Placement | Alignment, scaling, proportions | Ensures a polished, professional look |
| Color Accuracy | CMYK values, fabric color effects | Avoids mismatched expectations |
| Resolution | Minimum 300 DPI, no pixelation | Keeps visuals crisp and clear |
| Lighting & Shadows | Natural appearance, depth | Adds realism to product previews |
Why Quality Checks Matter
Companies using a structured three-step verification process often experience 20-25% fewer product returns. This success comes from carefully verifying design placement, color accuracy, and comparing digital mockups with physical samples.
Testing Across Devices
Make sure your mockups look great on all screens. Test on:
- Mobile: Check text readability.
- Tablet: Confirm proper orientation.
- Desktop: Ensure details are sharp and clear.
Steps for Accurate Color Verification
To avoid color discrepancies, use calibrated monitors and follow these steps:
- Compare digital designs with physical samples.
- Test how designs look on different shirt colors.
- Double-check CMYK values to ensure production accuracy.
Meeting Professional Standards
Focus on realistic fabric textures and natural lighting. Avoid anything that looks overly artificial. Refer back to Section 5 for guidance on using texture effects while ensuring colors remain accurate. These steps will ensure your mockups are ready for platform-specific formatting, which we’ll cover next.
10. Format Files for Each Sales Channel
Once your mockups are polished (Tip 9), it’s time to tailor your files for each platform’s specific needs. This step ensures your visuals look great and meet technical requirements. Building on your earlier display size planning (Tip 3), here’s how to fine-tune your files for different sales channels.
Platform-Specific Requirements
Each platform has its own image guidelines. Here are two examples:
| Platform | Image Size |
|---|---|
| Amazon | 1000+ px (longest side) |
| Etsy | 2000+ px (shortest side) |
Mobile Optimization Strategy
Since mobile devices account for over 70% of e-commerce traffic, making your images mobile-friendly is a must. Focus on these key areas:
- Use high-resolution images (at least 2x the display size for retina screens).
- Ensure fast loading speeds by keeping file sizes manageable.
- Verify compatibility across devices to maintain a seamless experience.
File Compression Best Practices
Reducing file size is essential, but you don’t want to compromise on quality. Here’s how to handle different file types:
- JPEG: Set quality to 60-80% for photos.
- PNG-8: Ideal for simple color schemes.
- PNG-24: Best for complex graphics with transparency.
Cross-Platform Testing
Before hitting publish, test how your mockups appear on each platform. Pay attention to:
- Color consistency across devices and platforms.
- Text readability, especially for details like size charts.
- Loading speeds, ensuring users won’t be left waiting.
These adjustments ensure your mockups are ready to handle common print challenges, which we’ll dive into next.

11. Fix Common Print Issues
After optimizing files for sales channels (Tip 10), it’s time to tackle key print challenges to ensure your physical products look just like your digital mockups. Building on the print-ready file setup from Tip 6, focus on these production-related details.
An industry survey by Custom Ink found that 73% of print shops cite incorrect color profiles and missing bleed areas as top quality issues. Extend the quality checks from Tip 9 to include these print-specific validations.
Getting Colors Right
| Issue | Solution |
|---|---|
| Dark Fabrics | Boost opacity and use an underbase |
| Light Fabrics | Adjust saturation to account for absorption |
Keeping Resolution and Quality Sharp
For polished, professional results, prioritize the following:
- Use vector graphics for logos and text to avoid pixelation.
- Double-check print alignment on all mockups.
- Test colors on different fabric types to ensure they match expectations.
Adapting to Different Fabrics
Each fabric type needs unique adjustments to achieve the best print quality:
- Cotton Blends: Modify mockup opacity to reflect how the fabric absorbs ink.
- Synthetic Materials: Consider how the design might stretch when worn.
- Performance Fabrics: Simulate the texture of moisture-wicking materials in your mockups.
Matching Print Methods to Requirements
| Print Method | Technical Needs |
|---|---|
| Screen Printing | Vector art and proper color separations |
| Direct-to-Garment Printing | High-resolution images and correct color profiles |
| Sublimation | CMYK format with mirrored images |
These adjustments help your mockups mirror the final product, setting the stage for creating realistic lifestyle presentations in Tip 12.
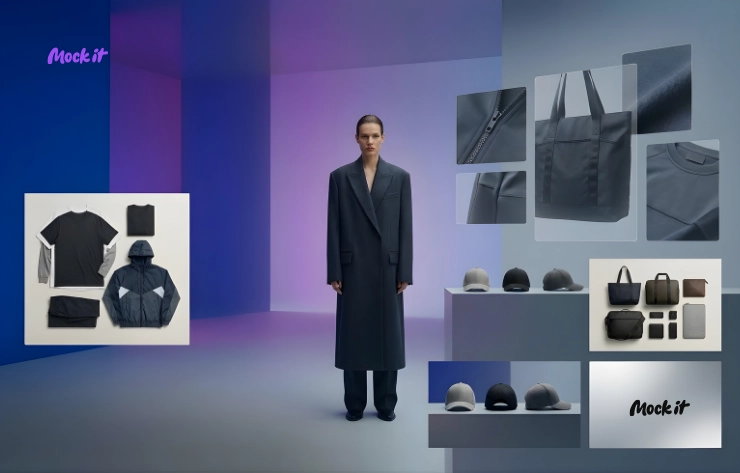
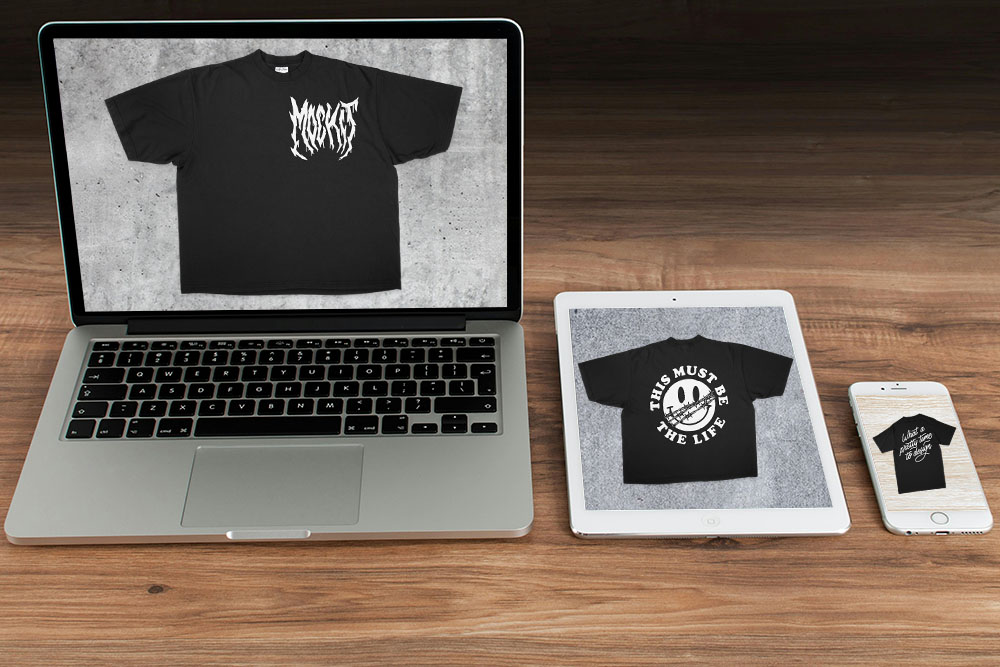
12. Add Real-Life Product Settings
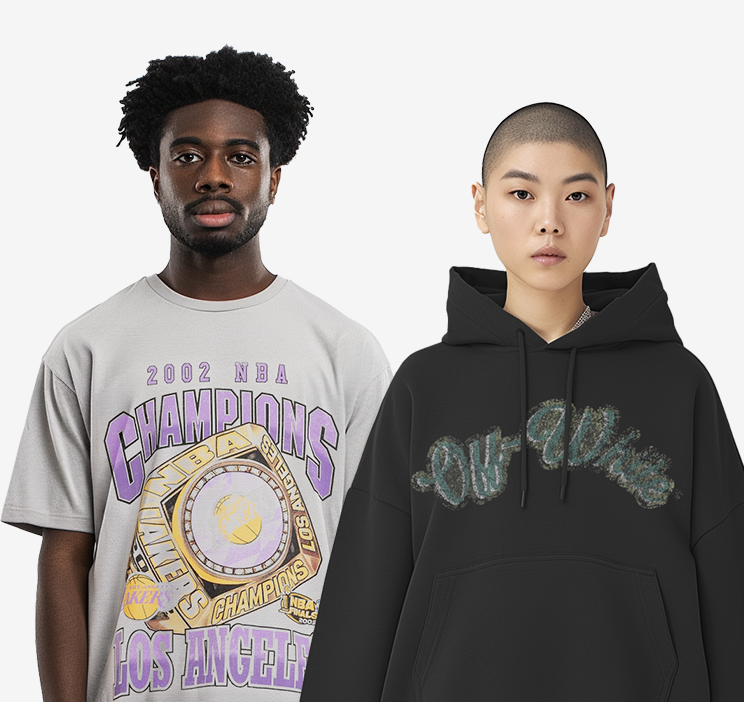
After focusing on print quality, it’s time to take your T-shirt mockups up a notch by placing them in realistic environments. Why? Contextual product images can increase conversion rates by up to 40%. These types of visuals help customers imagine themselves wearing your products, making them more likely to buy. Plus, it opens the door to considering accessibility for diverse audiences – a topic we’ll touch on next.
Choosing the Right Setting
Pick environments that resonate with your audience’s lifestyle and align with your brand’s vibe. For instance, if you’re selling athletic wear, show your T-shirts in gym settings or outdoor workouts. Selling casual streetwear? Urban backdrops like city streets or coffee shops are ideal.
| Setting Type | Works Best For | Key Features |
|---|---|---|
| Urban Streets | Streetwear & Casual | Cityscapes, graffiti, cafes |
| Nature Scenes | Outdoor & Eco-friendly | Parks, beaches, hiking trails |
| Studio Space | High-End & Fashion | Minimalist backgrounds, good lighting |
| Social Events | Band & Group Merch | Concerts, festivals, gatherings |
Tips for Creating Lifestyle Mockups
If you’re using tools like Mock It’s scene creator, pay attention to these details:
- Match lighting and shadows: Ensure they align with the environment for a natural look.
- Keep proportions accurate: Make sure the T-shirt size fits the scene realistically.
- Blend colors seamlessly: Adjust tones so the mockup feels like part of the setting.
![]()
Keep It Seasonal
Stay relevant by designing mockups that match the current season or trends. For example, summer collections might look great in beach settings, while winter collections shine in snowy backdrops.
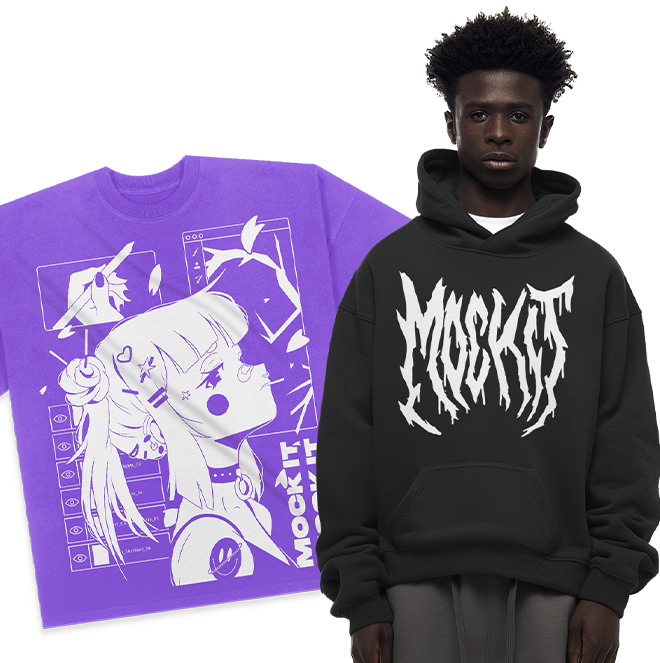
Representing Diversity
Reflecting your audience’s diversity in your mockups can strengthen customer connections. Research shows that 64% of consumers prefer brands that highlight diversity and inclusion. Consider showcasing:
- Different body types
- Various age groups
- Ethnic and cultural backgrounds
- Gender expressions
Experiment and Refine
Don’t just guess what works – test it. A/B testing different mockup settings can reveal which ones drive better results. Top-performing mockups often see up to 30% higher conversions.
13. Make Mockups More Accessible
Ensuring your T-shirt mockups are accessible can make a big difference in reaching all potential customers. Accessibility isn’t just a nice-to-have – it directly affects purchasing decisions. For instance, 67% of disabled consumers leave sites with poor accessibility features. Adding these features can boost your conversion rates by up to 25%.
Key Accessibility Features
Start with detailed image descriptions. Use alt text that clearly explains the T-shirt and its design. For example, instead of writing “blue t-shirt”, go with something like “Navy blue V-neck T-shirt featuring a white minimalist mountain design”.
| Feature | How to Implement | Why It Matters |
|---|---|---|
| Color Contrast | Ensure a minimum 4.5:1 ratio for text | Improves readability for visually impaired users |
| Font Selection | Use sans-serif fonts | Easier to read on screens |
| Interactive Tools | Add keyboard navigation support | Helps users with motor impairments |
| Size Information | Provide measurements in multiple systems | Makes sizing clear for all users |
Improving Visual Accessibility
Add a zoom feature that works across all devices. This means ensuring the image quality holds up at high zoom levels and that the feature is compatible with both mouse and keyboard controls.
- Aim for a 7:1 contrast ratio for better visibility.
- Use vector graphics for scalable, high-quality images.
- Optimize zoom functionality for mobile devices.
Addressing Color Accessibility
Help users with color vision deficiencies by clearly identifying color options. This can reduce product returns by 22%. Include specific names and descriptions for each color, so customers know exactly what they’re getting.
Making Interactive Elements Usable
If your mockups include customization tools, make sure they work for keyboard users. Add clear focus indicators and a predictable navigation flow. For example, allow users to cycle through color options with arrow keys and select them using the space bar.
Clear Size and Fit Details
Provide visual guides that compare measurements and explain how fabrics behave over time. Include descriptions about fit – like whether it’s slim or loose – and how the fabric might change with wear.
These steps not only improve usability but also build trust with your customers, setting the stage for the next topic: preparing your files for version control.
14. Track Mockup File Versions
Keeping track of your T-shirt mockup versions can save time and streamline your workflow. Research shows that design teams lose almost an hour each day searching for the correct file versions. Building on Tip 13’s focus on accessibility, this method ensures every team member can easily find and use the latest mockup versions.
Key Elements of Version Control
A solid version control system starts with a clear and consistent naming format. Try something like this:
ProductName_Version_Date_Status Additionally, maintain a master version log to document the following details for each mockup:
| Detail | Description | Why It Matters |
|---|---|---|
| Version Number | Numbering like v1, v2 | Tracks the history of changes |
| Modification Date | Date of the last update | Keeps versions in order |
| Designer | Name of the team member | Ensures accountability |
| Change Summary | Short description of edits | Shows what was updated |
| Performance Data | Metrics like conversions | Evaluates mockup effectiveness |
Use Cloud Storage
Cloud-based tools with automatic version tracking make file management easier. Teams using this approach report spending 30% less time managing files. Plus, it keeps everything accessible and organized.
Measure Mockup Performance
Track how each mockup version performs in your store using metrics like:
- Conversion and add-to-cart rates
- Customer engagement data
- Return rates linked to visual issues
This data helps you identify which designs are working and which need adjustments.
Regular Updates Are Crucial
Stick to a schedule to keep your mockups fresh and effective:
- Seasonal Updates: Update designs every quarter.
- Performance Reviews: Revise mockups with low conversion rates.
- Brand Changes: Adjust all mockups when updating brand guidelines (refer to Tip 4 on color management).
- Customer Feedback: Make changes based on recurring suggestions or complaints.
15. Use Data to Improve Mockups
Using data can help you fine-tune your T-shirt mockups for better results. Research shows that well-optimized product images can increase conversion rates by up to 30%. Combine this with version tracking (as discussed in Tip 14) to create a feedback loop that directly improves performance.
Metrics to Monitor
Keep an eye on these metrics to measure how effective your mockups are:
| Metric Type | What to Track |
|---|---|
| Customer Behavior | Time spent on the page, scroll depth |
| Sales Performance | Conversion rates, add-to-cart rates |
| Visual Engagement | Heat map insights, click activity |
| Customer Feedback | Reviews, survey responses |
A/B Testing in Action
In one test, lifestyle mockups outperformed flat-lay designs. They achieved 27% higher click-through rates and 15% more conversions, leading to noticeable revenue growth.
Insights from Heat Maps
Heat maps can show where viewers focus their attention. Use this data to reposition design elements and guide the visual hierarchy for maximum impact.
Personalization Through Data
Use engagement data and purchase history to customize your mockups. For example, show mobile-friendly lifestyle images to younger shoppers, while emphasizing fabric details for buyers who prioritize quality.
Social Media Insights
Monitor which mockup styles get the most shares and saves on social media. This can help you spot visual trends and refine your designs further.
Conclusion
T-shirt mockups play a key role in boosting sales. By following the 15 tips covered earlier – from understanding your design tools (Tip 1) to using performance data effectively (Tip 15) – you can create product presentations that encourage customers to buy.
Success with mockups comes down to careful planning and execution. Tools like Mock It offer features that help you design polished, attention-grabbing mockups that showcase your products effectively.
Here are three key takeaways to keep in mind:
- Maintain high visual quality in your mockups.
- Ensure your designs align with your brand.
- Use customer data to refine and improve your presentations.
Think of mockup creation as a continuous effort, tied to the optimization strategies discussed in Tips 14 and 15. By sticking to this process, you’ll be able to craft product displays that connect with today’s shoppers and keep them coming back.