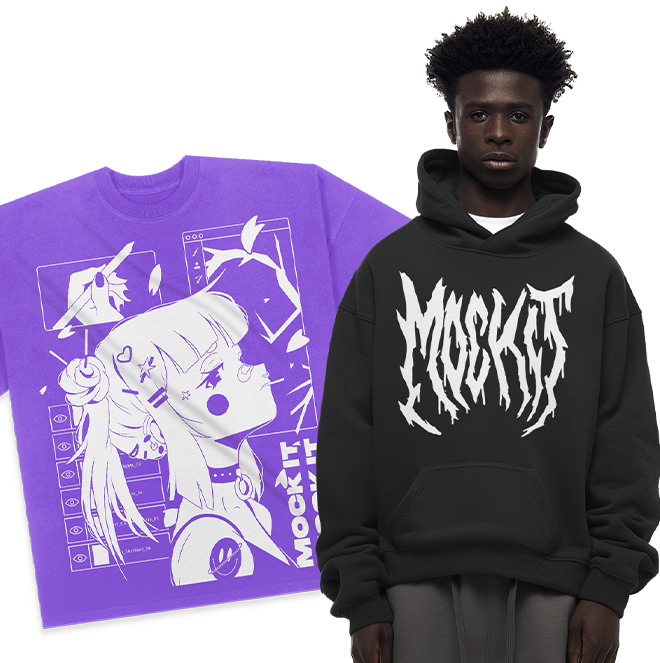
Want to add an extra piece of custom magic to your clothing mockups? Well with Mock It you can! Let me show you how you can go from a generic article of clothing, to a custom made mockup with your brand right on the tag!
Open up Mock It
In the top menu bar go to “Mockups”.
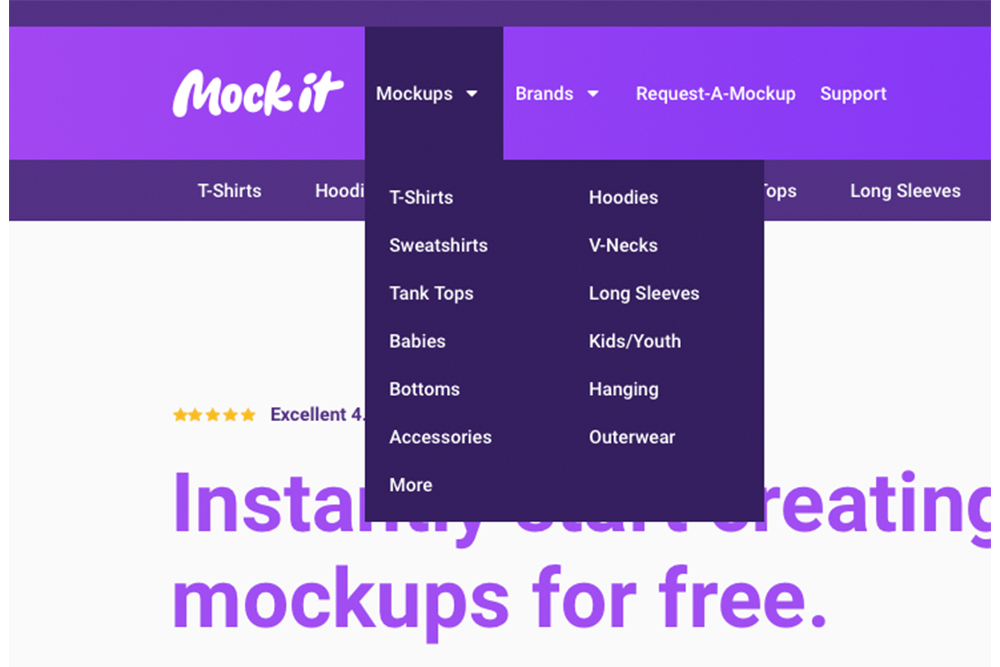
Filter Through Mockups
Either scroll through the mockups until you find the one you want to use, or use the “Brands” or “Categories” search boxes on the left hand side to find the mockup you would like to use. Alternatively, if you know the name of the mockup you wish to use, simply type the name in the search bar at the top left of the page.
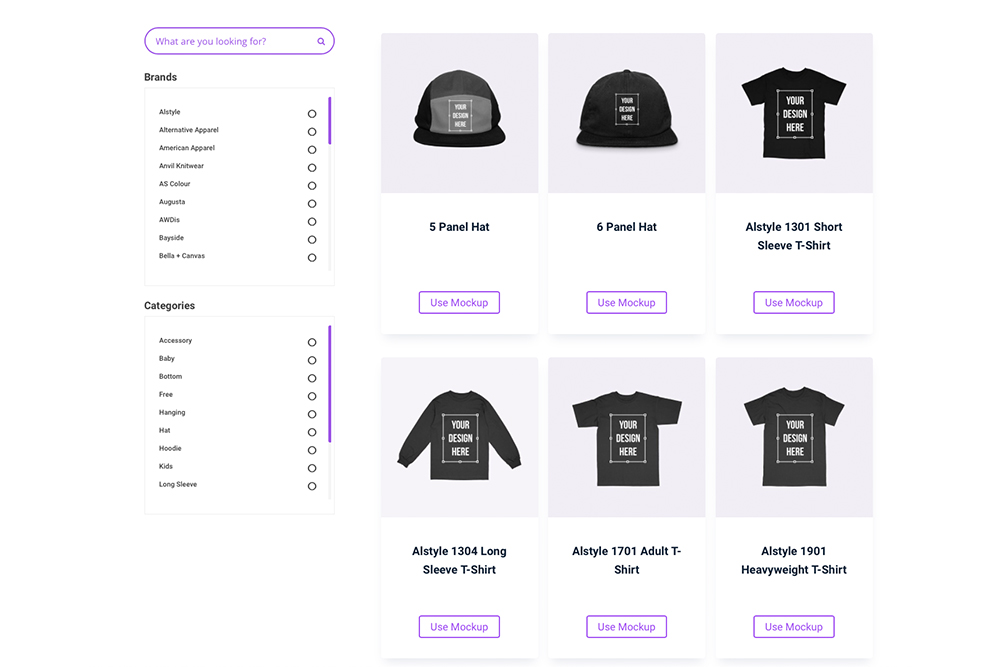
Select a Mockup
Once you have found your desired mockup, either click on the title or the image of the mockup to get started.
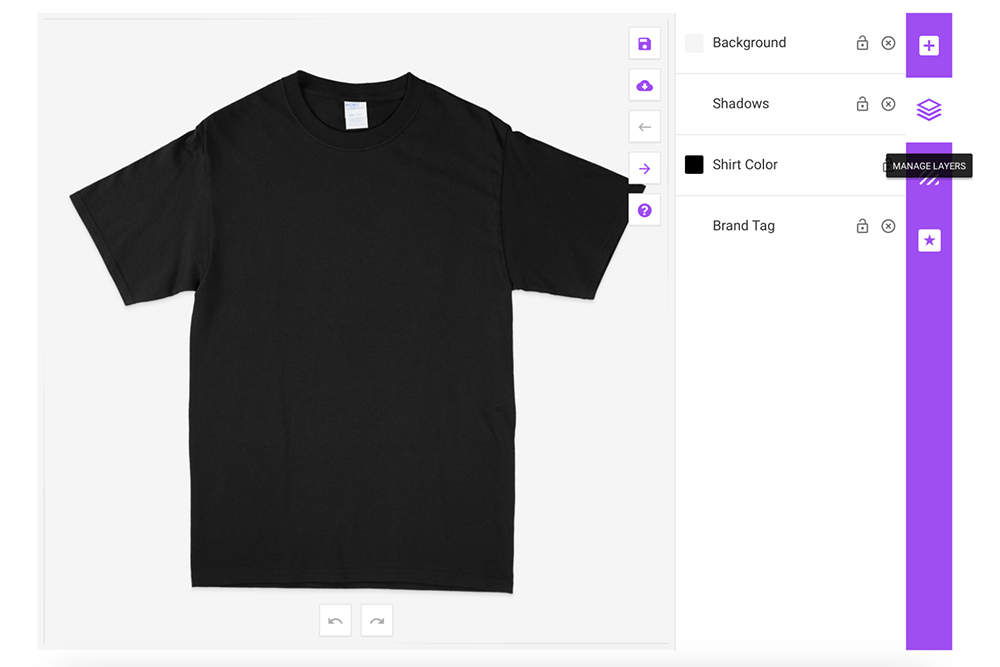
Add Your Custom Tag Image
To add your custom tag image, click the “Add Design” tab on the right hand side of the mockup generator. Next either click or drop your custom tag design at the top where it says “Click or Drop Images Here”.
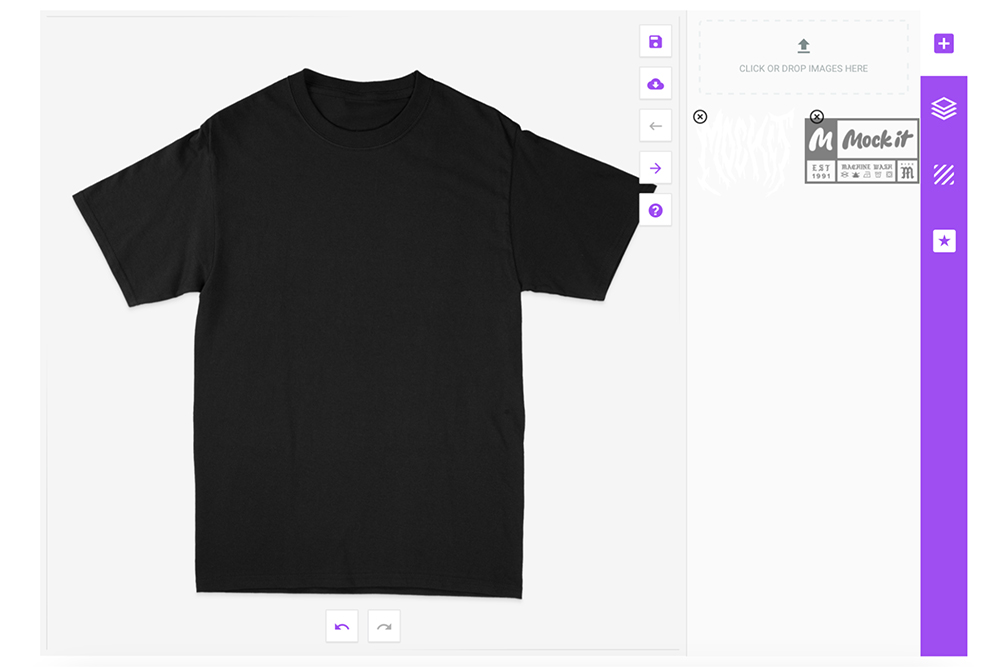
Edit and Place Your Custom Tag Design
Once your custom tag design has been uploaded, use the editing tools to edit the size and position of your design to the position the brand tag was.
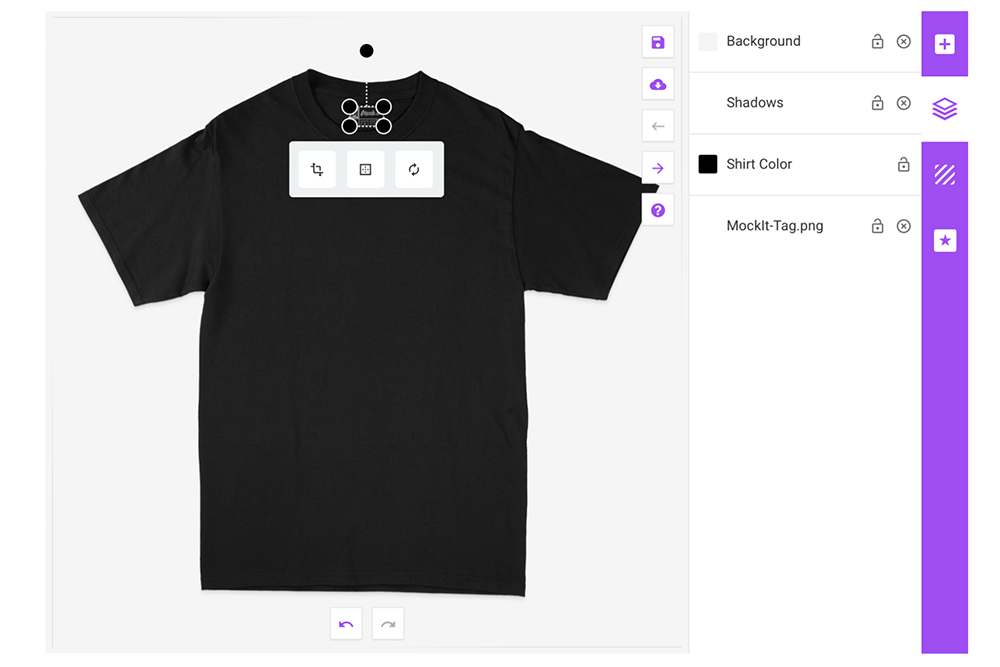
Upload Your Design
Now you can upload your design the same way you did with your custom tag to complete your mockup.
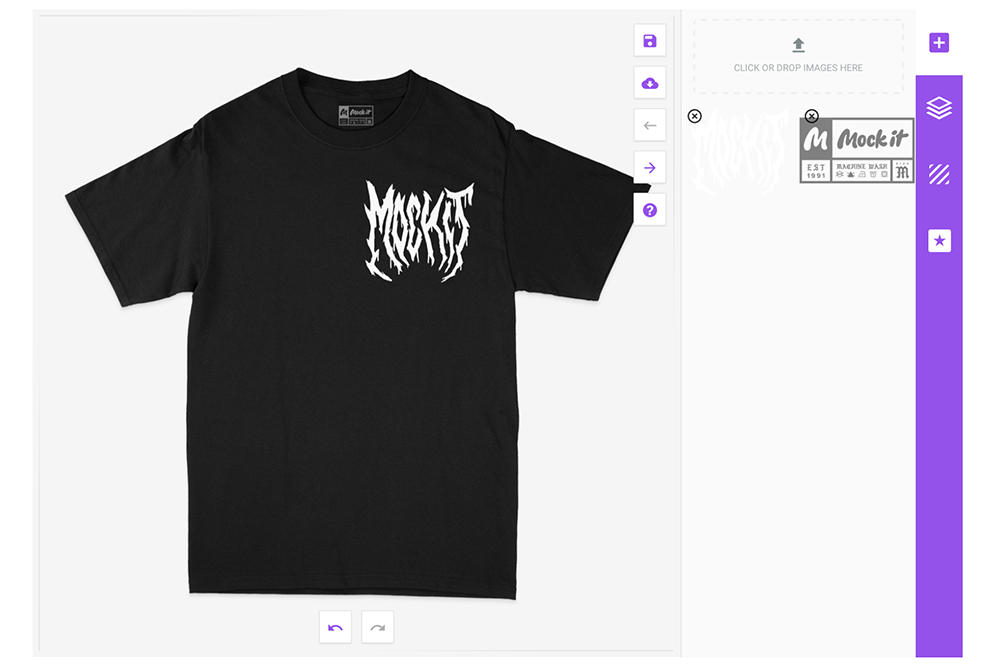
Download Your Mockup
To download your mockup click the tab with the cloud and downward arrow, then choose which file type you would like to download your mockup as.
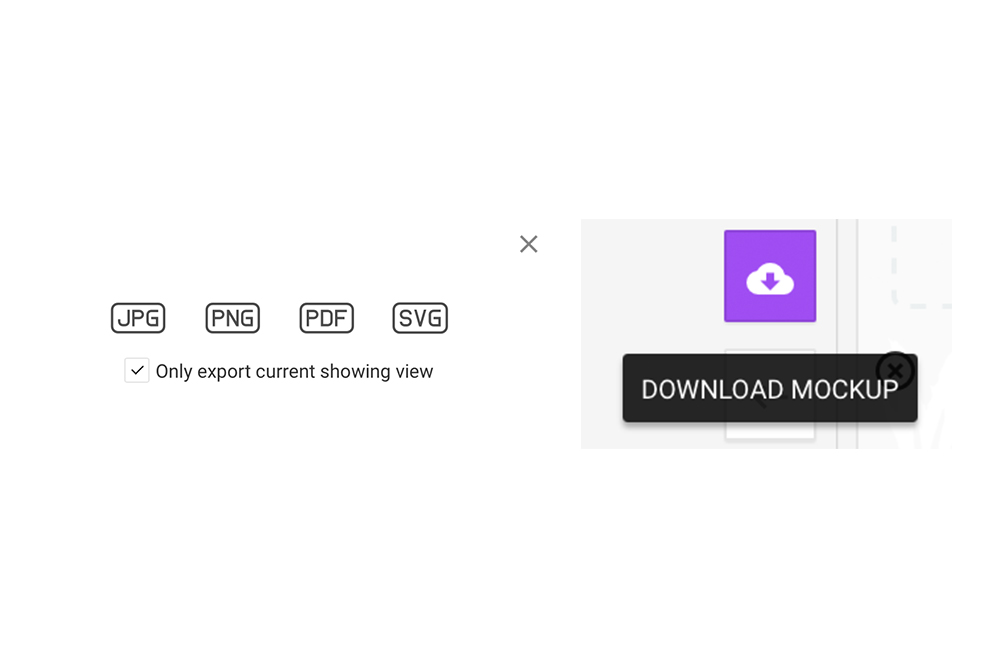
And voila! You’re done! You now have a custom t-shirt mockup with your very own custom tag! This is very handy if you have a custom tag that you use on your printed shirts as you can represent your clothing exactly how your customers will receive them!
Whatever the case, Mock It has you covered in all your clothing mockup needs. Sign up for a free 14 day trial and start showing off your designs in a never ending amount of ways!

