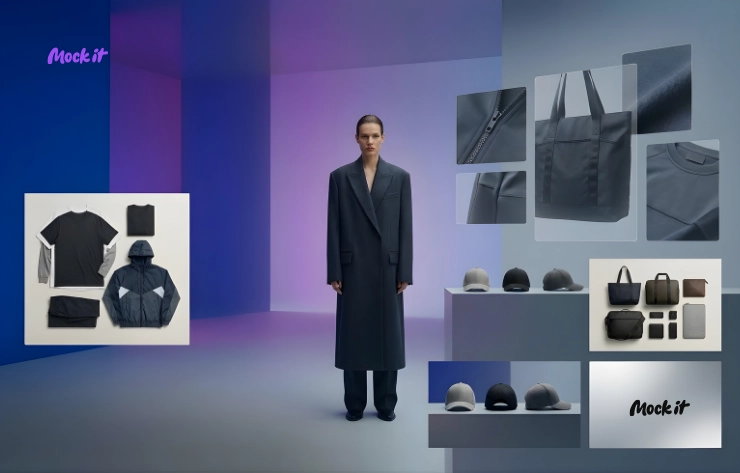
Email banners are a critical part of standing out in crowded inboxes, especially for clothing brands. The best way to make your banners pop? Use mockups. They transform flat designs into professional visuals without the high cost of photoshoots. Platforms like Mock It simplify this process with over 5,000 apparel-specific templates, advanced tools like a Scene Creator, and high-resolution exports.
Here’s how to create polished email banners:
- Pick the Right Platform: General tools like Canva or Photoshop lack apparel-specific features. Mock It offers realistic textures, branded templates, and is purpose-built for clothing brands.
- Set Up Your Account: Sign up for Mock It’s 7-day free trial – no credit card needed. Choose from affordable plans starting at $9.99/month after the trial.
- Customize Your Mockup: Upload your design, adjust colors, add branding, and use advanced tools like shadow overlays or AI-generated elements.
- Export and Use: Download your banner in high resolution and integrate it into email platforms like Mailchimp or Klaviyo.
Mock It helps you create polished, brand-aligned visuals quickly and effectively, perfect for driving engagement and sales in your email campaigns.
Email Campaign Design Tutorial | Photoshop Tutorial
sbb-itb-1e8f9ab
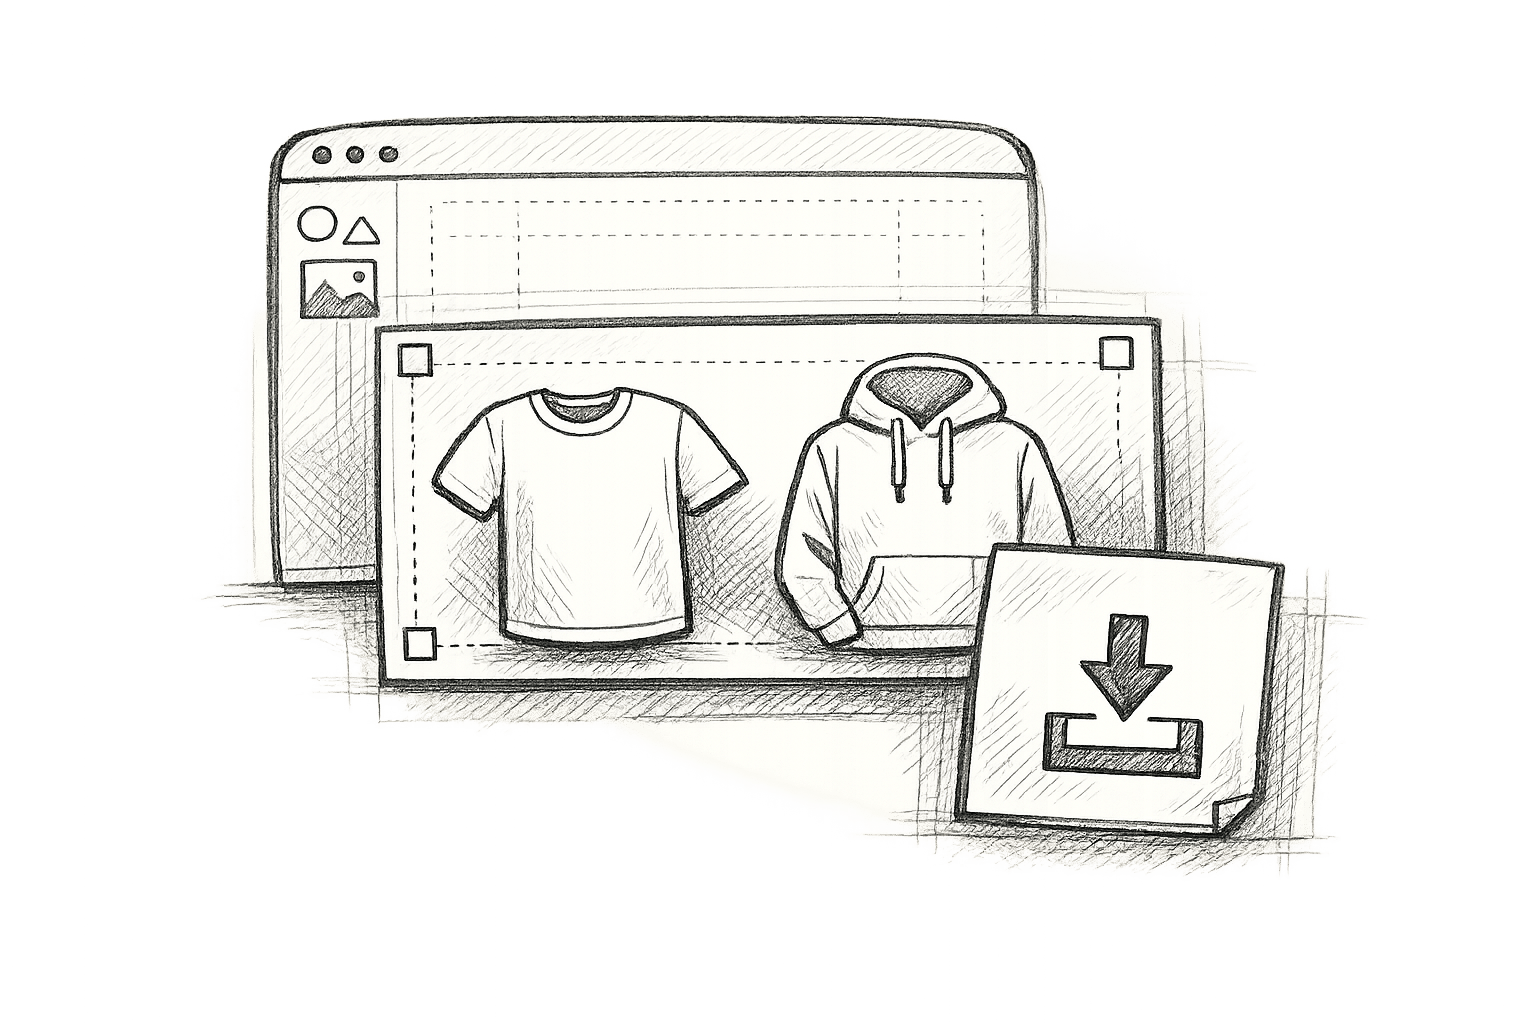
Step 1: Select Your Mockup Platform
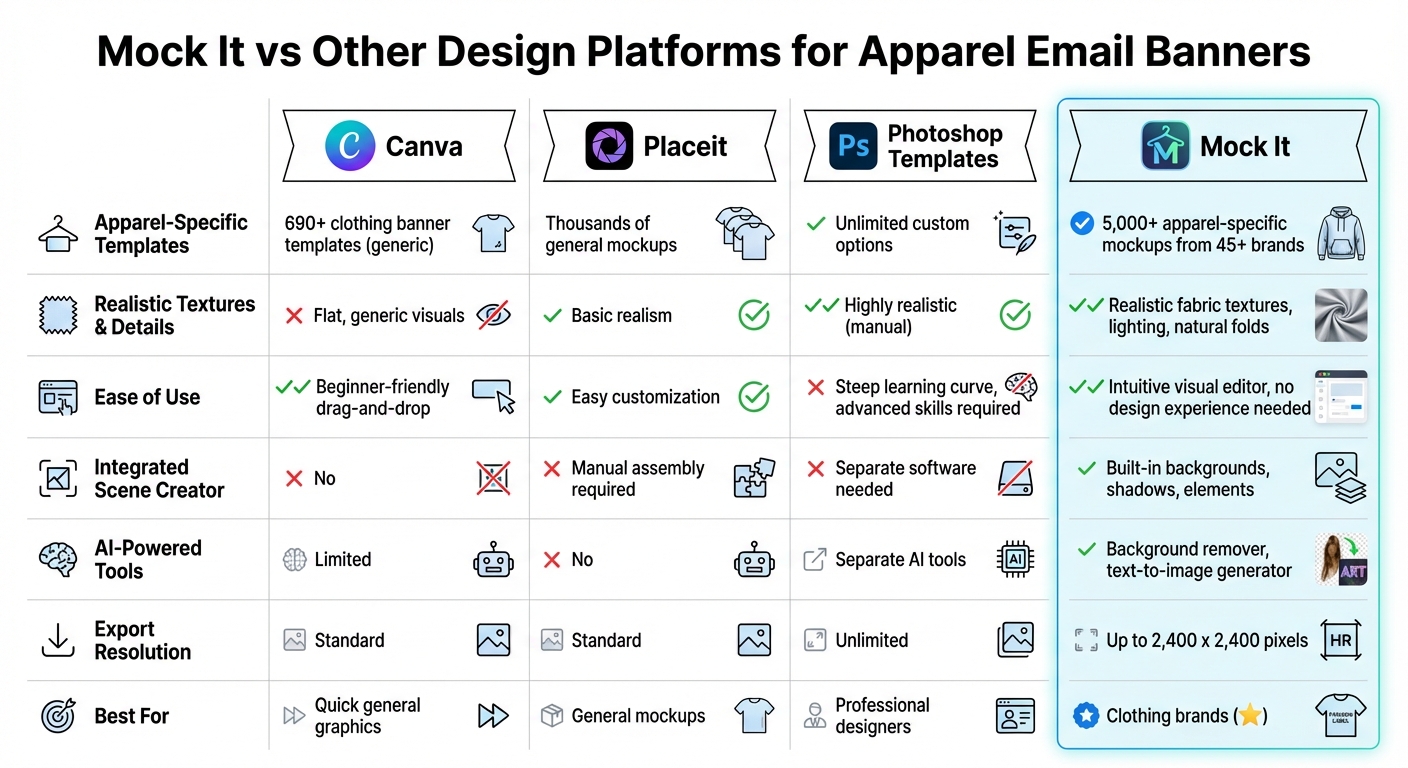
Mock It vs Other Design Platforms for Apparel Email Banners
Choosing the right platform for creating apparel email banners is a critical first step. Not all design tools are tailored to meet the unique needs of clothing brands. While general design platforms like Canva or Photoshop may seem like obvious choices, they lack the specialized features required to create professional, realistic visuals for apparel marketing.
To make your email banners stand out, your platform should provide realistic fabric textures, accurate lighting, and natural folds – the kind of details that elevate a flat design into a polished product mockup. Additionally, having access to branded templates that match your actual garments ensures your visuals align with what customers will receive. And let’s not forget ease of use – your platform should allow you to create stunning visuals in minutes, not hours. Below, we’ll compare some popular platforms and explain why Mock It is the ideal choice for apparel brands.
Mock It vs. Other Platforms
Here’s a breakdown of how Mock It compares to other platforms commonly used for email banner creation:
Canva
Canva offers over 690 customizable clothing banner templates with a simple drag-and-drop interface. It’s beginner-friendly and great for general promotional graphics. However, Canva is not designed specifically for apparel mockups. Its templates often produce flat, generic visuals that lack the realistic textures and brand-specific accuracy needed for high-quality apparel marketing. While it’s a good option for quick designs, it falls short when you need mockups that truly showcase your products.
Placeit
Placeit provides thousands of general mockup templates and allows for easy customization. However, it doesn’t come close to Mock It’s 5,000+ apparel-specific options. Additionally, Placeit lacks integrated tools like a scene creator or AI-powered features, meaning you’ll need to manually assemble banner scenes or rely on separate software. For clothing brands seeking fast and professional results, this adds unnecessary complexity.
Photoshop Templates
Photoshop offers unlimited customization and is a powerful tool for experienced designers. But with its steep learning curve, creating apparel mockups requires advanced skills and time-consuming manual adjustments, such as tweaking layers, lighting, and garment contours. Unless you’re a professional designer, Photoshop can be more of a hurdle than a help when it comes to crafting email banners.
Why Mock It Stands Out
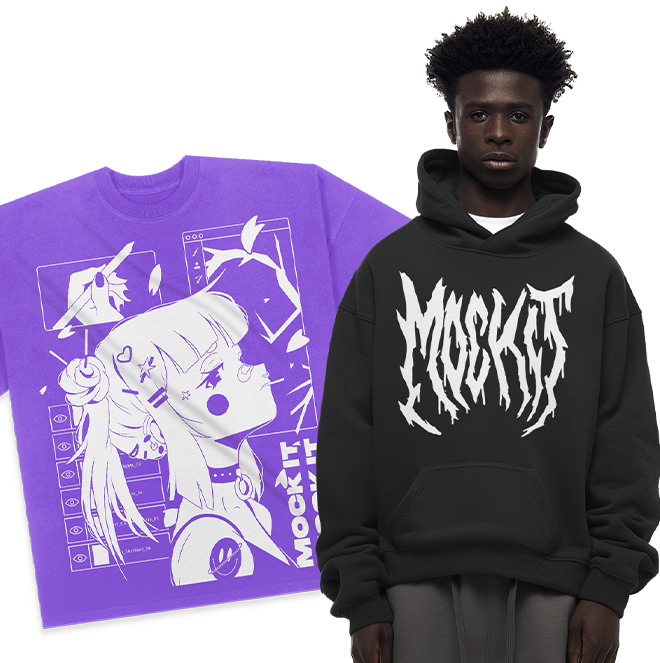
Mock It eliminates these challenges with a platform built specifically for apparel brands. It offers over 5,000 mockups from 45+ major brands, including Bella + Canvas, Gildan, Comfort Colors, and Champion. The Scene Creator feature allows you to add backgrounds, shadows, and environmental elements – all within the same platform, so there’s no need for separate editing software. Mock It also includes AI-powered tools like a background remover and text-to-image generator, speeding up the design process dramatically.
With high-resolution exports up to 2,400 x 2,400 pixels and an intuitive visual editor that requires no design experience, Mock It helps you create professional email banners faster and more efficiently than any other platform. For clothing brands, it’s the clear choice.
Step 2: Set Up Your Mock It Account
Create Your Mock It Account
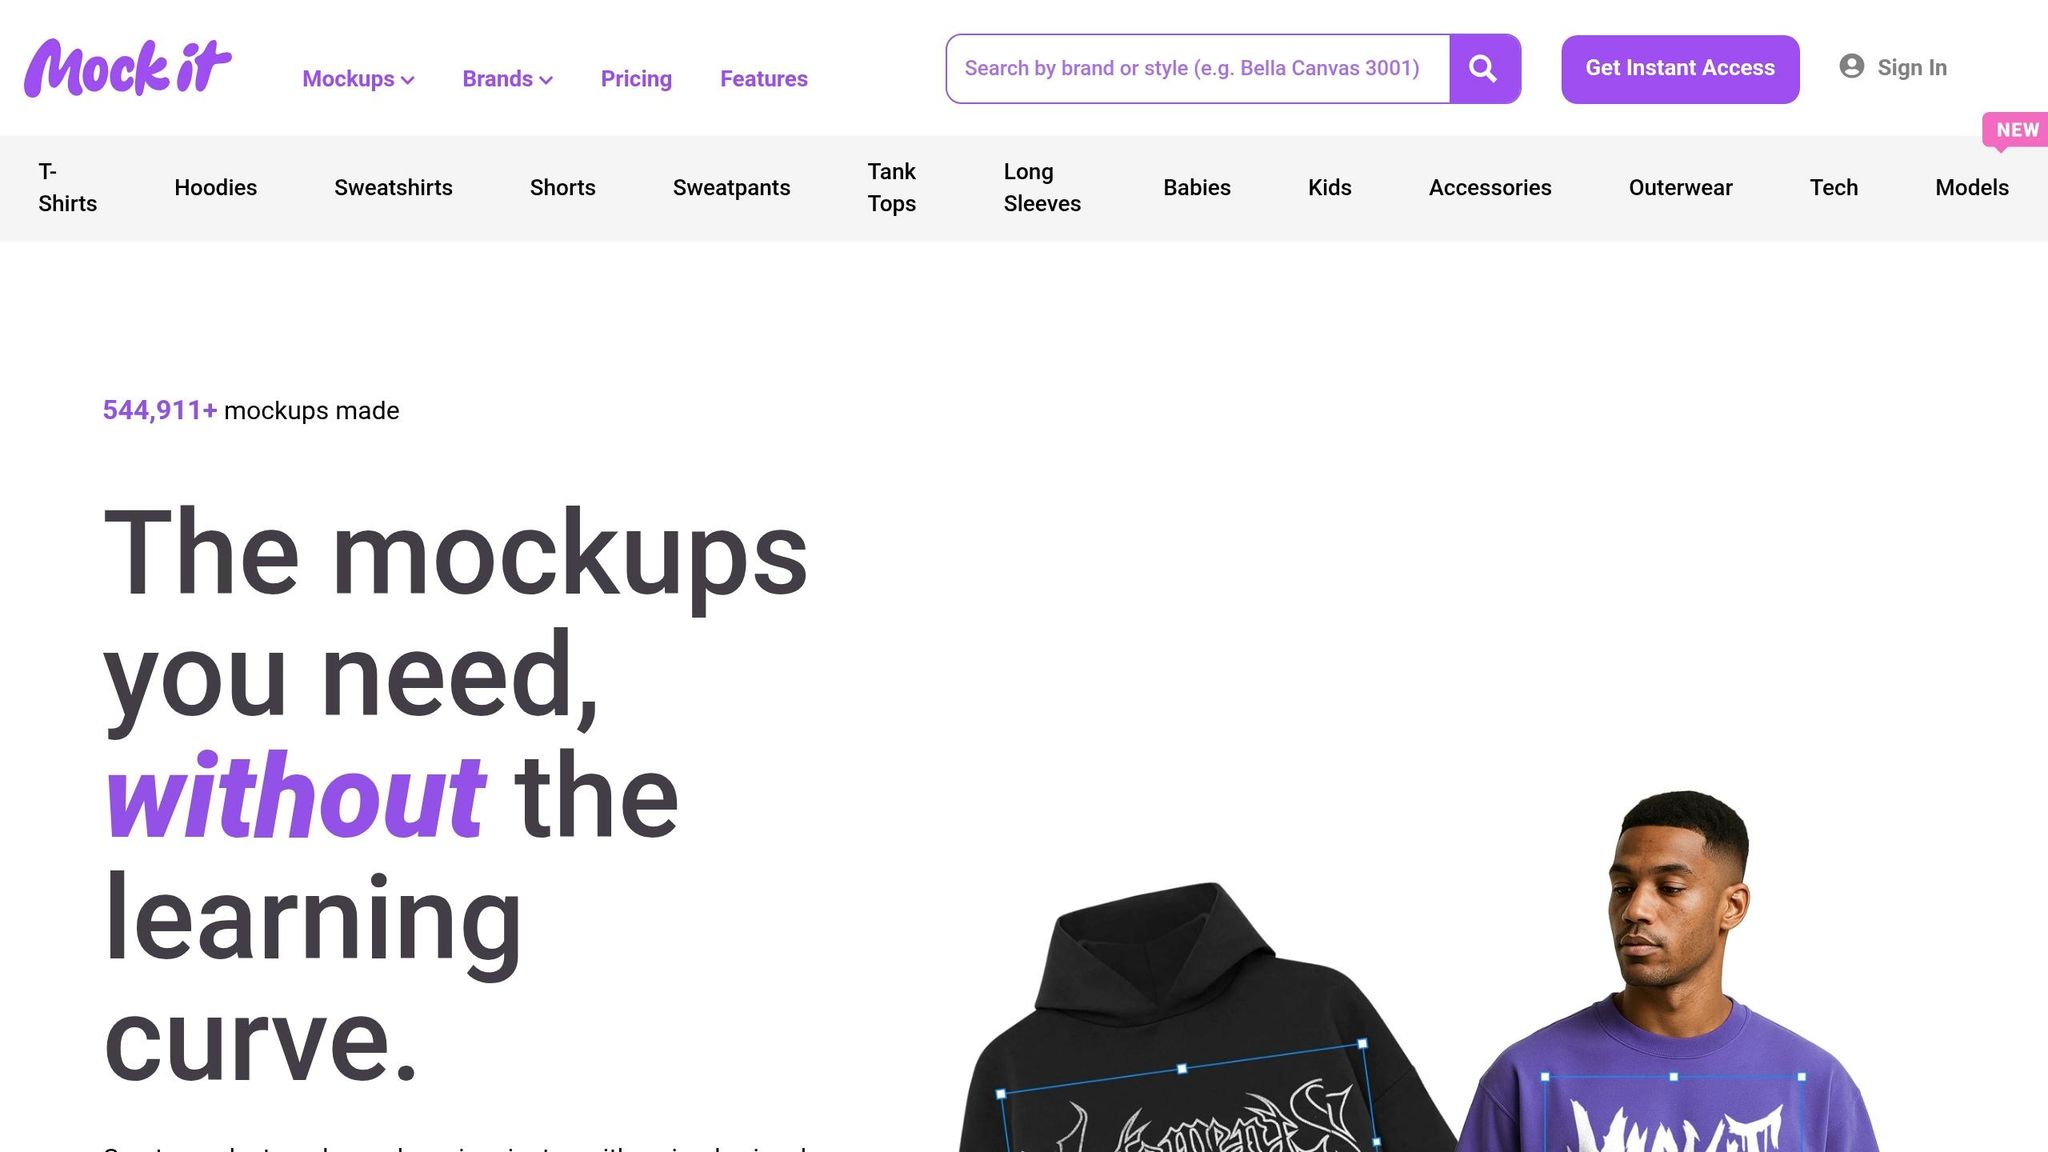
Getting started with Mock It is a breeze and takes less than five minutes. Head over to mock-it.co and click on "Start Free Trial" right on the homepage. From there, just enter your email, create a password, and specify your business type (like "clothing brand"). Mock It will send you a verification email to confirm your account.
Once you verify your email, you’ll automatically gain access to a 7-day free trial. This trial gives you full access to over 5,000 mockup templates without the need to provide any credit card details upfront. You can explore all the features, download high-resolution designs, and even work with both front and back views of your apparel designs – perfect for creating detailed email banners.
When your trial ends, you can choose from two subscription plans: the Standard plan at $9.99/month (or $7.99/month if billed annually) or the Pro plan at $19.99/month (or $14.99/month with annual billing). The Pro plan includes advanced tools like an AI text-to-image generator and a background remover. Payments can be made via credit card or PayPal, and you can easily manage upgrades, downgrades, or cancellations through the "My Account" page.
With your account set up, you’re all set to dive into the template library and start crafting the perfect email banner.
Choose Your Mockup Template
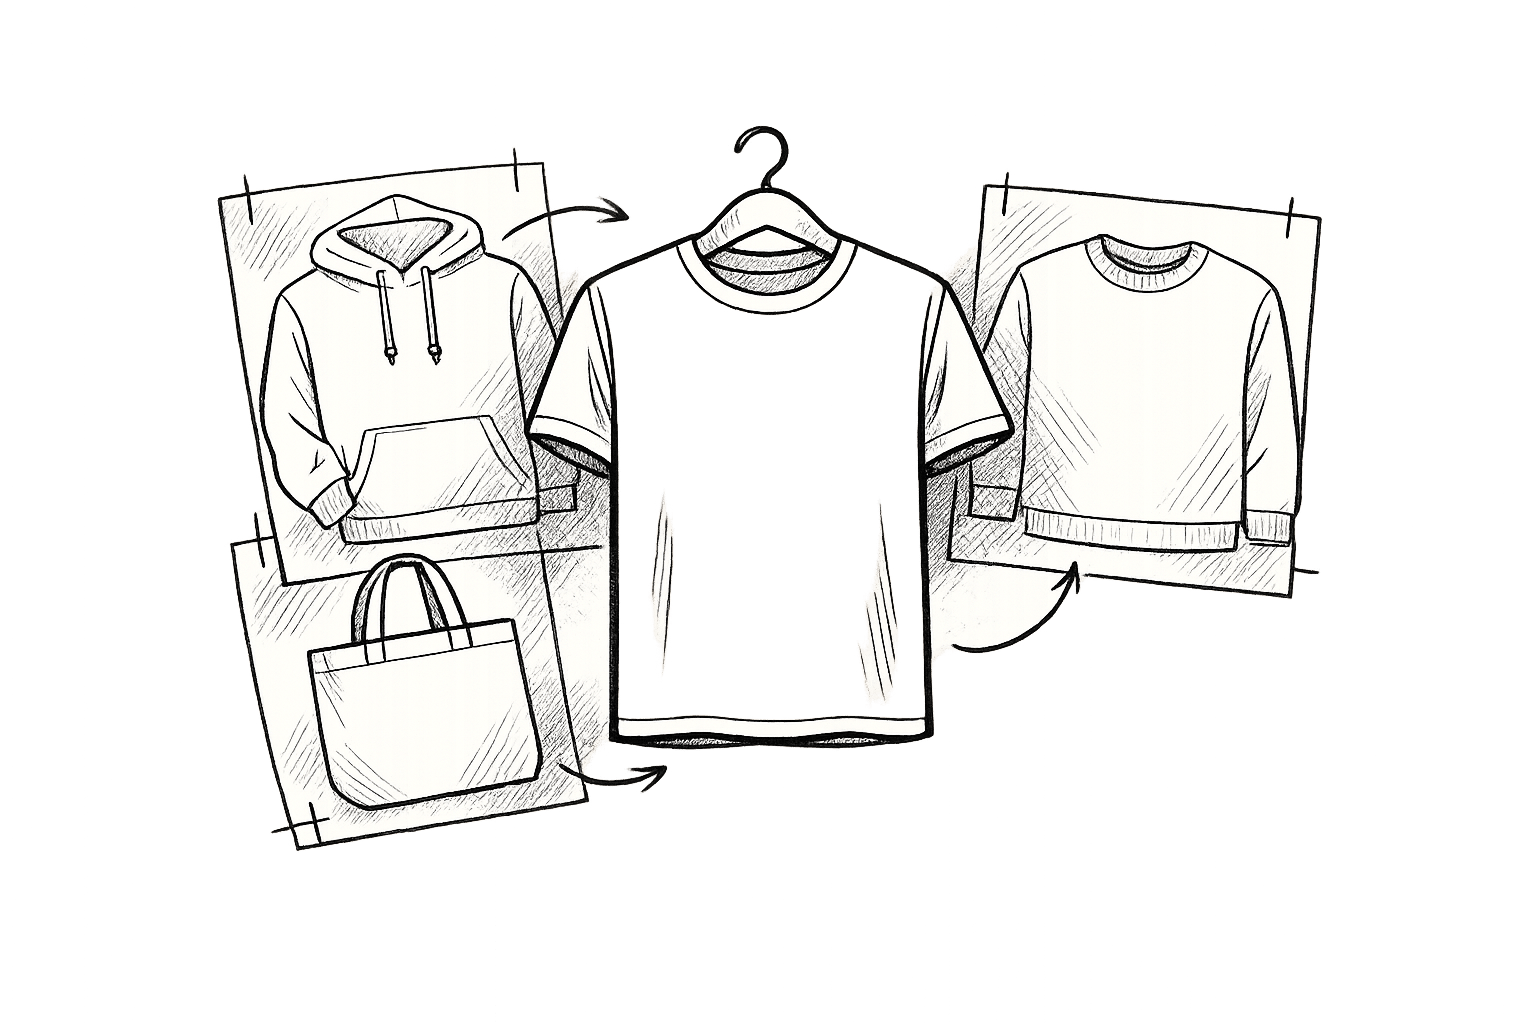
After activating your account, head to the "Templates" section and click on "Apparel" to explore the full range of designs. Mock It’s filters make it simple to find the right template. You can narrow your search by apparel type (t-shirts, hoodies, sweatshirts, shorts), brand (like Bella + Canvas, Gildan, Comfort Colors, or Champion, along with 45+ others), and view (front, back, or 360°).
For email banners, the recommended size is 600 x 200 pixels (width x height). This size ensures your banner looks great across email platforms like Klaviyo and Mailchimp, with no cropping issues on mobile devices. Simply hover over a template to preview it, then click "Customize" to open it in the editor. Most mockup sets include six variations – three front views and three back views – so you can showcase both sides of your design in one banner using the Scene Creator. The platform automatically scales your designs and lets you export them in PNG (with transparent backgrounds) or JPG formats, ensuring your banners look sharp and professional on any email client.
Step 3: Customize Your Mockup
Upload and Edit Your Design
Start by selecting the "Add Design" tab and dragging your image into the upload area. Use Mock It’s Drag & Drop Editor to resize and position your design exactly how you want it. If you’re using the standard option, mockups render at 1,500 x 1,500 pixels, while Pro users enjoy higher-quality renders at 2,400 x 2,400 pixels. You can also adjust garment colors using the platform’s extensive color library and experiment with fabric textures like heathers, acid washes, or mineral washes.
For email banners that showcase custom branding, use the "Add Design" tool to place your brand logo over the garment’s tag area before adding your main graphic. Including your logo is a simple way to make your mockup feel more authentic and professional. Once your design is positioned, you can enhance it further by adding overlay text and scene elements to complete your visual.
Add Text and Scene Elements
Mock It’s Scene Creator allows you to add backgrounds, shadows, and other visual elements to make your apparel stand out. As Abel B., a contributor at Mock It, puts it:
"Whether it’s a captivating background, a striking pattern, or a shadow overlay that adds depth and realism, elements can transform your mockups into eye-catching works of art".
When designing your banner, balance your elements carefully, leaving enough negative space to keep the apparel as the primary focus. Shadow overlays are especially useful for adding depth and avoiding a flat, lifeless look.
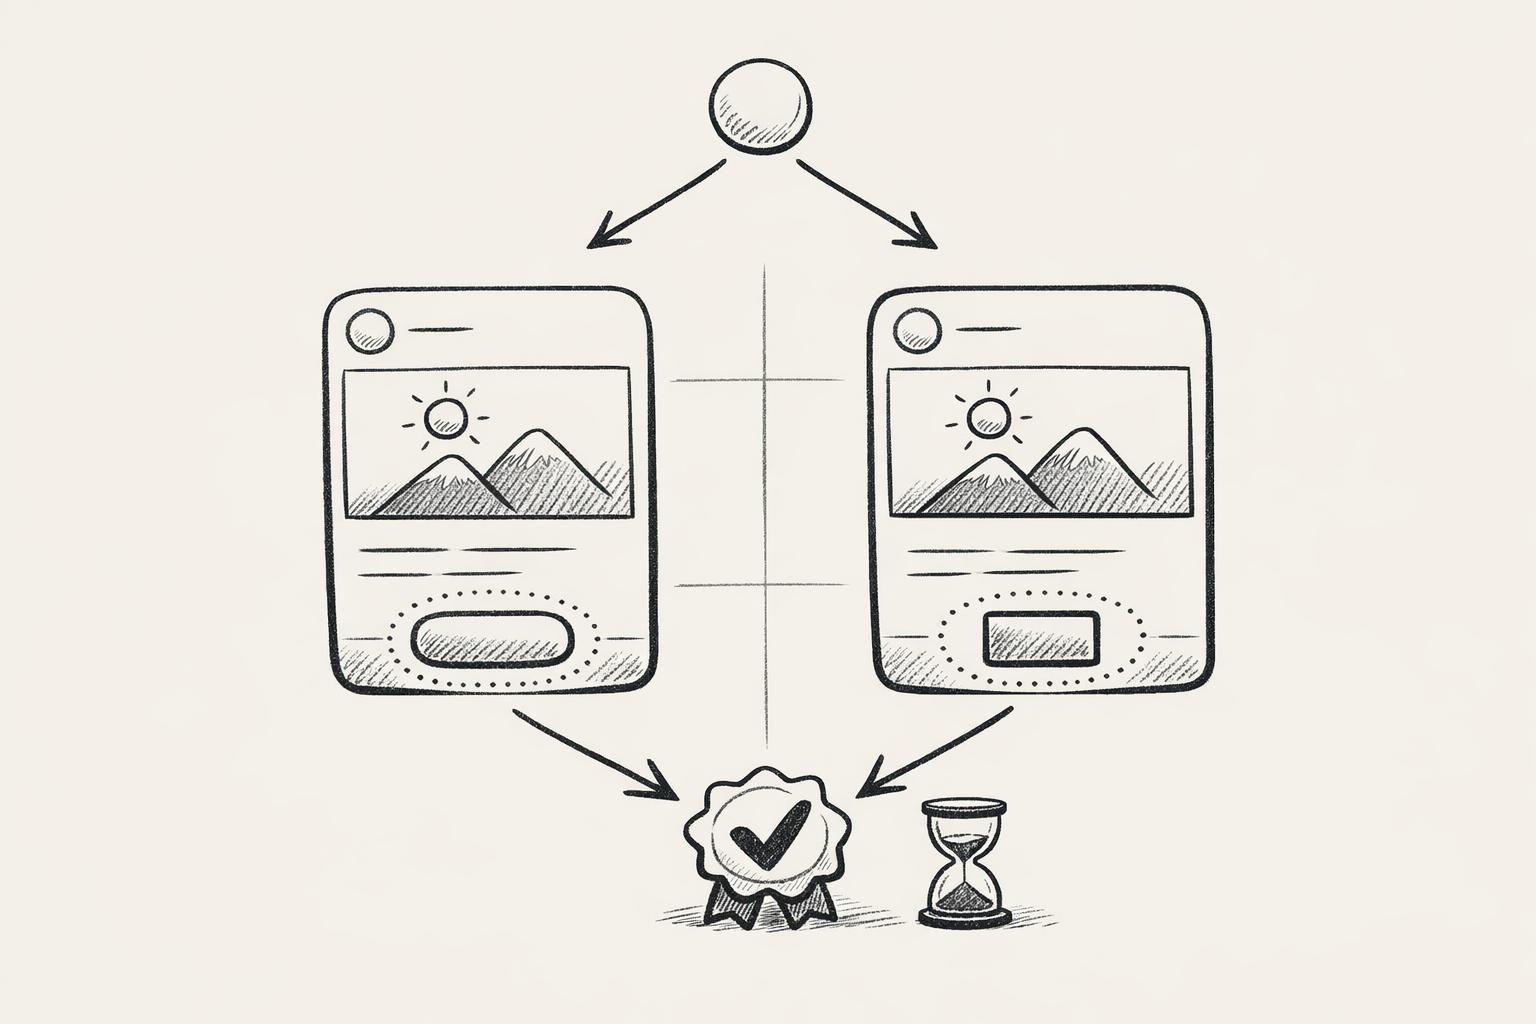
With most people skimming emails in under 9 seconds, your banner needs to grab attention instantly. Use web-safe fonts like Arial or Verdana for clarity, with headline text sized at 22–24pt and body text at 14–16pt. High-contrast color schemes, such as dark text on a light background, ensure your message is easy to read across both desktop and mobile devices .
Use Advanced Features
Pro plan users (starting at $19.99/month or $14.99/month billed annually) unlock two standout tools: the Image Background Remover and the AI Text-To-Image Generator. The background remover simplifies the process of isolating your apparel by creating clean, transparent images with just one click. These images are perfect for placing onto custom email banner backgrounds. Meanwhile, the AI Text-To-Image Generator lets you create unique graphics or background elements by entering a simple text prompt. The AI does the rest, producing visuals that perfectly complement your design.
When you’re ready to export, choose PNG for transparent backgrounds or JPG for smaller file sizes. For sharp, high-quality visuals on high-density mobile screens, export at the maximum resolution . Keep your file size between 600–800k to ensure quick loading times across email clients. Once your mockup is fully customized, you’re ready to move on to the next step: assembling your email banner.
Step 4: Export and Assemble Your Banner
Download High-Resolution Files
Once you’ve customized your mockup, it’s time to export and integrate it into your email campaign. Start by clicking "Download" in Mock It, which allows you to export files in PNG and JPEG formats. For the best quality, download your mockup as a PNG at 300 DPI. This ensures the image maintains its sharpness and detail, even if you need to resize it in design tools.
To optimize loading times in email clients, convert your banner to a 72 DPI JPEG. Aim for a file size between 600 KB and 800 KB – this strikes a balance between quick load times and maintaining visual clarity. If your design includes transparency (like overlays on gradients or textured backgrounds), stick with the PNG format to keep edges crisp and clean.
Add Mockups to Email Tools
After exporting your high-quality file, import it into your preferred email design tool to finalize your banner. Tools like Canva or Photoshop work well for this step. For desktop headers, use dimensions between 600–700px wide and under 200px high. For mobile headers, adjust to about 320–350px wide and up to 100px high to ensure responsiveness.
When assembling your banner, consider using an inverted pyramid layout. This design draws attention to your mockup and guides readers toward a clear call-to-action (CTA). Make sure your CTA buttons are at least 45 x 45 pixels for easy tapping on mobile devices. Surround the button with enough white space to improve click-through rates. Don’t forget to add Alt Text to your banner in case images fail to load.
Most email platforms, such as MailerLite, Mailchimp, Brevo, HubSpot, and Omnisend, offer drag-and-drop editors that make uploading your banner simple. For apparel brands, platforms like Omnisend and Klaviyo provide e-commerce templates with over 350 layouts designed for product promotions, making them a great match for Mock It exports. Before launching your campaign, send a test email to check how your banner looks on desktop, mobile, and in dark mode.
Conclusion
You don’t need expensive photoshoots or complicated tools to create professional email banners. This guide breaks it down into four straightforward steps: selecting Mock It, setting up your account, customizing designs with advanced tools, and exporting high-resolution visuals. By following these steps, your apparel brand can create eye-catching banners that enhance engagement and drive sales.
Mock It offers AI-powered features and thousands of templates, making the design process simple and efficient. It eliminates the need for additional editing software while ensuring your banners look polished across all devices. With over 544,350 mockups already created by users, it’s clear that this platform is a go-to solution for apparel brands looking to elevate their email marketing game.
By mastering these tools, your brand can take full advantage of email marketing, one of the most cost-effective ways to connect with customers. High-quality mockups allow you to present your designs in realistic and appealing settings, helping your emails stand out in crowded inboxes. Whether you’re running a flash sale, launching a new collection, or promoting a seasonal discount, Mock It’s templates make it easy to create branded, reusable banners that enhance recognition and boost conversions.
Ready to get started? Sign up for Mock It’s 7-day free trial and create your first professional apparel email banner in minutes. With unlimited downloads and full access to the entire template library, you’ll have everything you need to make your brand shine.
FAQs
What makes a mockup banner look realistic?
A lifelike mockup banner hinges on sharp visuals and meticulous detail. Elements like realistic textures, precise lighting, natural shadows, and fabric features – such as wrinkles and folds – play a huge role in creating a convincing look. Matching colors accurately and selecting complementary backgrounds further boost the overall effect. Tools like Mock It’s scene creators and customizable color libraries simplify the process, helping you craft apparel visuals that truly pop and outshine the competition.
How do I size banners for desktop vs. mobile?
When designing banners for desktop and mobile, sticking to recommended dimensions and responsive design principles is key. For desktop, a width between 600-800 pixels usually works well. For mobile, ensure banners are scaled to fit smaller screens while maintaining clarity. Prioritize flexible widths and aspect ratios to adapt to different devices seamlessly. Tools like Mock It provide templates tailored for both formats, helping your apparel email banners look polished and effective across all screens.
PNG or JPG for email banners – what should I use?
When it comes to email banners, PNG is the go-to format. Why? It supports transparency and ensures high-quality visuals, which is perfect for creating banners with clear backgrounds and sharp images. While JPG files are smaller and widely used, they don’t support transparency, which can limit their use for professional designs. Tools like Mock It emphasize the value of PNG files for delivering polished and flexible email marketing visuals.