Creating professional hoodie designs is easier than you think. Here’s a quick breakdown to get started:
- Understand Hoodies: Learn the parts (front, back, sleeves, hood) and how fabric type (cotton, polyester, blends) affects printing.
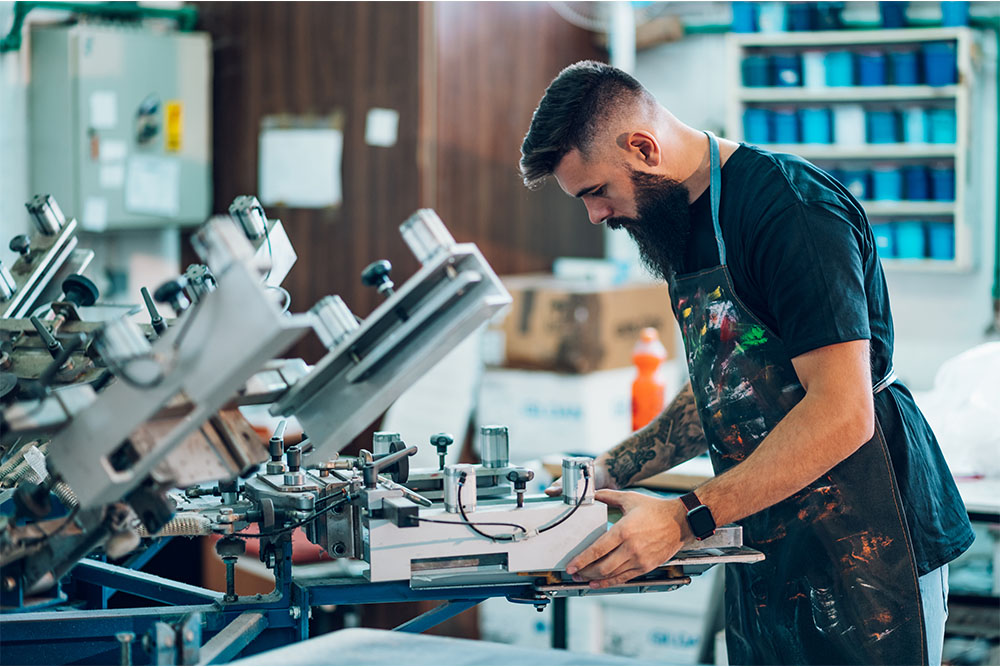
- Choose Print Methods: Screen printing for bold designs, DTG for detailed images, sublimation for all-over prints.
- Use Design Tools: Adobe Illustrator for precision or Canva for simplicity.
- Prepare Files: Use vector formats (AI, PDF) or high-res raster files (300 DPI, CMYK mode).
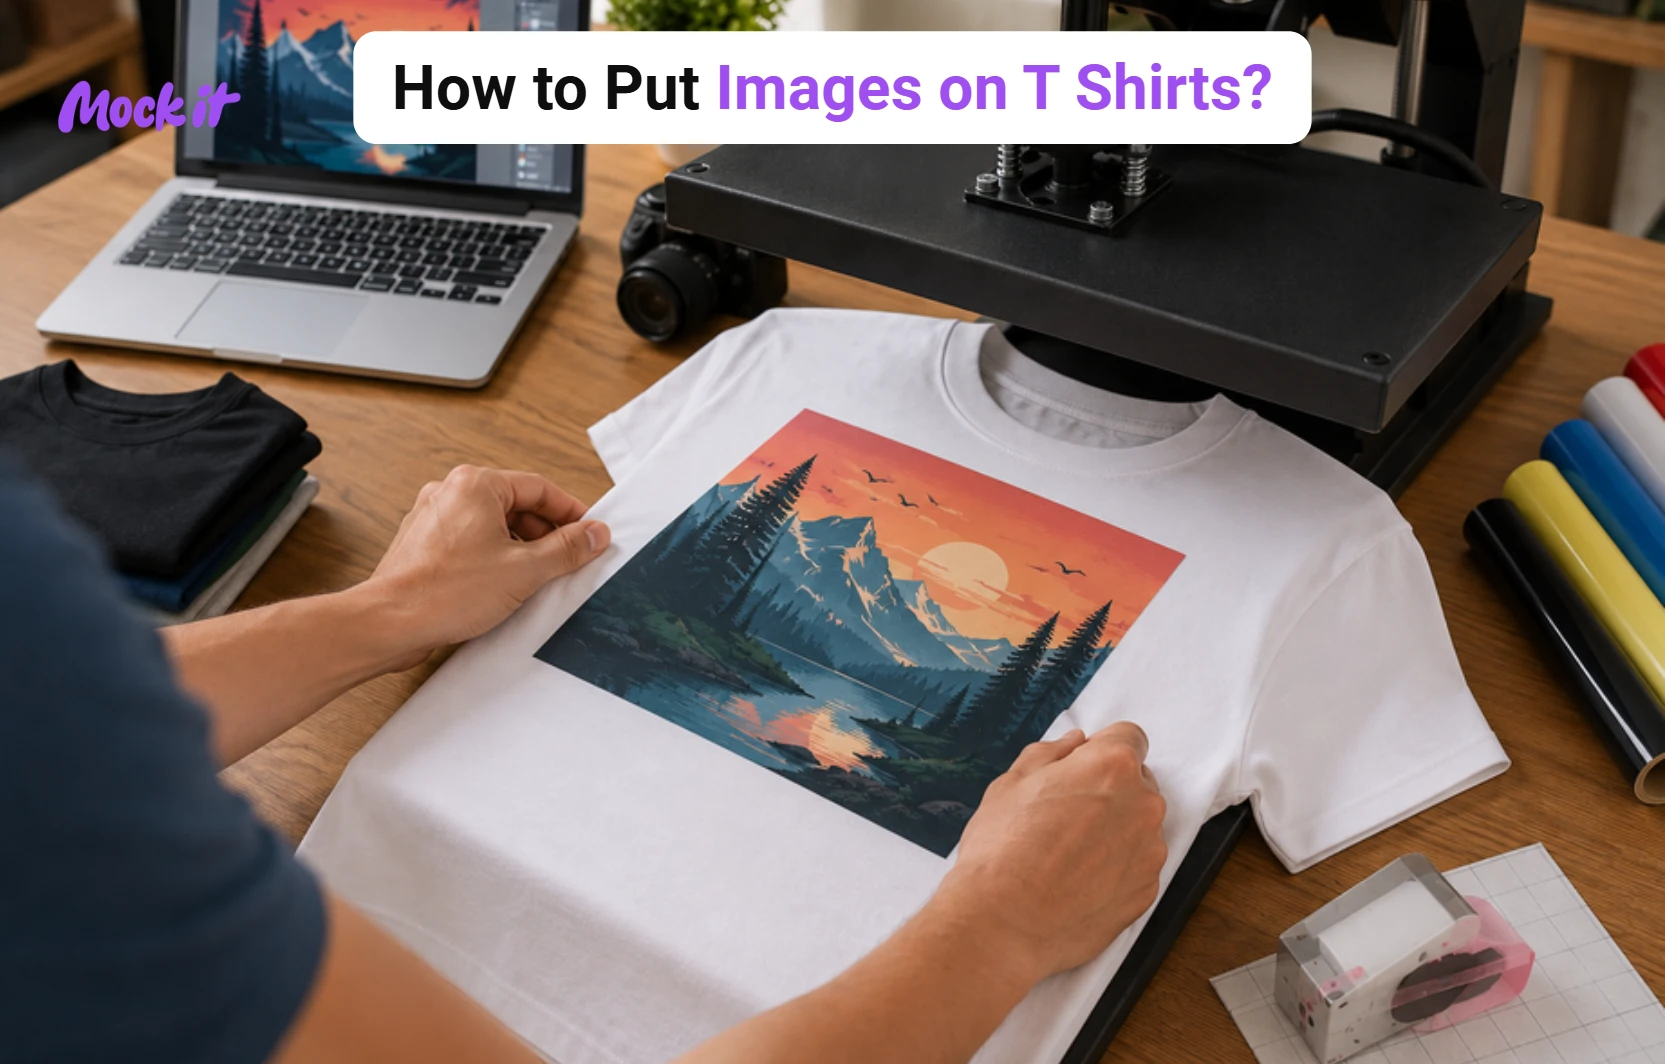
- Create Mockups: Visualize designs with tools like Mock It or Placeit to ensure proper placement and appeal.
- Check for Quality: Verify file dimensions, color settings, and text outlines before production.
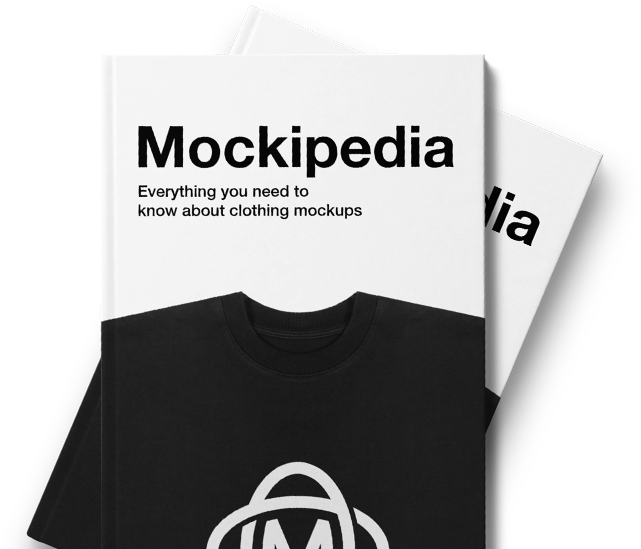
How to Design Clothing Mockups for Your Brand [Walkthrough]
Hoodie Design Fundamentals
Creating professional-looking hoodie designs that print well starts with understanding the basics of hoodie construction and fabric properties. Here’s a breakdown of the key elements and materials that play a role in successful hoodie design.
 Parts of a Hoodie
The layout of a hoodie determines where and how designs can be placed. Key areas include the front panel, back panel, sleeves, and hood. Each comes with its own set of opportunities and challenges, especially around seams and fabric folds.
- The front panel is often the largest design space but may be interrupted by pockets.
- Designs on the hood need to account for how the material falls when worn.
- For zip-up hoodies, leave enough space along the zipper to avoid distortions in the design.
Fabric Types and Print Methods
Fabric choice affects both the quality of the print and the design’s overall appearance. Here’s a quick guide:
| Fabric Type | Best Print Methods | Design Notes |
|---|---|---|
| 100% Cotton | Screen printing, DTG | Produces vibrant colors and fine details |
| Polyester | Dye sublimation | Great for seamless, all-over prints |
| Cotton-Poly Blend | Screen printing, DTG | Offers a balance of durability and softness |
| French Terry | DTG, Screen printing | Avoid dense patterns near looped textures |
Cotton hoodies tend to shrink about 20% more than polyester blends, so designs need to be scaled accordingly. Screen printing, known for its durability, can withstand over 50 washes without significant wear.
When selecting a print method, consider the following:
- Screen printing: Best for bold designs with fewer than 6 colors.
- DTG (Direct-to-Garment): Ideal for detailed, full-color images.
- Sublimation: Perfect for all-over designs but works only on polyester.
- Heat transfer: A budget-friendly option for small test runs.
These fabric and print choices directly influence how you prepare your digital designs. Up next, we’ll dive into the tools that help you execute these designs with precision.
Design Tools and Software
Picking the right design software depends on your skill level and budget. Let’s explore some options.
Software Options
Designers today have access to a range of tools, each suited for different needs and expertise levels:
| Software | Price | Best For | Learning Time |
|---|---|---|---|
| Adobe Illustrator | $20.99/month | Professional designs, vector graphics | 2-3 months |
| Canva | $12.99/month | Quick designs, beginners | 2-4 hours |
Adobe Illustrator is a top choice for professionals, earning a 4.7/5 rating from industry experts. Its vector-based platform ensures designs can be scaled without losing quality, making it perfect for print-ready projects. While it takes time to master, the precision and control it offers are unmatched.
Canva, on the other hand, is a favorite among beginners. With over 100 million monthly users as of 2023, it’s known for its user-friendly interface and a vast library of templates. You can create simple hoodie designs in just a few hours. However, it may not have the advanced features needed for intricate print work.
Required File Types
Print shops often have specific file requirements to ensure the best results:
Vector Formats:
- AI (Adobe Illustrator): Preferred by most professional print shops.
- PDF: A universal format that maintains design quality.
- EPS: Compatible with a variety of design software.
Raster Requirements:
- Use a resolution of 300 DPI with standard dimensions of 4500×5400 pixels for full prints.
- Set the color mode to CMYK for accurate color reproduction.
When preparing files for printing, convert all text to outlines and include a bleed area as specified by the printer. This avoids font compatibility issues and ensures the design extends fully to the edges.
For designs that mix vector and raster elements, keep layers separate for easier adjustments. Once your files are ready, you can move on to planning your design for production.
sbb-itb-1e8f9ab
Design Process Steps
Creating professional hoodie designs involves a step-by-step approach that blends creativity with technical know-how. Here’s how to craft designs ready for the market.
Planning Your Design
Start by creating a mood board that aligns with your brand. Mix current trends with classic styles to appeal to a wide audience.
Key design tips:
- Follow the 60-30-10 color rule for balance.
- Use fonts that are 14pt or larger for readability.
- Place chest logos 4-6 inches from the center for visibility and symmetry.
When incorporating brand elements, think strategically. For example, keep main designs above the kangaroo pocket to ensure they remain visible and unobstructed.
Preparing Print-Ready Graphics
To get your graphics ready for production:
- Use CMYK color mode for accurate printing results.
- Convert all text into outlines to avoid font issues.
Adapt your design to the printing method:
- Screen printing: Stick to 4-6 colors for best results.
- DTG (Direct-to-Garment): Ensure good contrast with the garment color.
- Sublimation: Focus on seamless edges for a polished look.
 Using Templates
Templates help ensure your design is placed correctly.
- Organize template layers for easy adjustments.
- Stay within safe zones and trim lines to avoid cutting off important details.
For adult hoodies, Printify suggests keeping designs within a 12″ x 16″ area. Following these template guidelines will set you up for success when transitioning to physical mockups, which we’ll discuss next.
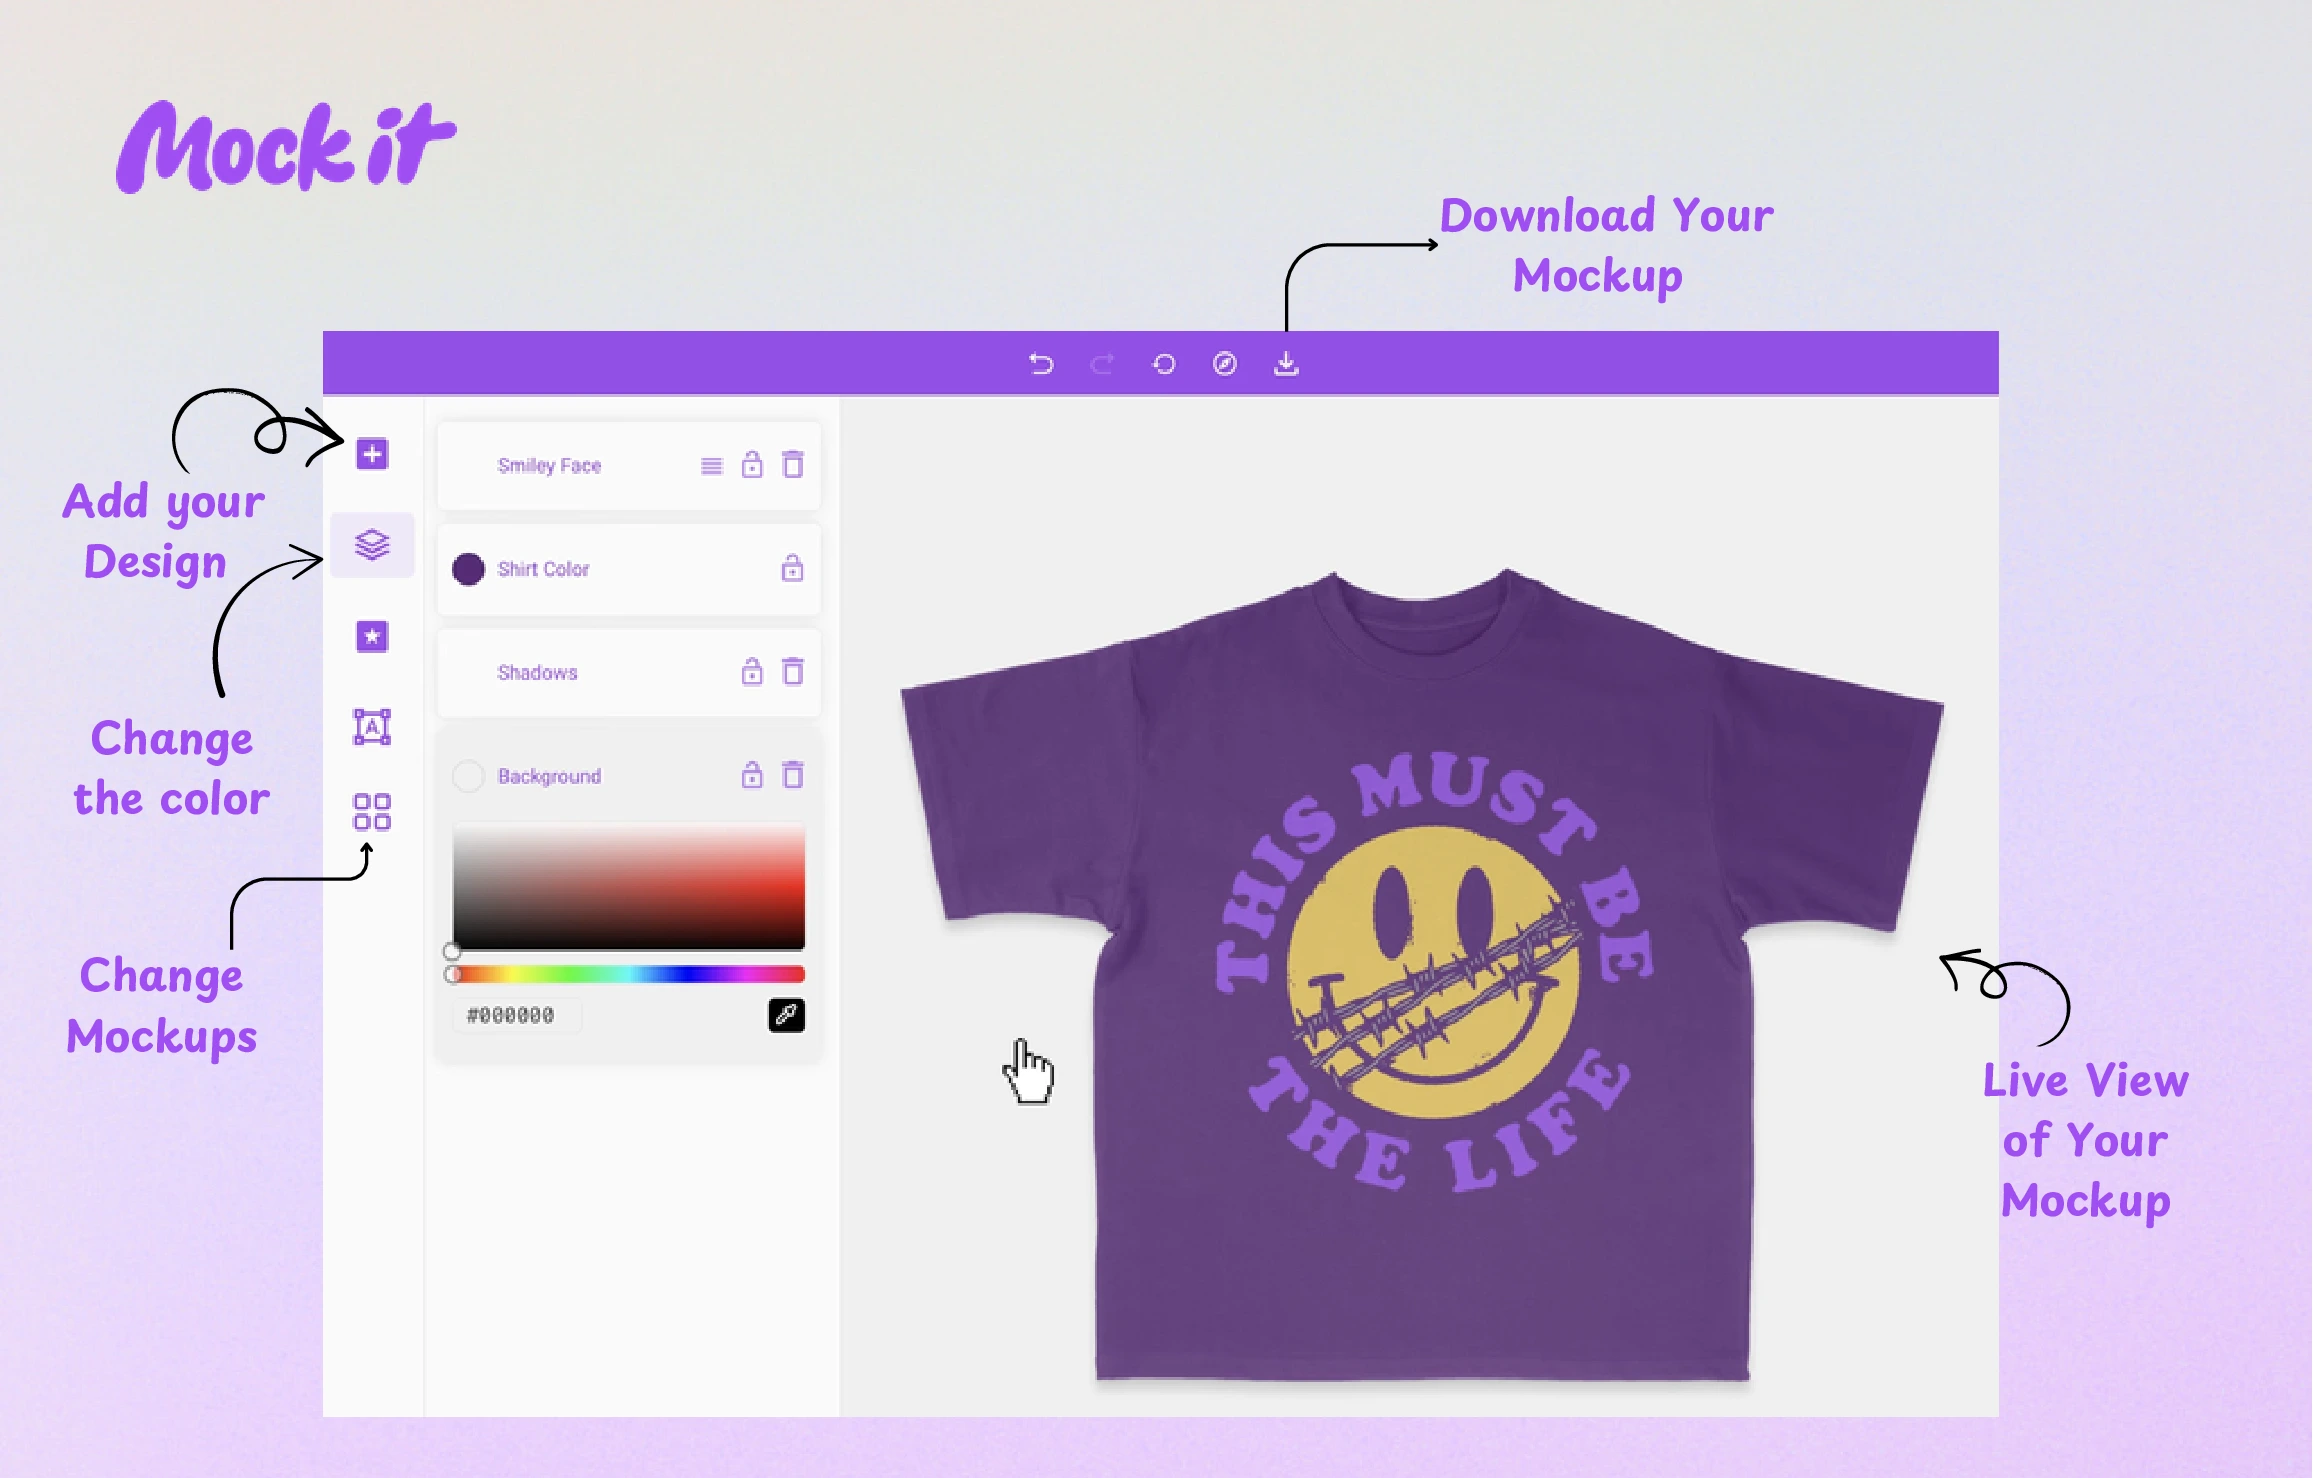
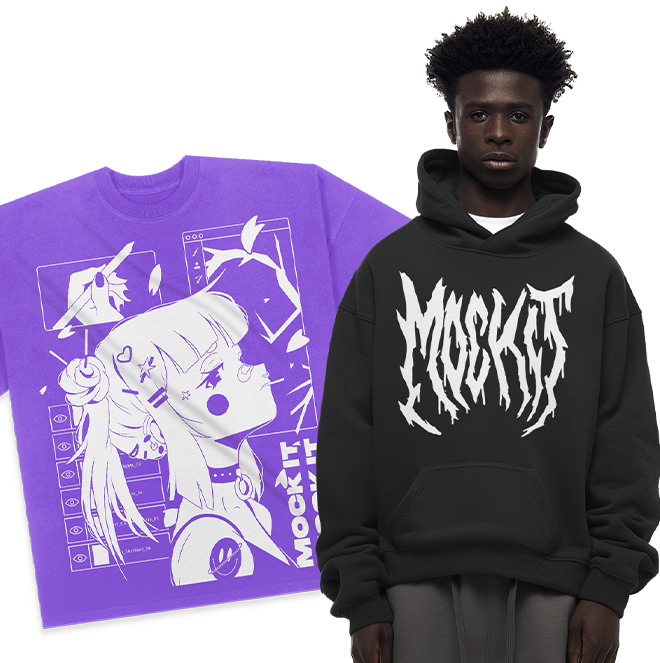
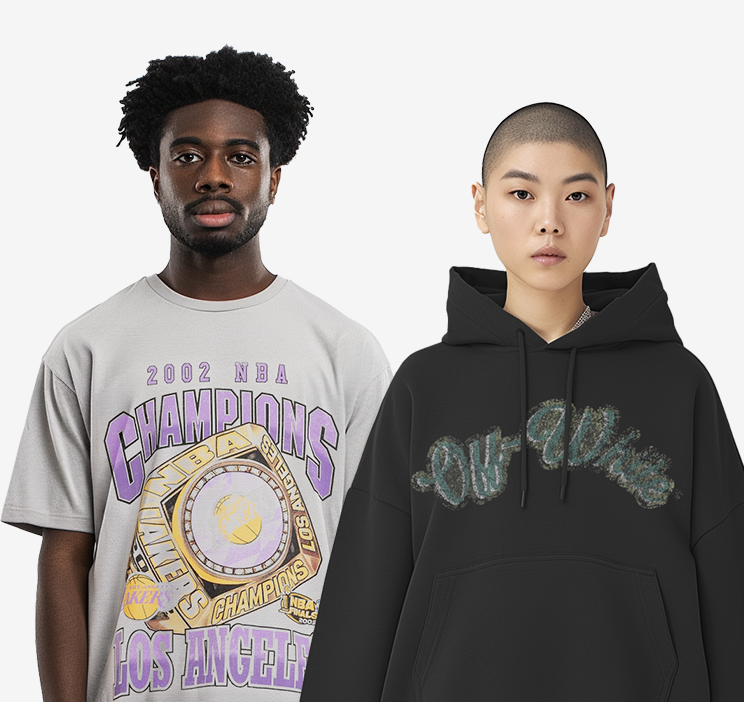
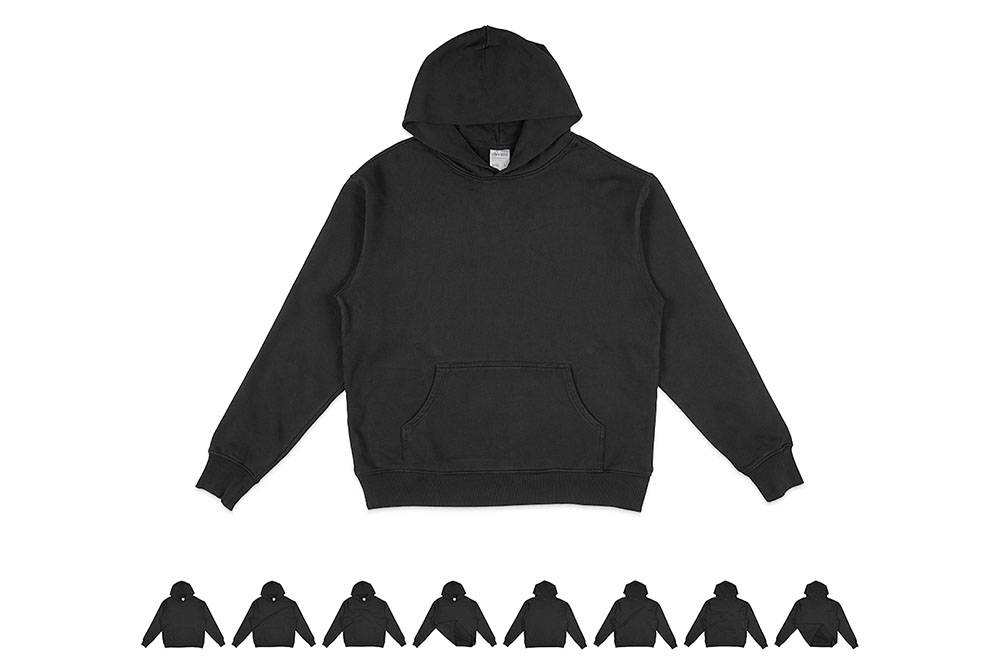
Making Product Mockups
Once your design is finalized using templates from the earlier section, it’s time to create mockups. These allow you to visualize the finished product without the need to print physical samples. Modern tools make it easy to generate accurate previews.
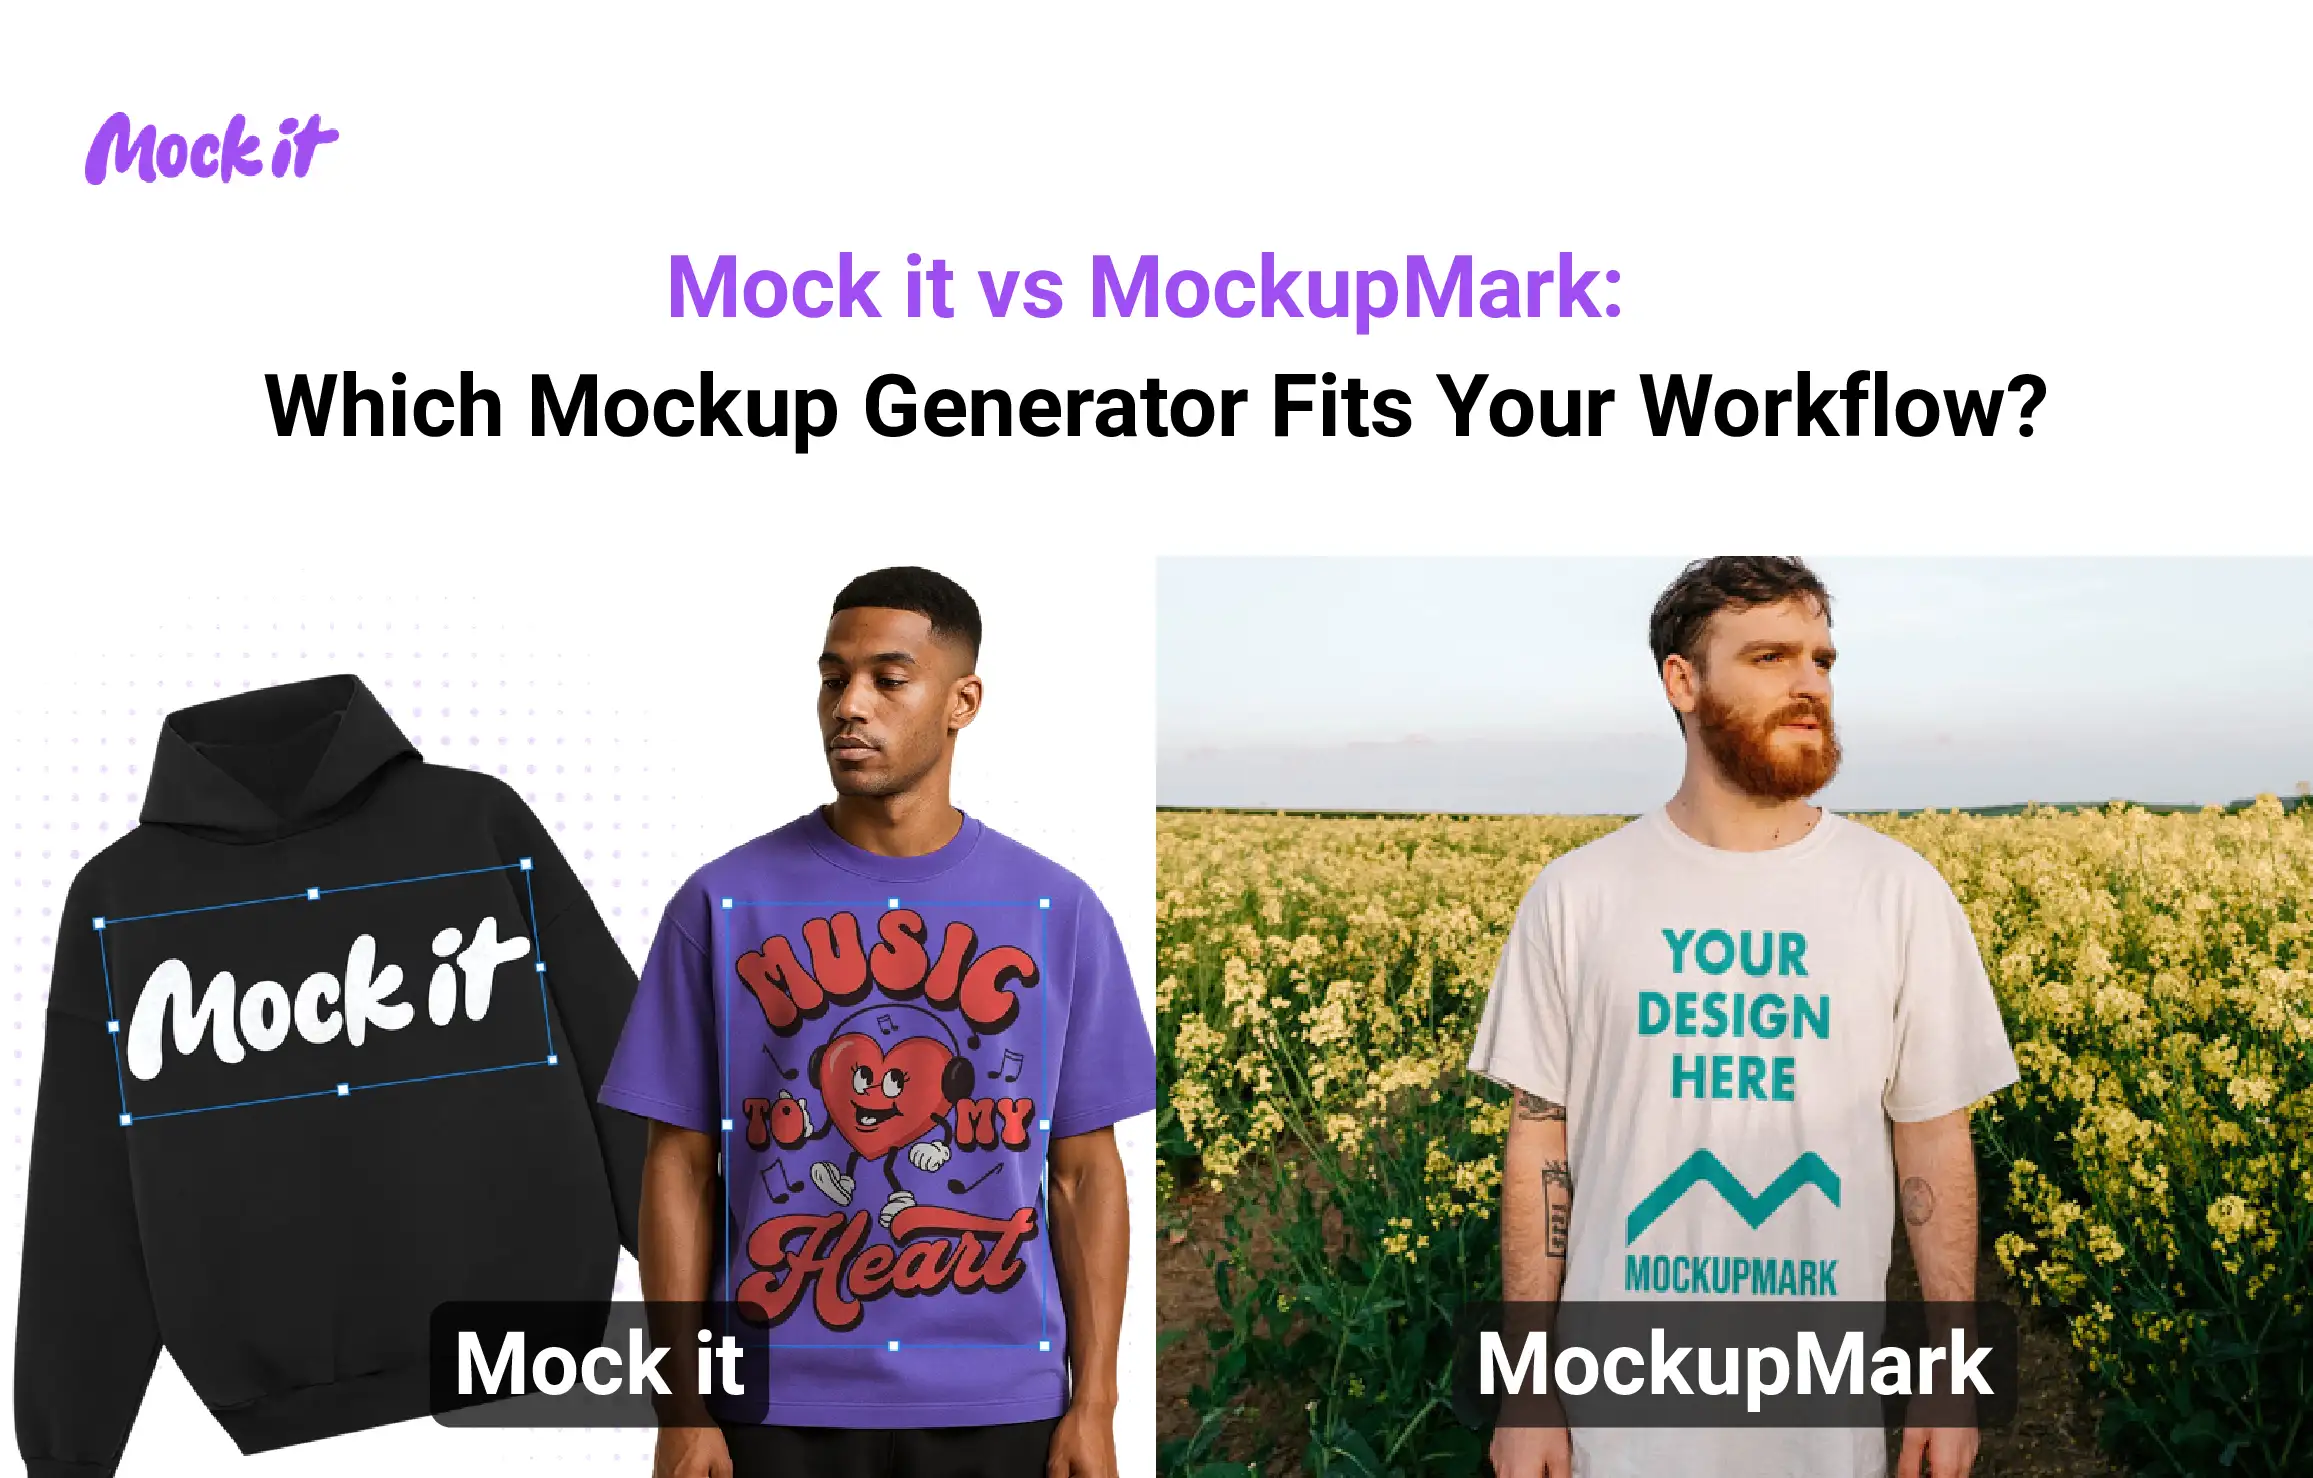
 Mockup Software Options
There are several platforms designed to help you create high-quality hoodie mockups. For example, Mock It offers a library of over 4,000 clothing templates from 45+ brands. It allows for instant design placement and delivers sharp, professional results. Their Standard plan starts at $7.99/month (billed annually) and includes unlimited downloads along with basic customization options.
Here’s a quick comparison of popular mockup tools to suit different needs:
| Tool | Best For | Price |
|---|---|---|
| Mock It | Professional designers | $9.99/month |
| Placeit | Beginners | $14.95/month |
Adding Designs to Mockups
To create realistic mockups, focus on the details and use the right techniques. Here’s how to get professional results:
Placement Tips
- Align your design with the fabric texture using opacity or blend modes.
- Shape your design to follow the garment’s contours for a natural look.
- Enhance depth by adding shadows and highlights.
Showcase multiple angles, including front, back, and side views. Listings with at least three perspectives tend to convert 40% better.
For darker hoodies, adjust contrast and lighting to ensure the design remains visible while looking natural. Test your mockups under various lighting conditions for the best results.
When working on angled views, apply hood panel placement techniques from Design Fundamentals. Use vector-based designs (like those created in Illustrator) for precise integration into 3D models.
For an elevated presentation, consider incorporating 3D modeling, displacement mapping, and professional color grading.
Print-Ready File Setup
Once your mockups are polished, it’s time to focus on the technical details that ensure your files are ready for production. Proper setup is crucial for achieving high-quality results across various printing methods.
Print Requirements
Each printing method has its own file preparation needs. For screen printing, designs should be in spot colors or CMYK. For DTG printing, use RGB color mode and save your files as PNG or JPEG.
| Print Method | Color Mode | File Format |
|---|---|---|
| Screen Printing | CMYK/Spot Colors | PNG, JPEG |
| DTG | RGB | PNG, JPEG |
| Sublimation | CMYK | PNG, JPEG |
Quality Check List
To ensure your designs meet professional standards, run through this checklist before sending files to production:
- Make sure the file format and dimensions match the chosen printing method.
- Verify color mode and profiles are correctly set.
- Convert text to outlines and simplify any complex layers.
- Extend background elements beyond trim or cut lines.
- Use print simulation tools to check for any color overlaps.
This step ties your digital design work to the physical production process, ensuring a smooth transition from concept to final product.
Conclusion
By following the steps outlined – from choosing the right templates to conducting thorough quality checks – you can ensure your hoodie designs are ready for the market. Designing hoodies successfully is about blending technical accuracy with a strong creative vision.
With the hoodie market valued at $19 billion, there’s a clear demand for designs that are both visually appealing and practical to produce. To excel in this space, it’s crucial to understand your audience, use effective template strategies, and uphold strict quality standards throughout the process. Mastering mockup techniques and preparing files correctly will help turn your digital designs into physical products that resonate with consumers.
Great hoodie design combines artistic creativity with technical know-how. By applying the methods and tools discussed here, you’ll be able to create designs that not only look good but are also ready for production.
Related Blog Posts
View featured image for How to Create Professional Hoodie Designs: Step-by-Step Guide